Easy How to Draw Mountains Tutorial Video and Mountains Coloring Page
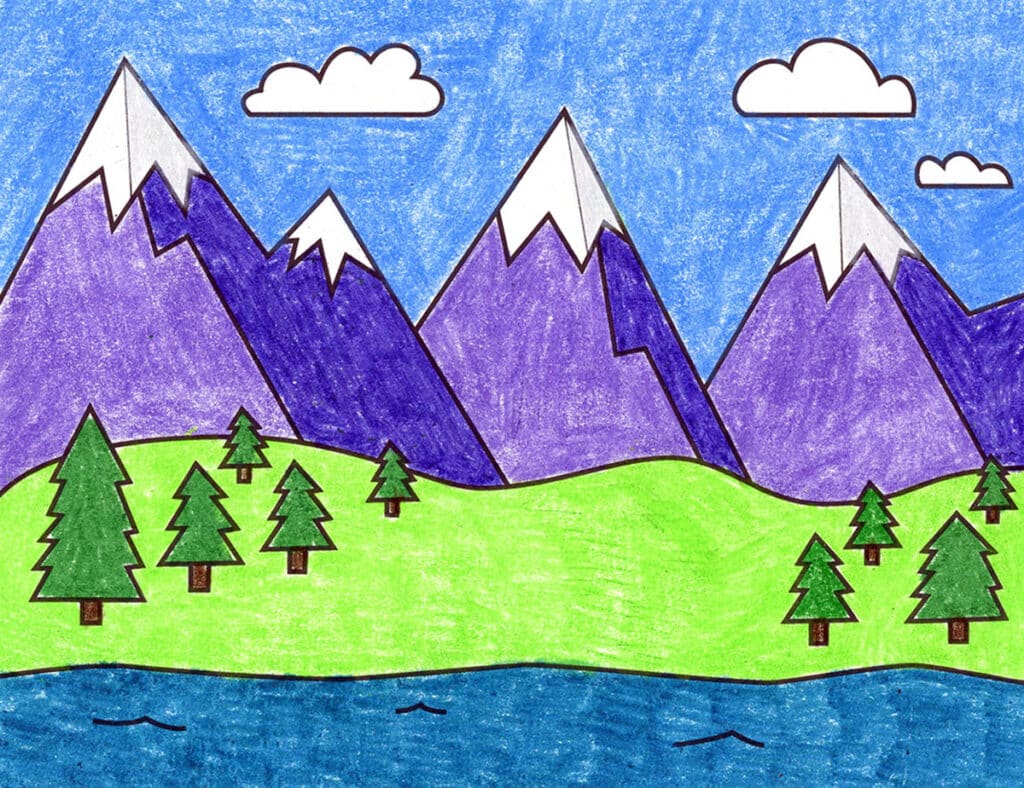
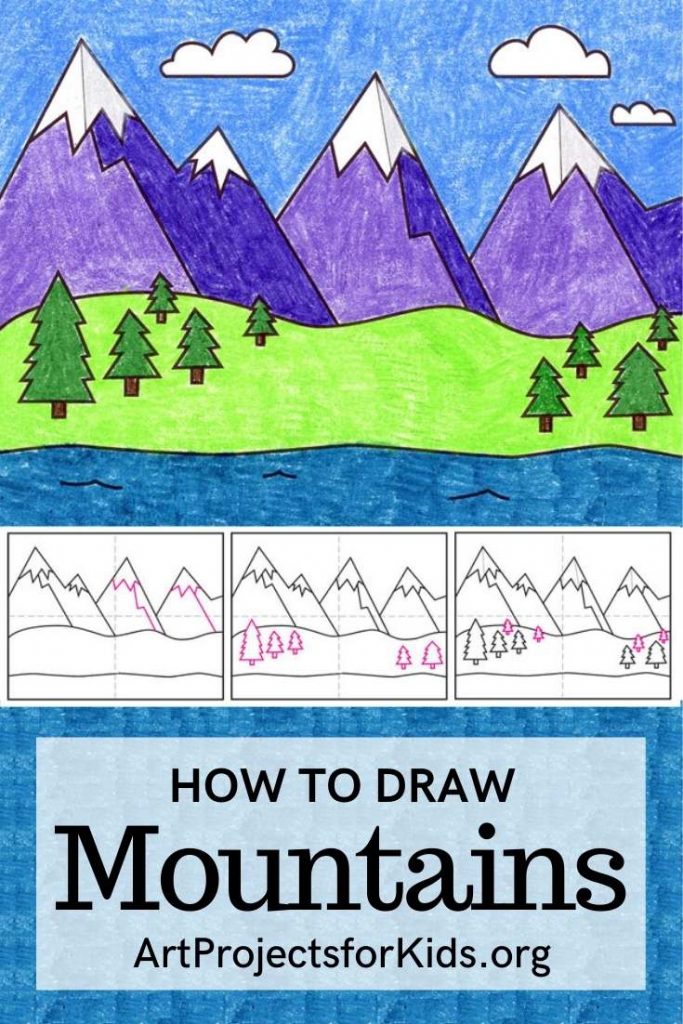
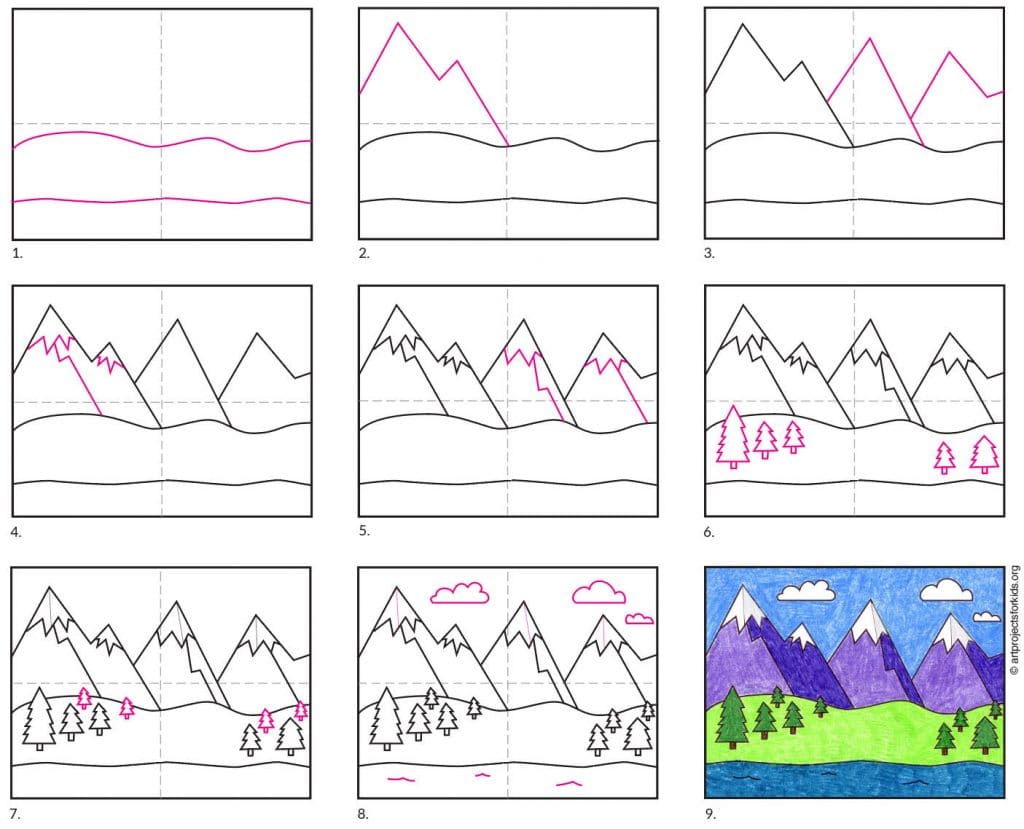
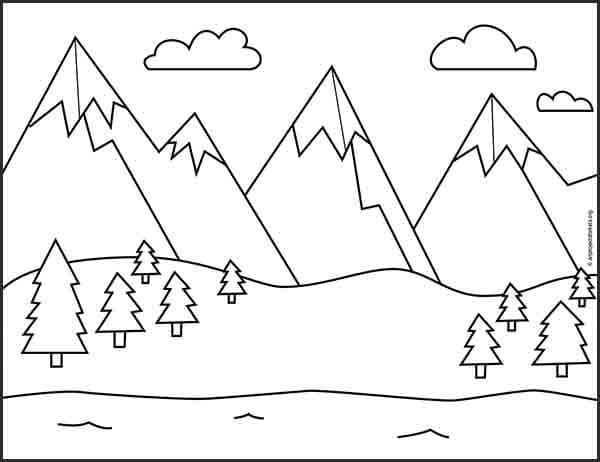
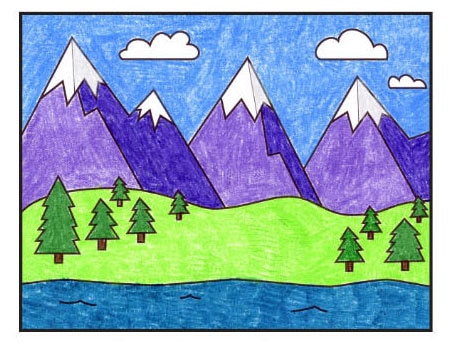
Below you’ll find an easy step-by-step Mountain Drawing Tutorial Video and a Mountain Coloring Page. Use two shades of crayons to make them look like they have a shadow.
This how to draw mountains tutorial is designed to help beginner artists take the next step that comes after learning how to draw mountain shapes. By adding a line down the middle, they have a chance to think about how sunlight hits them, which creates mountains with a light side and a dark side.
Adding a sprinkling of trees, in random sizes, is also a lesson in how the further away things are, the smaller they appear. Both the video and tutorial ask students to draw large, medium and small trees, so they can practice adding even more dimension to their mountain landscape drawing!
Join “The Daily Draw” below to get this instant download
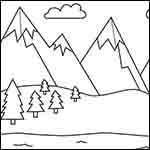
Mountains Coloring Page
Save me to your Pinterest Board!
Materials
- Drawing Paper. This is the good stuff you can buy in bulk for a good price.
- Pencils. I like how this brand always makes nice dark lines.
- Black Marker. A permanent marker will give you a dark black color.
- Crayons. The larger packs are nice for more color choices.
- Note: All of the above are Amazon affiliate links.
Step by Step Directions
Time needed: 45 minutes
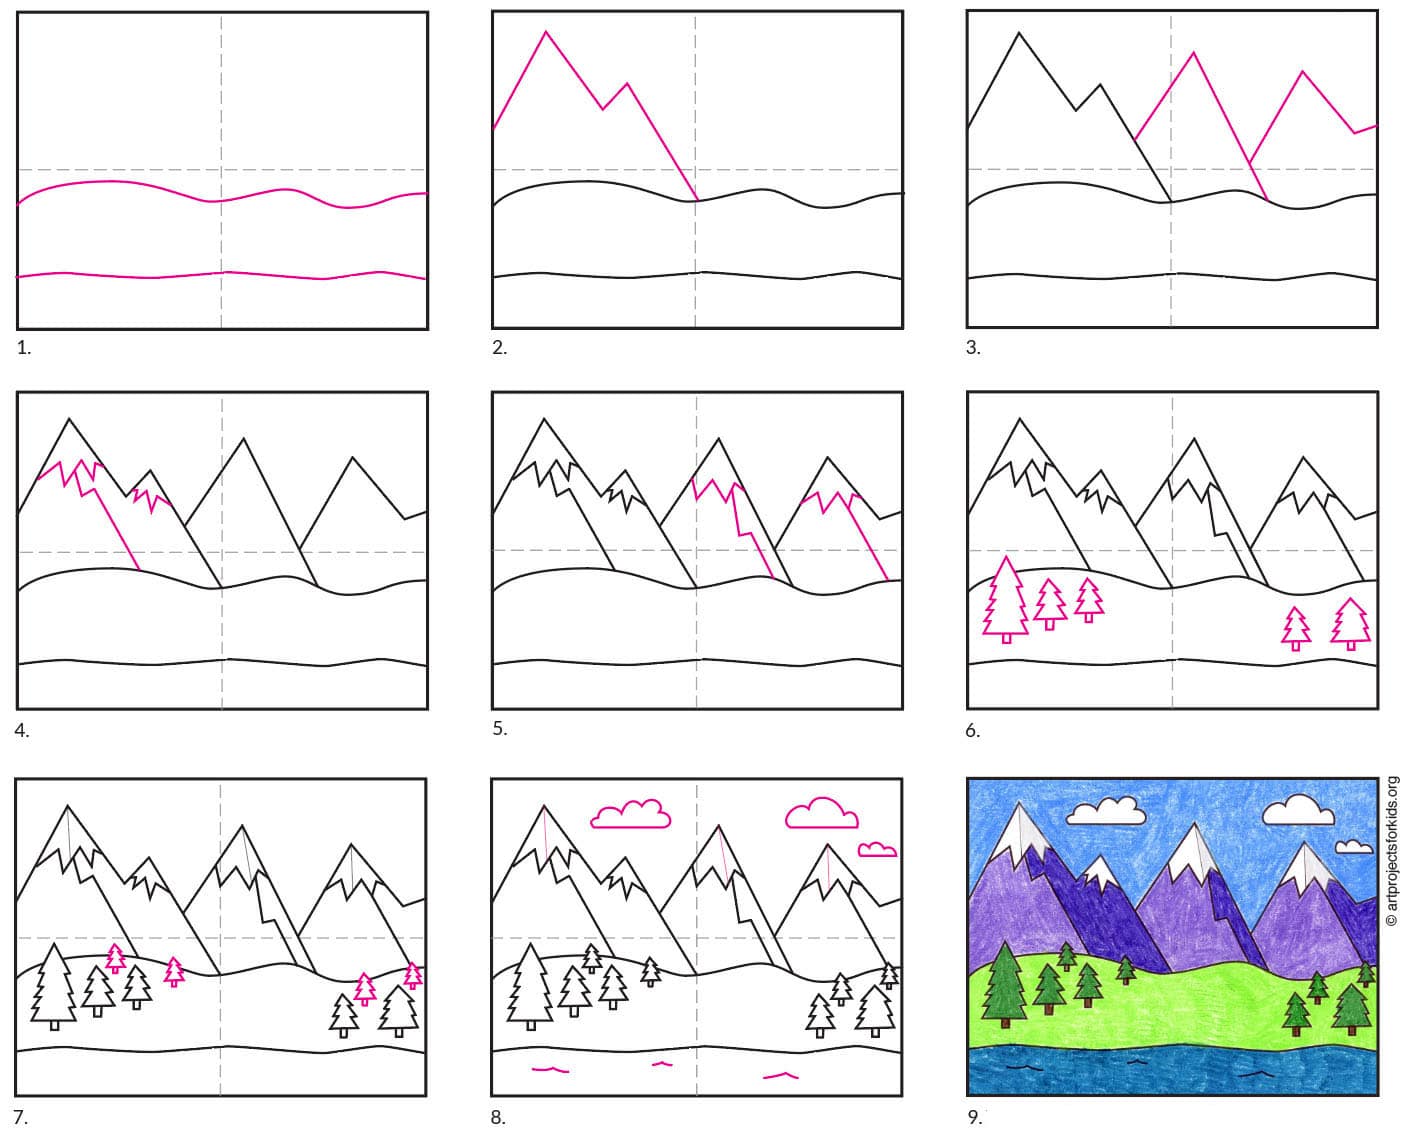
Step by step instructions
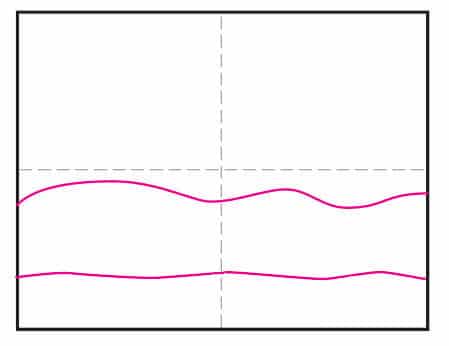
- Draw a water line and hill line.
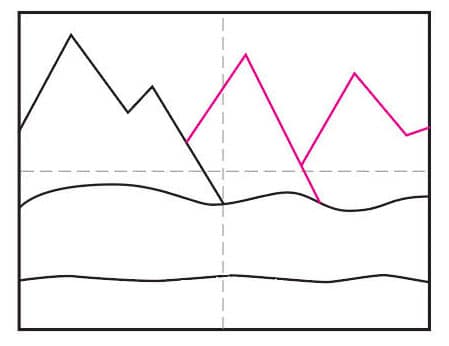
- Add a mountain on the left.

- Draw one in the middle and one on the right.
- Add snow and mountain edge.
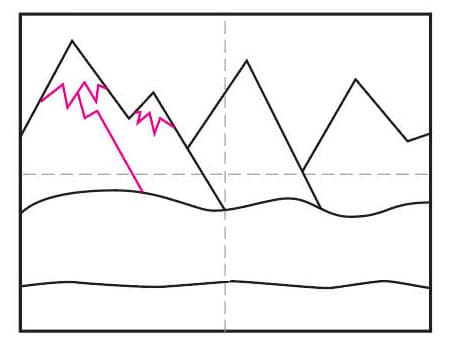
- Finish the snow and mountain edges.
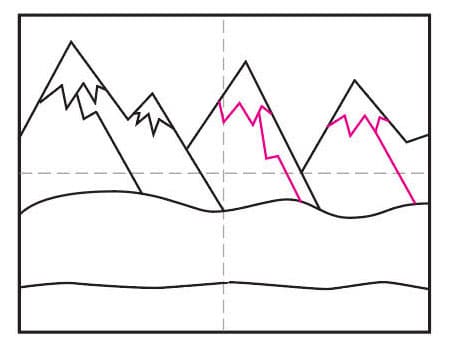
- Draw some larger trees near the hill bottom.
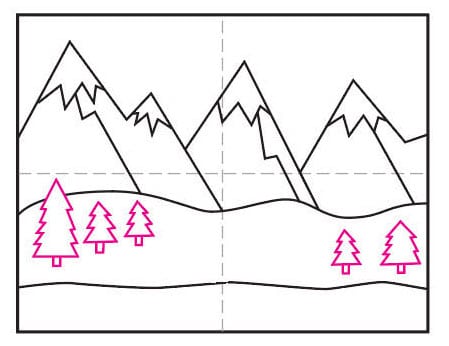
- Add smaller trees in the background.

- Finish with shadow lines, waves and clouds.

- Trace with a marker and color.
Already subscribed to “The Daily Draw”?
Great, then use the button below to get your free Mountain tutorial. And thanks for wanting to bring more step-by-step, no-prep art lessons to your classroom!

