How to Draw Self Portraits for Kids: Easy Directed Drawing Art Project
This easy art lesson teaches your kids how to draw a self portrait. Below you’ll find a tutorial with step-by-step instructions and a complete video lesson.

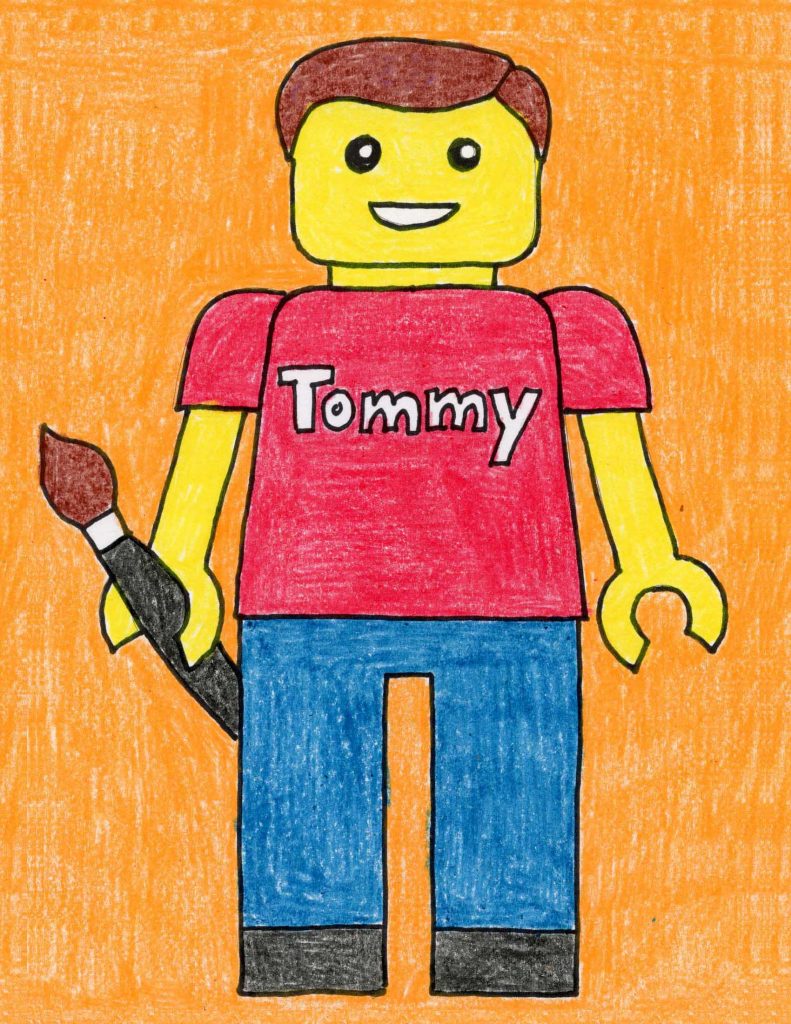
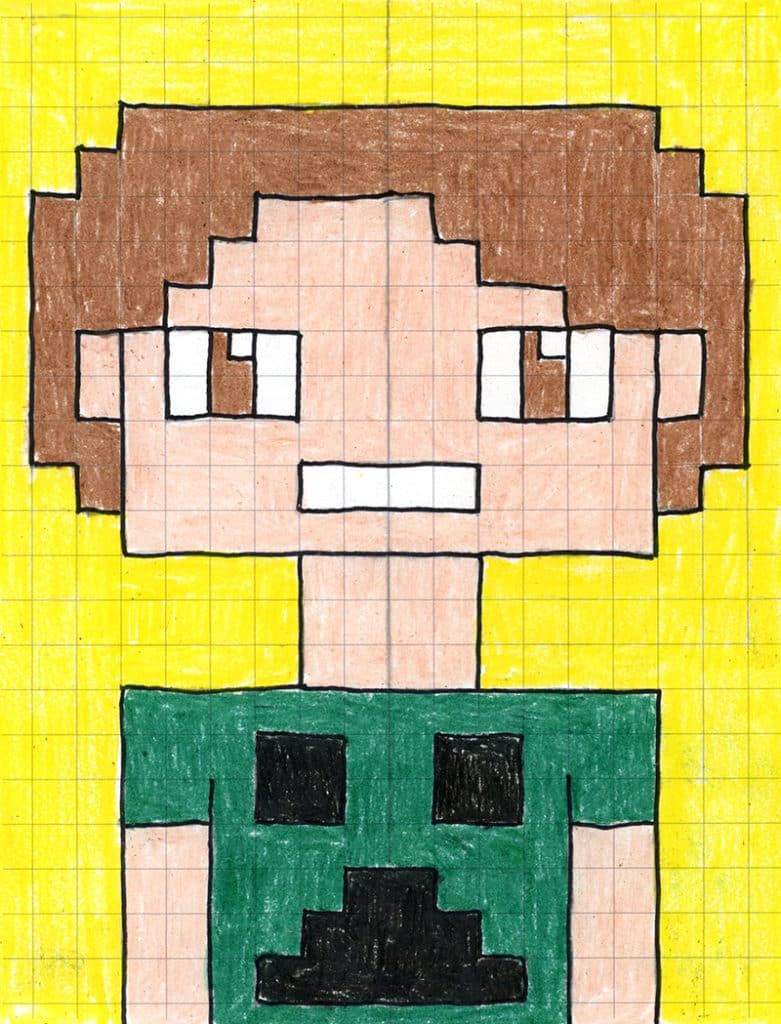
Draw More People

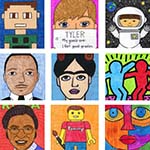

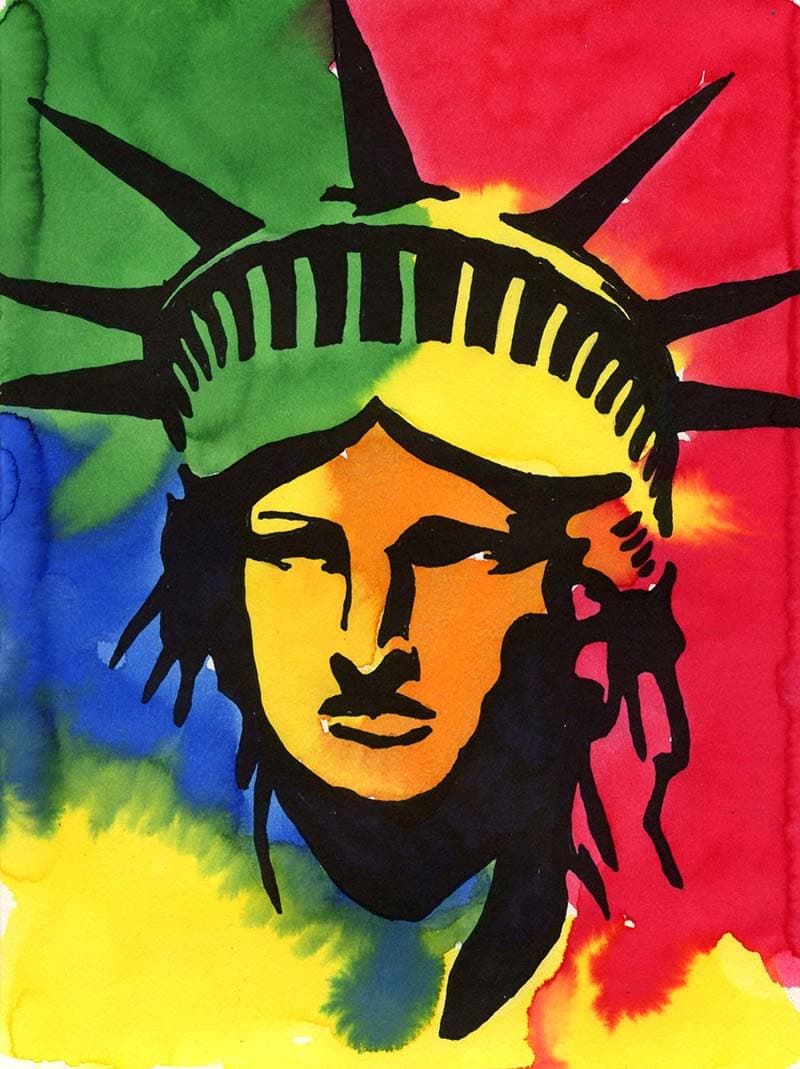
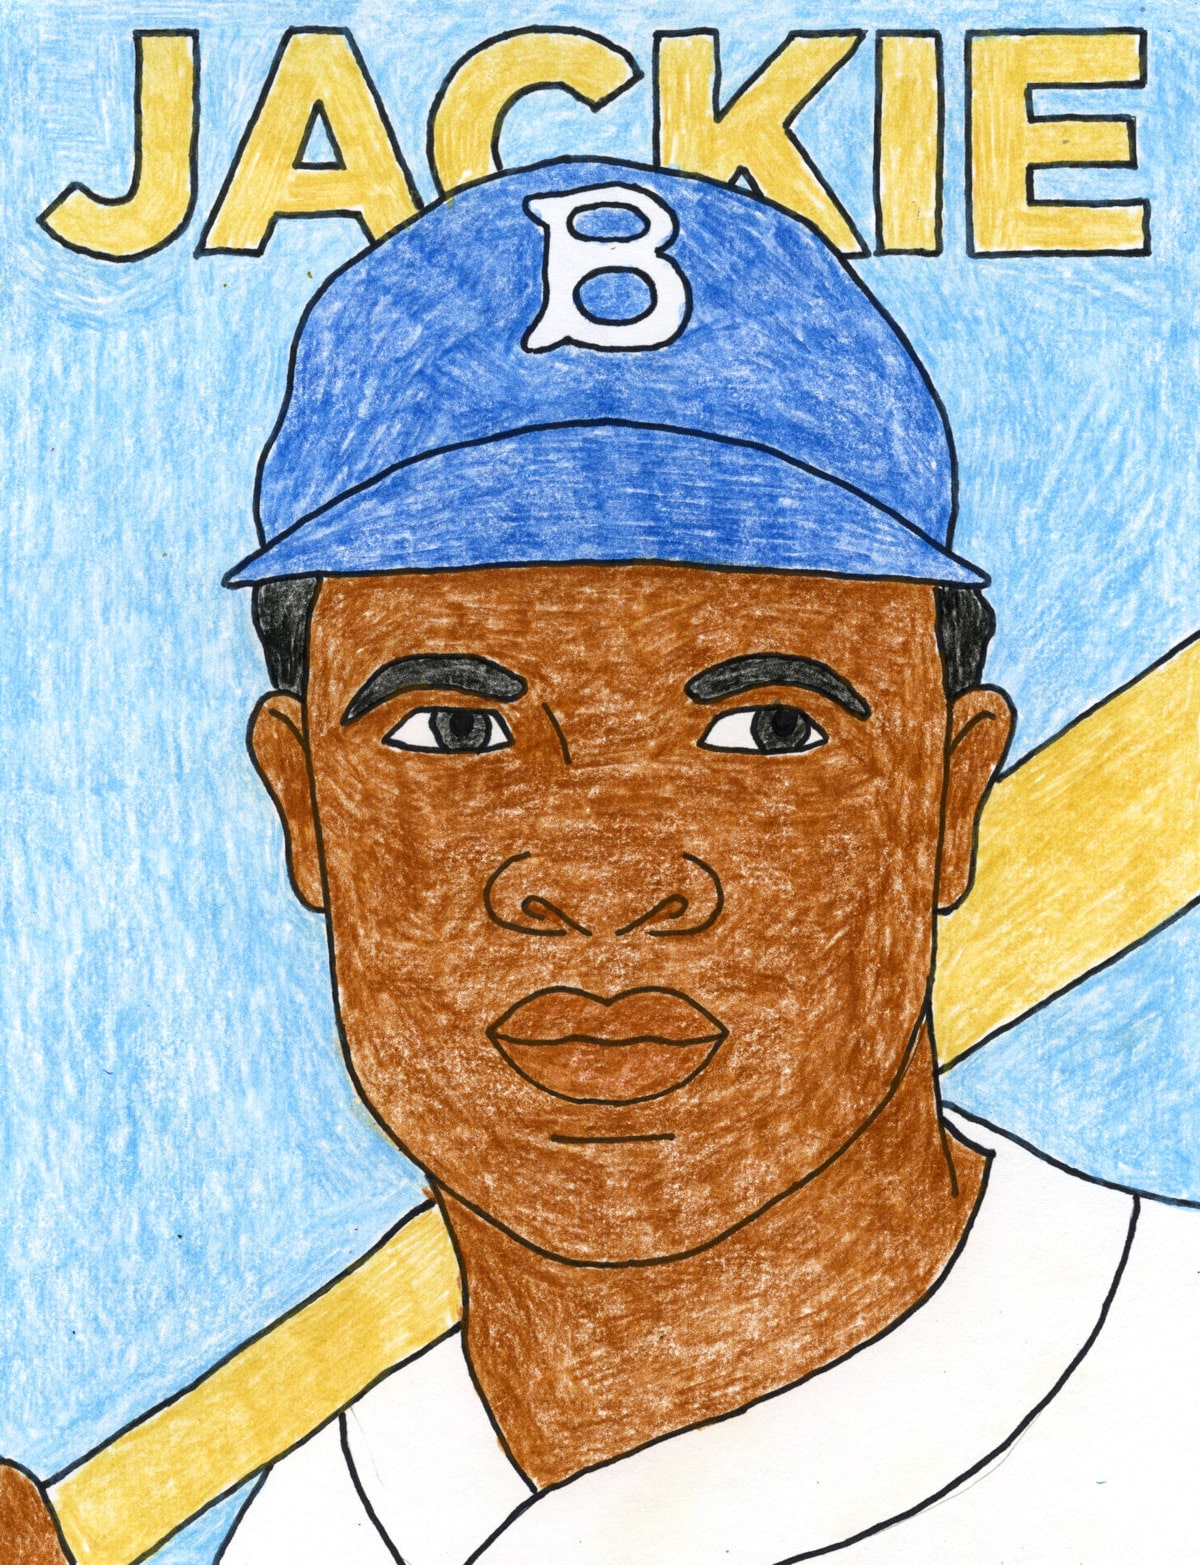
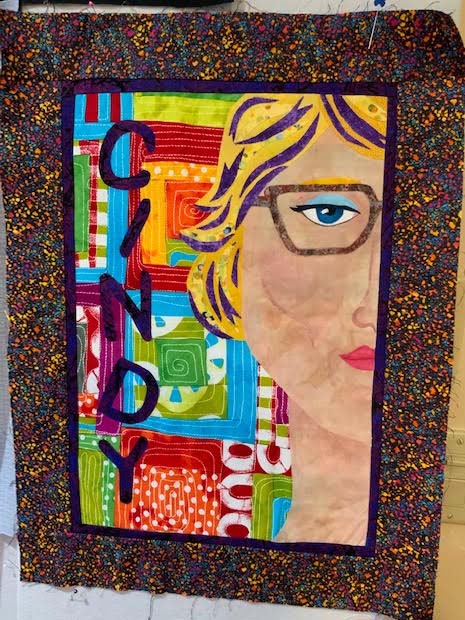
Art Gallery
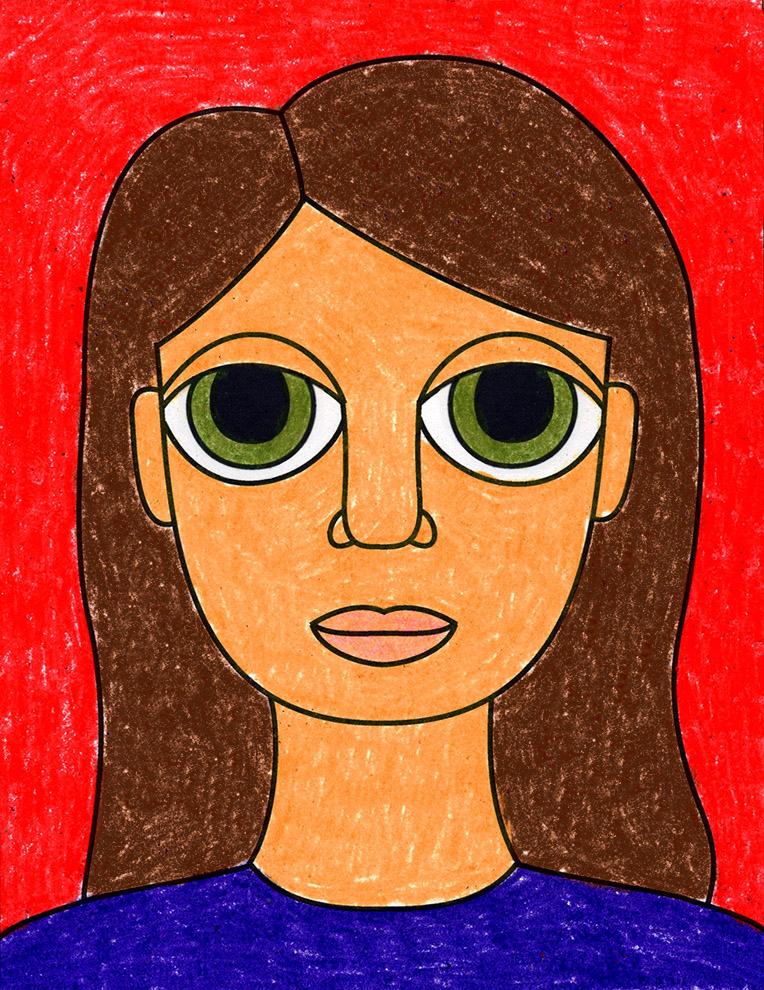
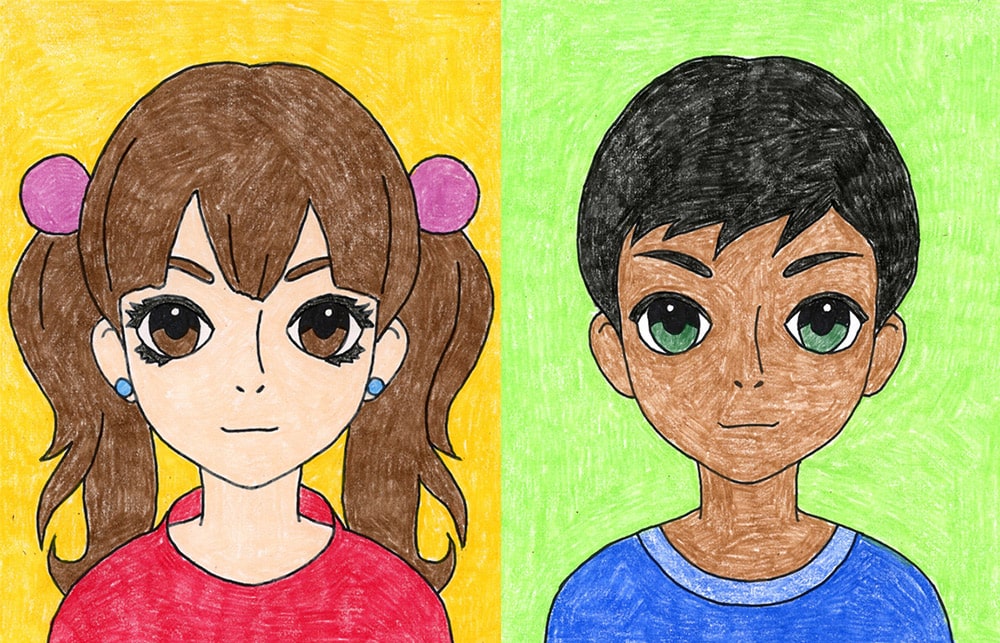
If you’d like to have your students practice drawing self portraits for kids, and you’re tired of seeing them draw really small, this project may be just what you are looking for. It instructs them to draw from the top to the bottom of their paper, and practice their facial proportions while creating their own self portrait.
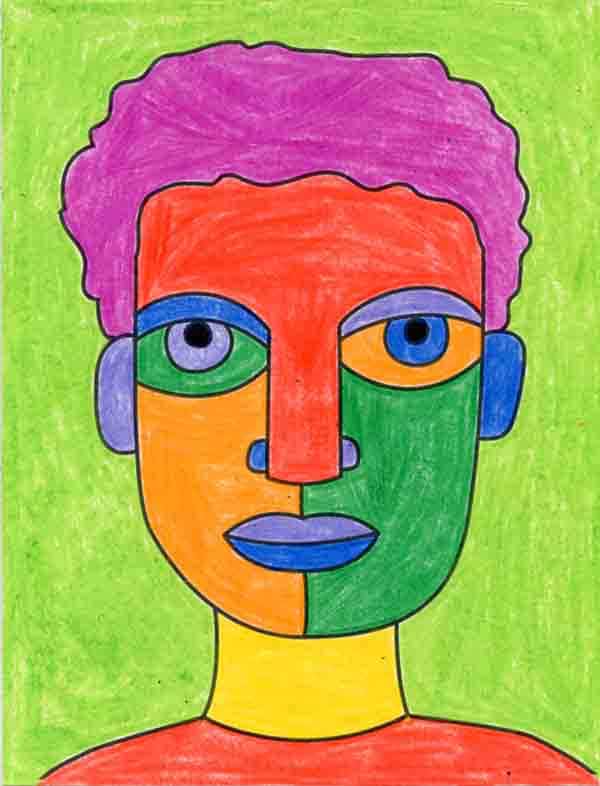
Self portraits are great projects for students of all ages as they give them a unique chance to express themselves. And the more they learn about the fundamentals of drawing faces, the more freedom they will have in drawing their own.
Using Drawing Guides
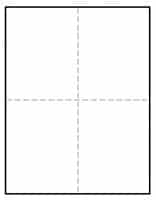
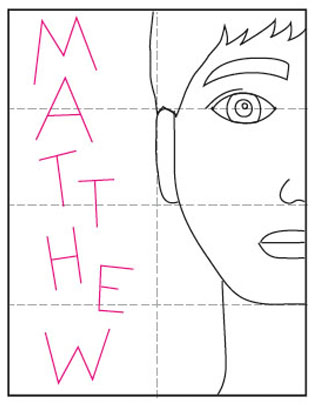
The best way to get students off to a good start to any drawing is to give them a few guides to follow. Does that mean printing or drawing them first? Nope. The easiest way to get some quick guides is to just fold the paper so the creases can tell them where to start and stop their lines. All of the tutorials on this website have at least one horizontal and vertical dashed line to refer to, and they make quick and easy reference points that actually disappear as the art is colored in.
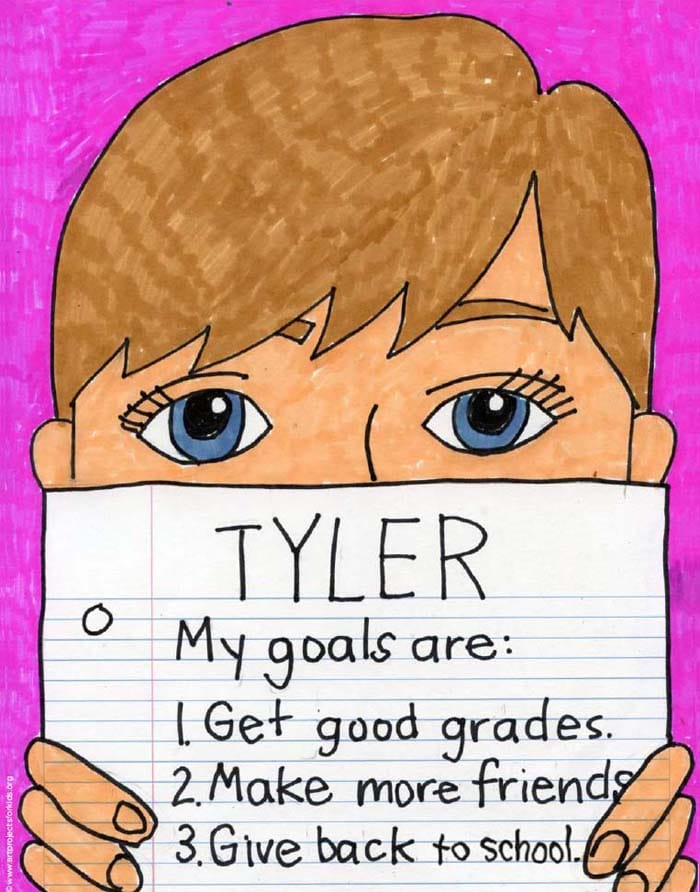
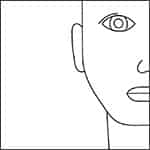
Why Make a Half Portrait with your Students?
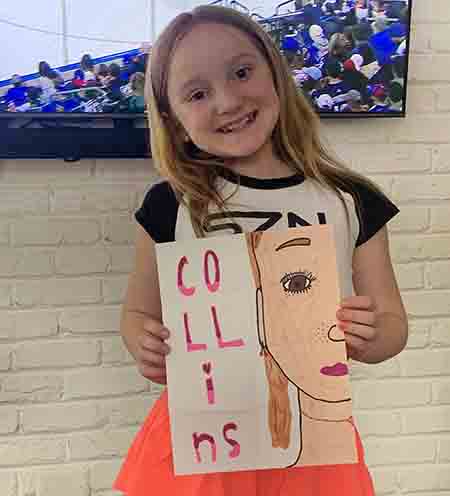
Many students tend to obsess over making perfectly matching eyes, ears, etc. when they draw anyone’s face, especially their own. By drawing just half the face, they can concentrate on only one eye, and half the nose, and so one. It also takes a whole lot less time to draw half of a face, so they are free to make their name extra fancy, if desired.
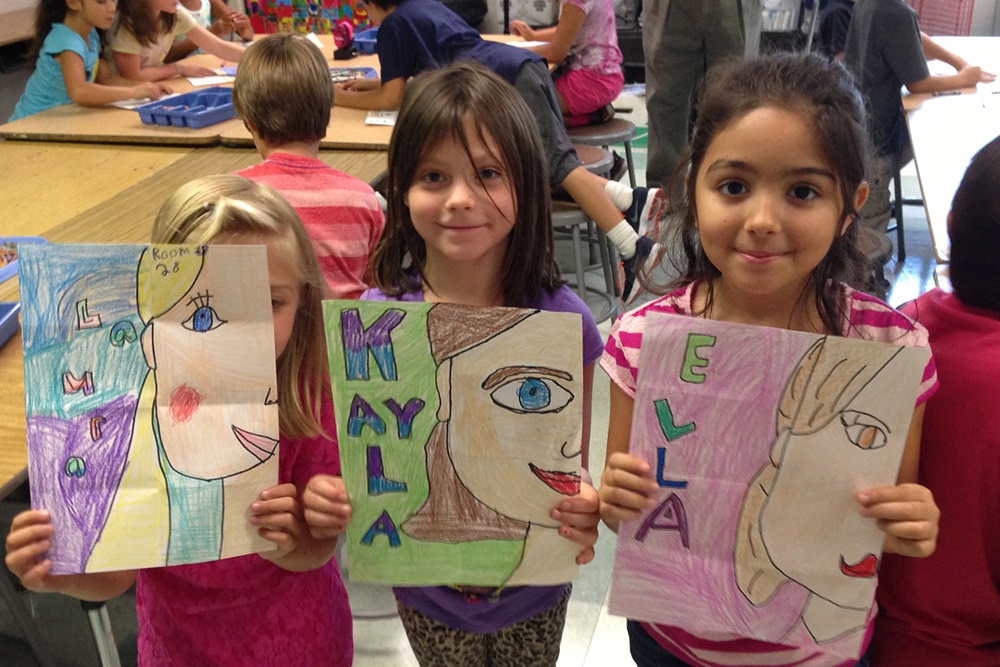
This Half Portrait makes for a great back-to-school project as it will help everyone learn each other’s names, and doesn’t require fancy supplies or take a lot of time. Just imagine how great your classroom will look with lots of colorful faces up on display. Lots of teachers have shared their happy results with this project every year. It’s a keeper, as they say.
You can get a print friendly PDF tutorial simply by joining my email list below. It’s a great way to have my newest tutorials come to you, instead of you searching them out.
Join The Daily Draw below to get this tutorial!
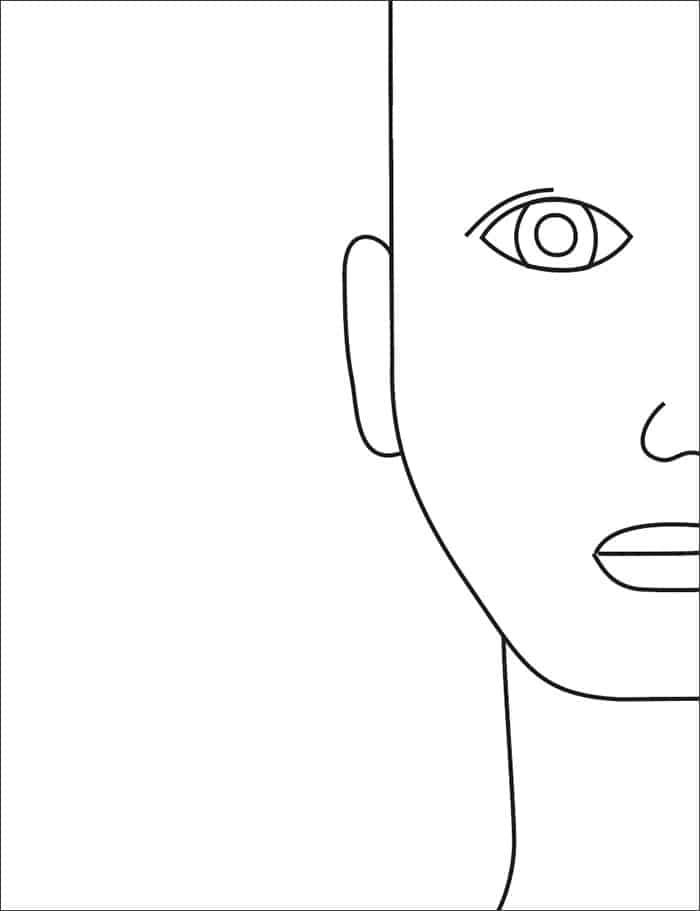
Self Portrait Coloring Page
Materials for the Self Portrait Project


Directions for a Self Portrait Project
Time needed: 1 hour
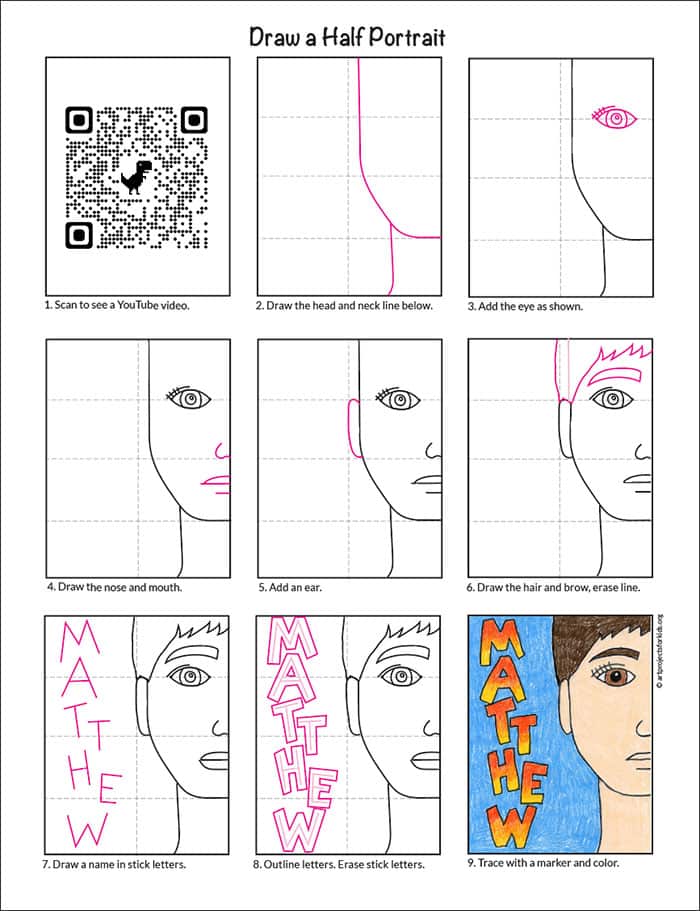
How to Draw a Portrait for Kids
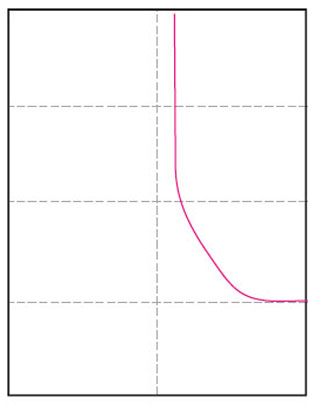
- Fold to make guides. Start the head.

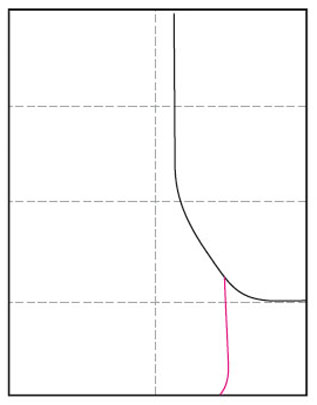
- Draw the neck.
- Add ear, nose and mouth.
- Plan eye with two dots.
- Draw the eye.
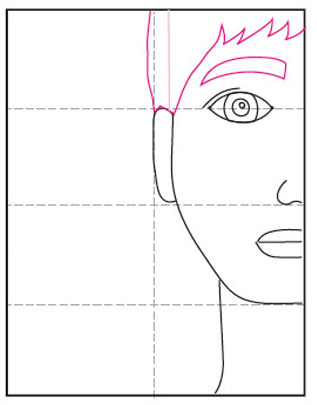
- Add eyebrow and hair.
- Draw the name in stick letters.
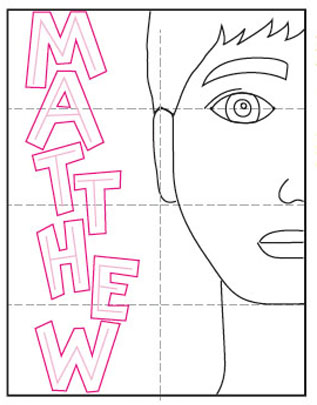
- Outline letters.
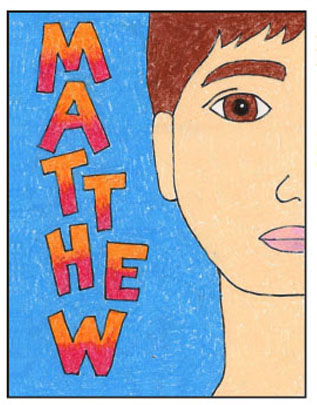
- Trace and color.


Already subscribed to “The Daily Draw”?
Great, then use the button below to get your free Self Portrait tutorial.
And thanks for wanting to bring more step-by-step, no-prep art lessons to your classroom!