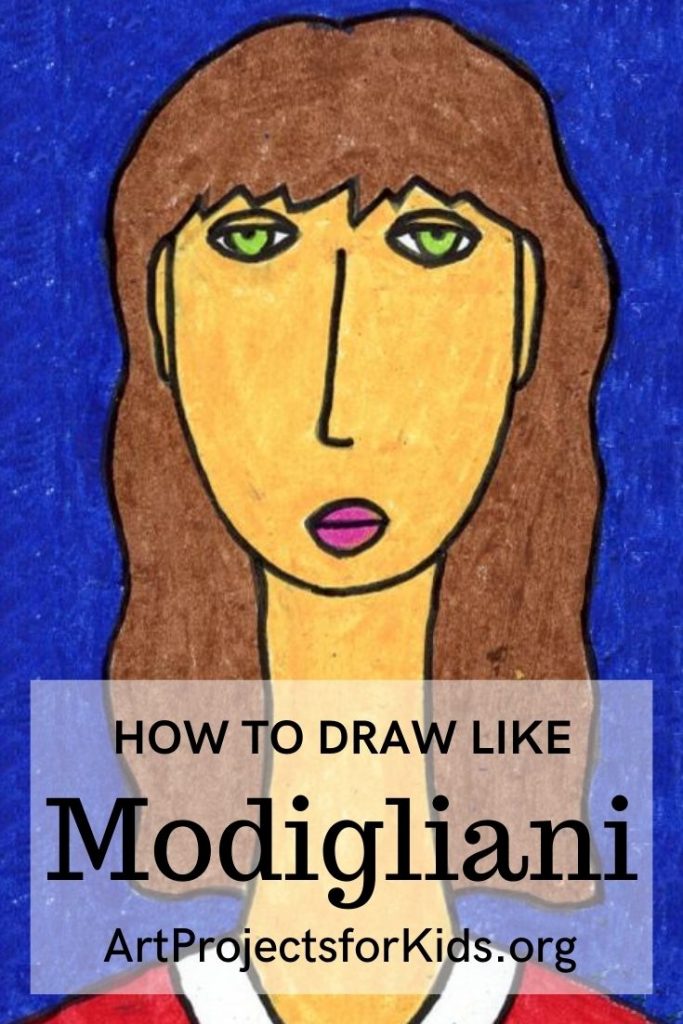
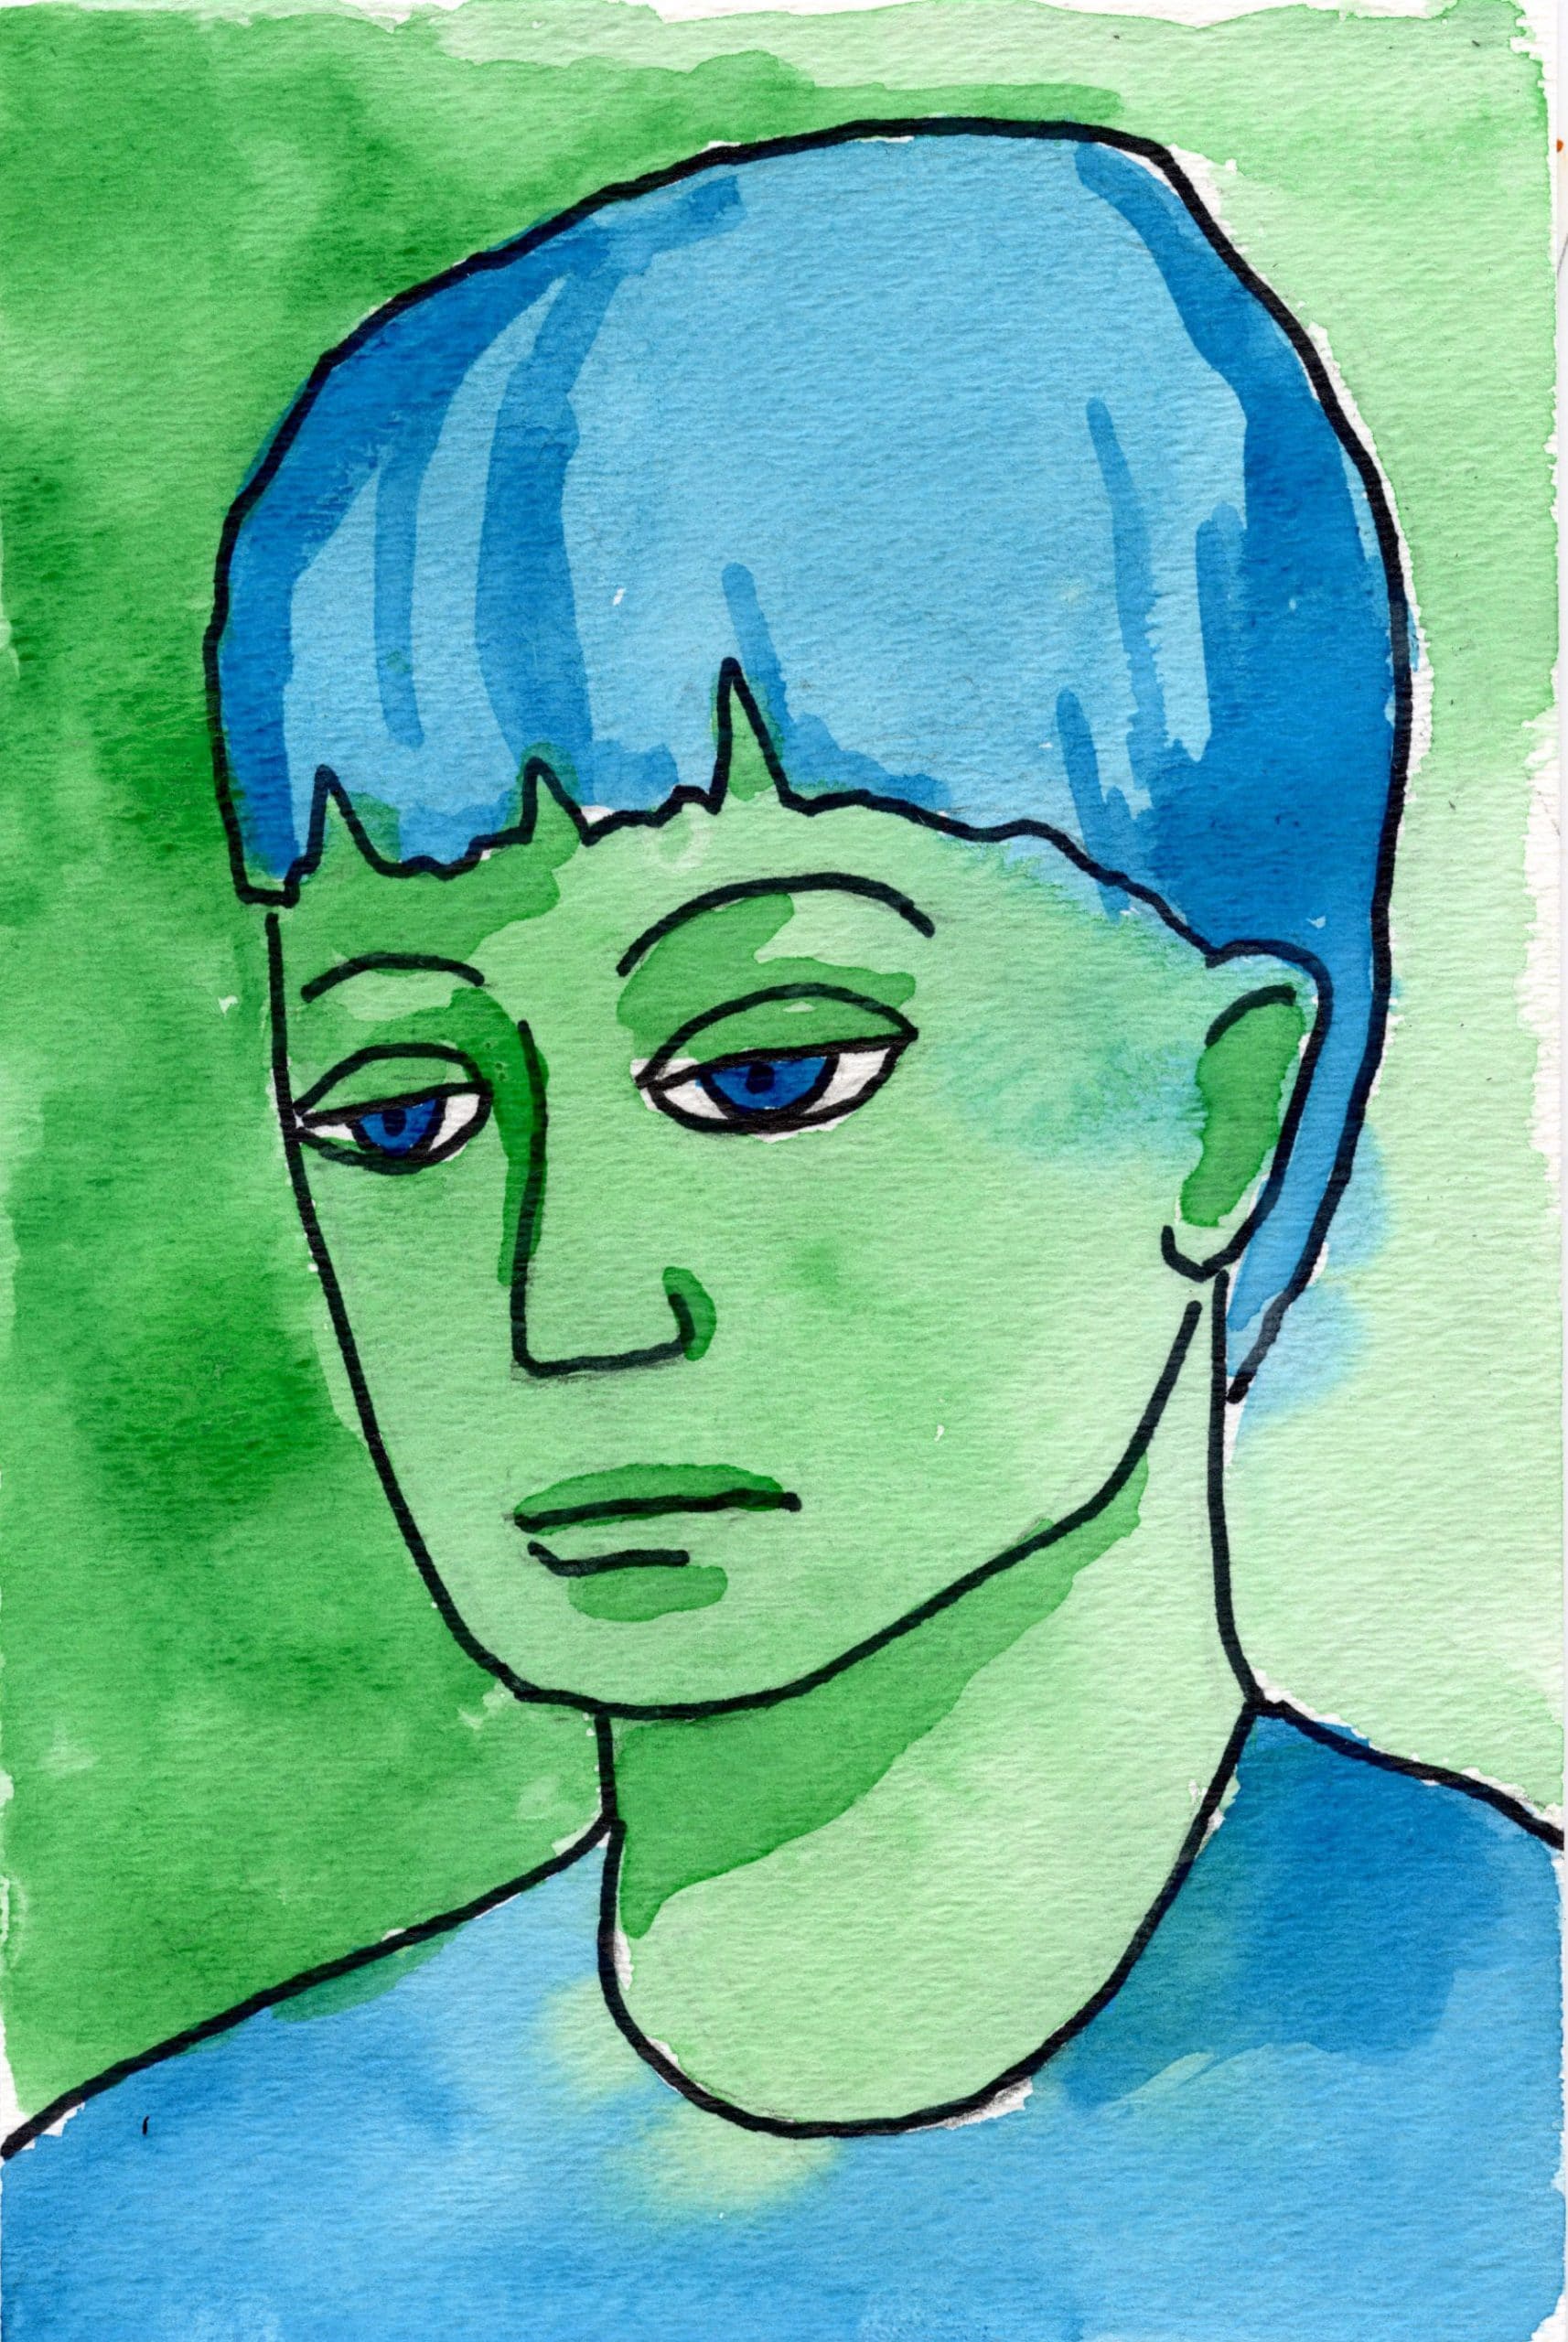
Draw Like Modigliani Self Portrait for Kids: Art Lesson & Coloring Page
Here you’ll find an easy step-by-step tutorial for an easy Modigliani art project. He was famous for painting elegant and elongated portraits.
Modigliani Self Portrait Art Project
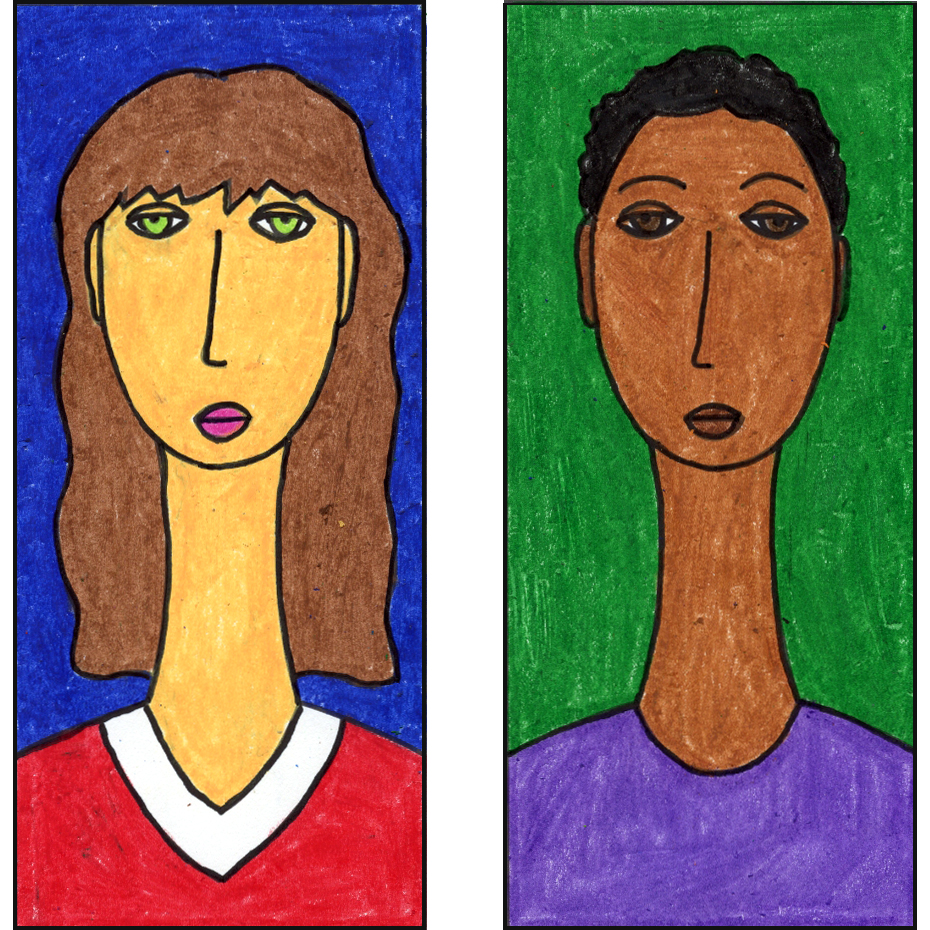
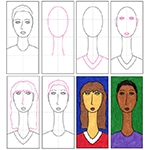
This Modigliani art project asks students to divide a narrow sheet of paper into four equal sections, and then follow a formula for drawing a head, neck and shoulders. By using the creases as guides, they are forced to create a VERY stretched out look for themselves, which can be applied to their features as well.
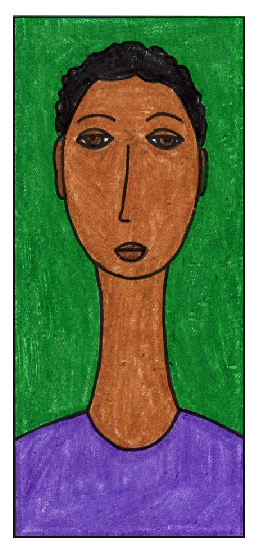
Amedeo Modigliani was an Italian Jewish painter who lived in France in the early 1900s. He is perhaps best known for his portraits that had a surreal elongation of faces and necks. The oddly graceful and haunting paintings were not very well received in their day, but in time have actually become highly acclaimed (and valuable!) masterpieces.
It’s a fun and easy way to get a very creative look, and in my experience has always seemed to really free students up. The tendency to want to draw “perfect” versions of themselves seems to disappear, which allows for a whole bunch of creativity and personality to creep in.
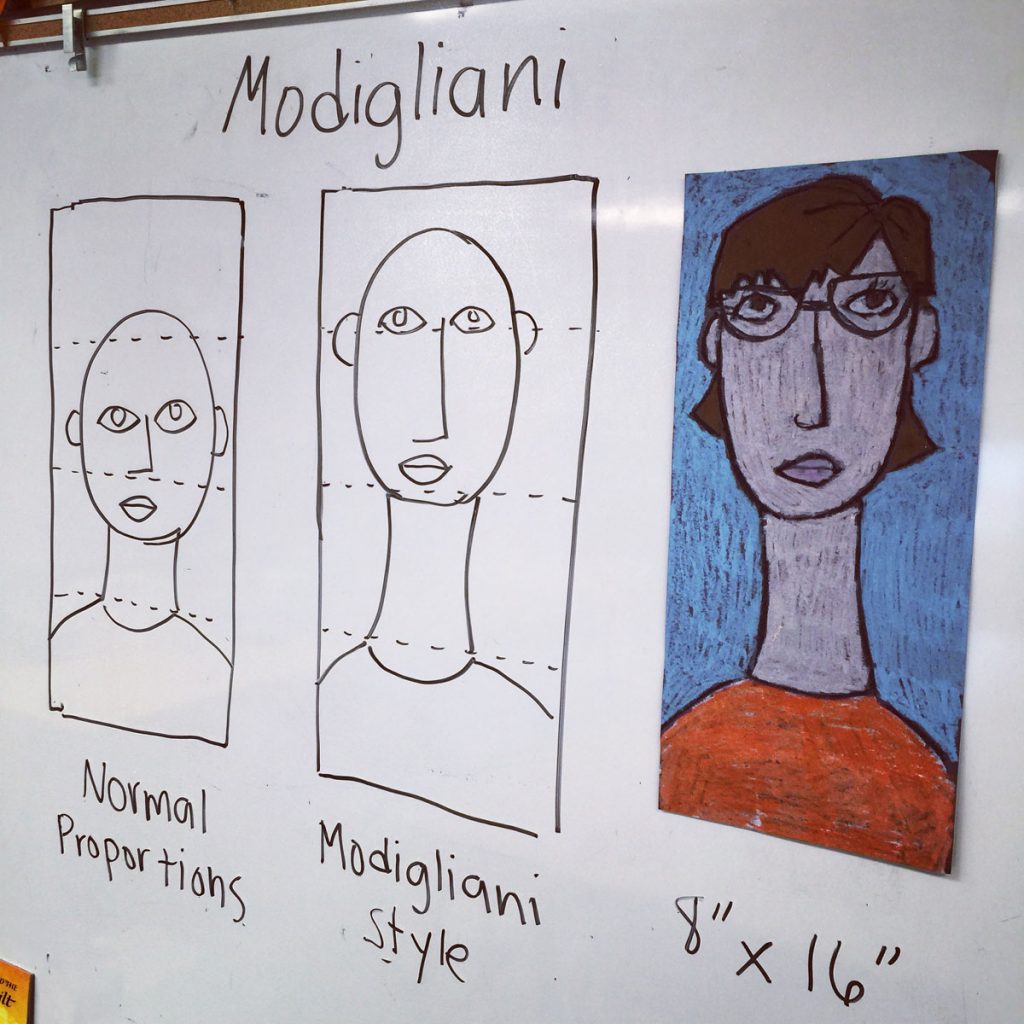
TIP: Use the beginning of class to remind students how facial proportion rules usually work, before they start this project which totally breaks them.
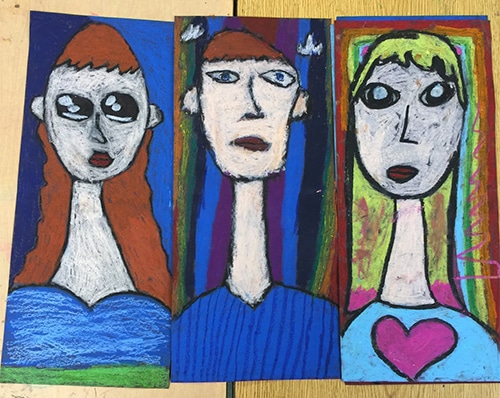
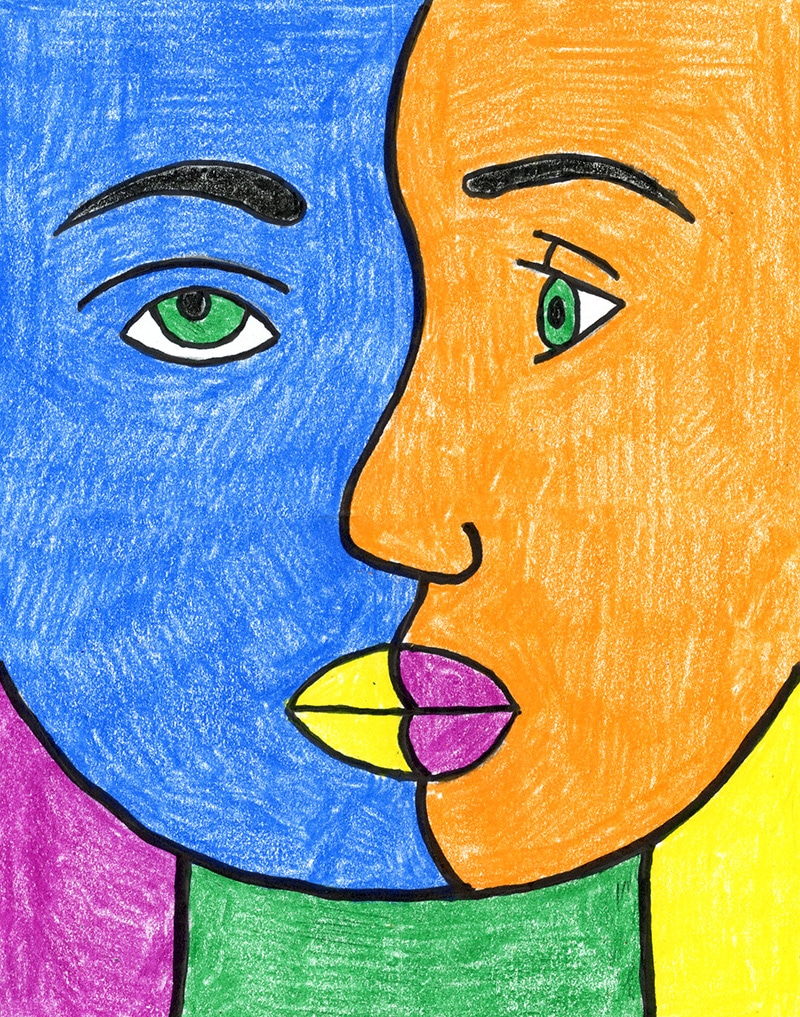
Modigliani Student Gallery

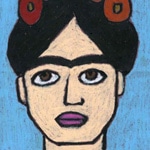
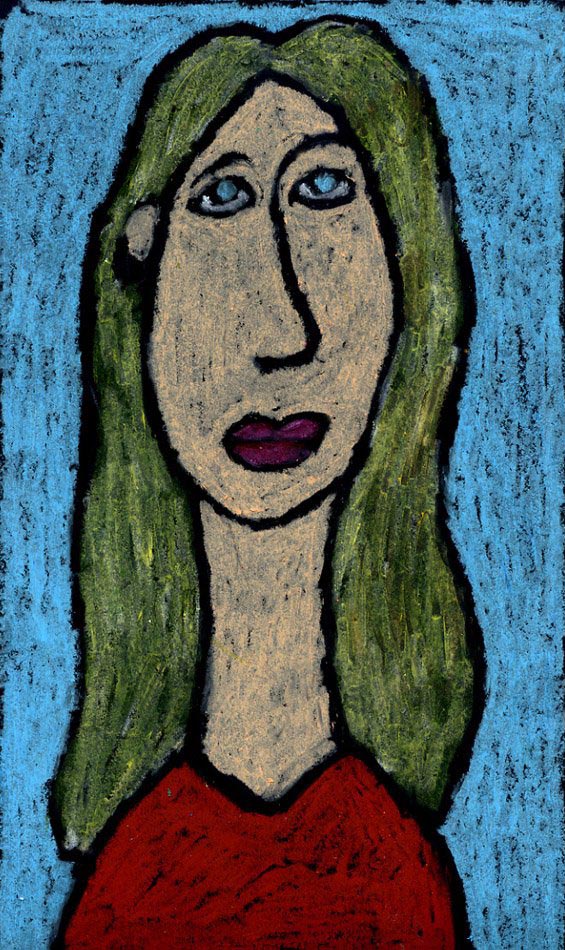
Portrait with Oil Pastels 
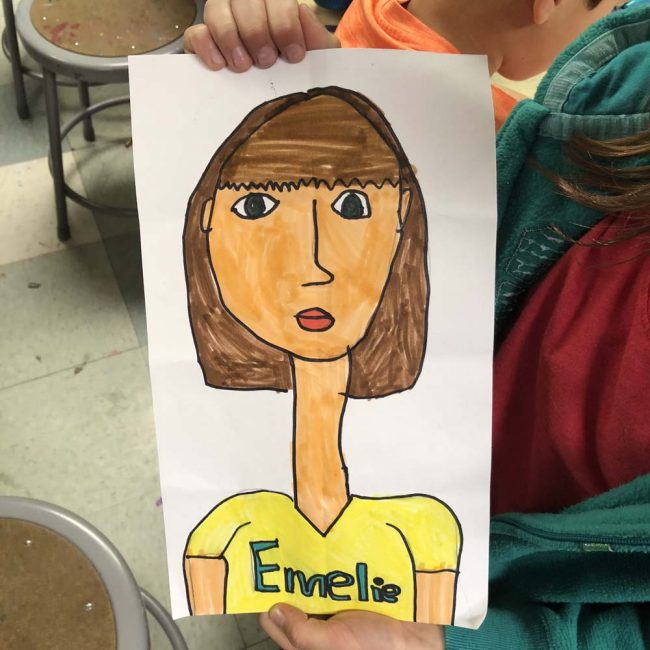
Marker Self Portrait
Join “The Daily Draw” below to get this PDF tutorial!
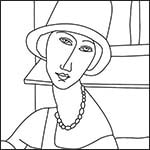
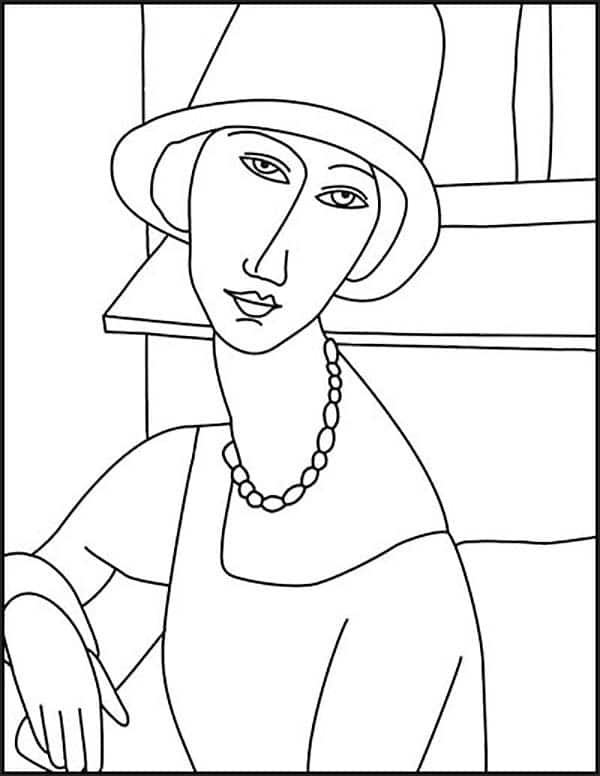
Modigliani Coloring Page
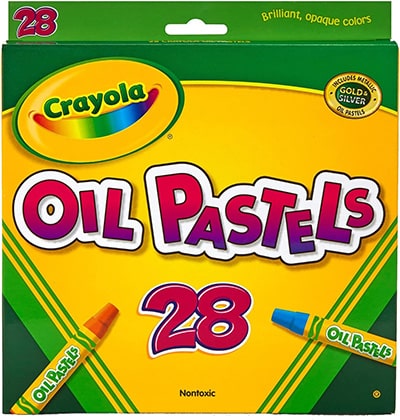
Materials for Oil Pastel Projects


Directions for a Modigliani Self Portrait
Time needed: 45 minutes
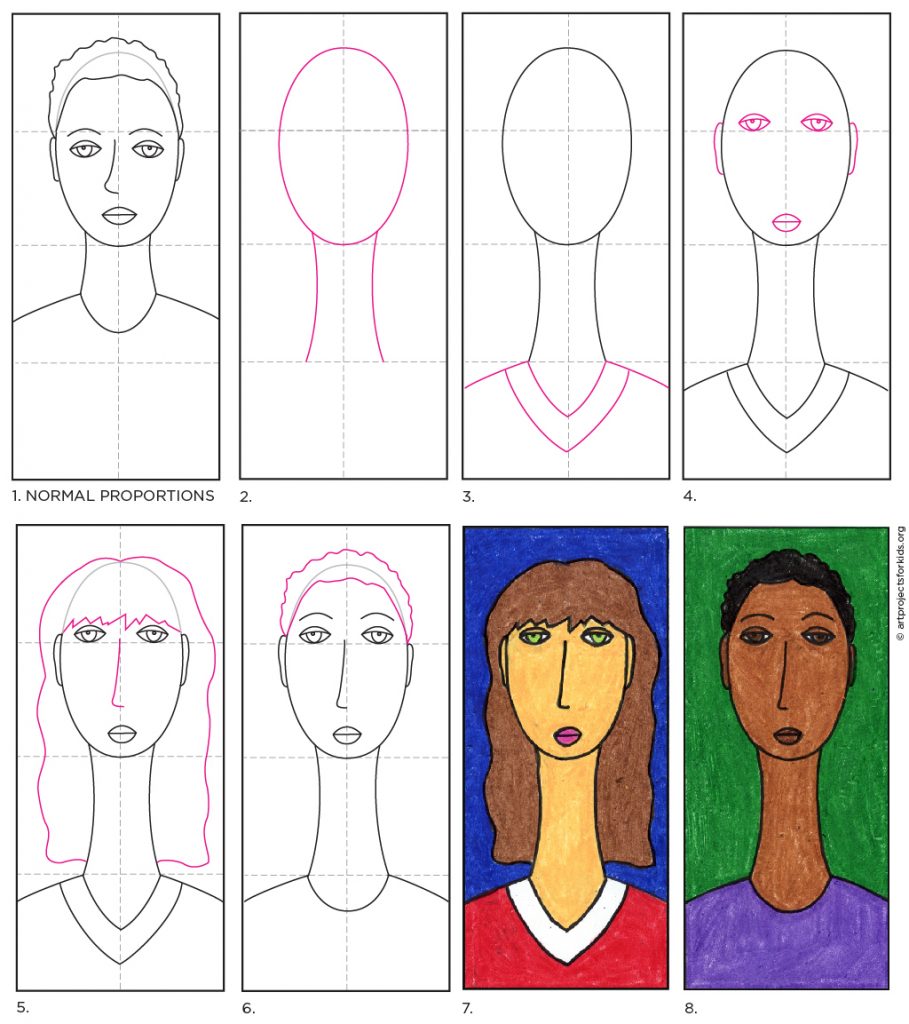
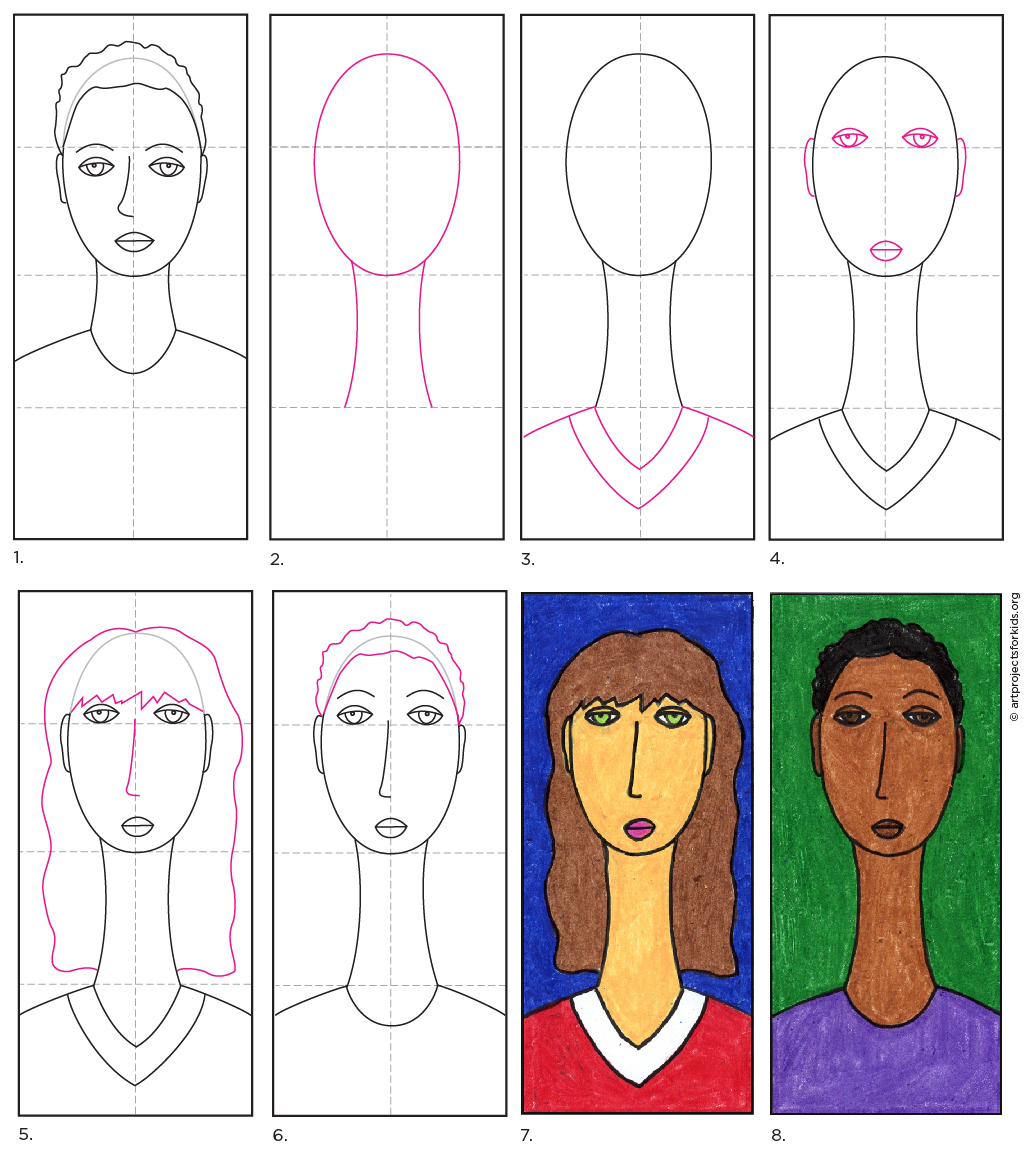
How to Draw a Modigliani Self Portrait
- Example of standard face proportions for comparison.

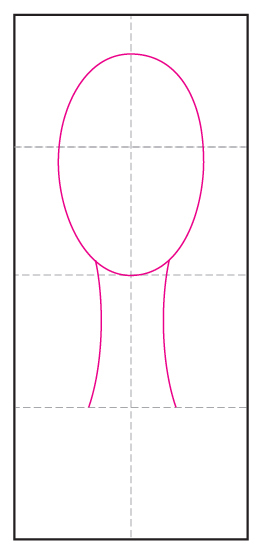
- Cut 24″ x 18″ paper to 8″ x 18″ panels. Fold paper to make grid lines. Draw an oval and add a long neck.
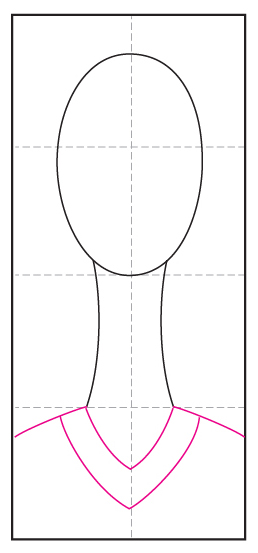
- Draw a shirt line and shoulders.
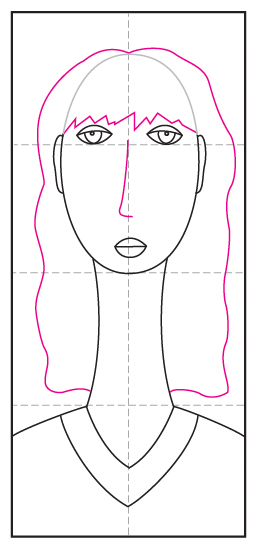
- Add eyes a little higher than normal, and mouth a little lower. Draw two ears.
- Draw a nose that is stretched to fill the space. Add hair around the oval head. Erase top oval line.
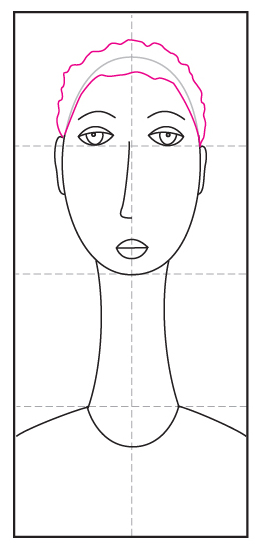
- Hair options: A solution for drawing short and curly hair. Modify to match your own hair style.
- Trace with a marker and color. Press hard until you no longer see any white on the paper.
- A dark color palette will look the most like Modigliani’s paintings.


Already subscribed to “The Daily Draw”?
Great, then use the button below to get your free tutorial.
And thanks for wanting to bring more step-by-step, no-prep art lessons to your classroom!
Save me to your Pinterest Board

Dear Kathy,
I teach middle school art and we are doing a unit of self discover as we learn more about each other and our selves entering a new school year. Anyways why not start with self portraits. I downloaded three of your PDF books and as I was going over the Modigiliani handout it was much different than the one you had in the video. I would like the one with the QR code and the actual work of Modigiliani on the front as an example. Is there a way I could get that?
Amber Lichflied
7th & 8th grade ART Teacher
Ranch View Middle School
Littleton Co.
Hi Amber, I’m happy to try to help.
I’m not sure what you are referring to as I don’t have a video and I don’t use QR codes. Can you send me a link to what you saw? Or can you email me at kathybarbro@gmail.com? It’s hard to keep up with comments sometimes as I don’t get a notification when they are left here. Thanks!
tried to order but would not process. too complicated
Hi Sally,
I’m happy to help you out if something is confusing. Please email me at kathy@artprojectsforkids.org as I can watch my inbox more closely than comments here.