Leonardo Da Vinci Art Lesson: Having Fun with Lines
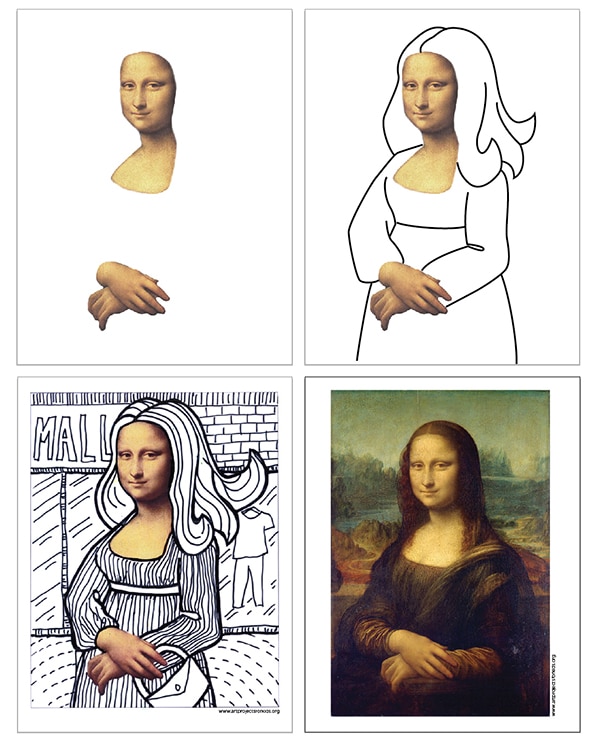
Here’s a fun Leonardo da Vinci art lesson, starting with a very famous face and then filling in your own background with lines, just for contrast.
The Origin of this da Vinci Project
So what’s the inspiration for this Leonardo da Vinci art lesson?
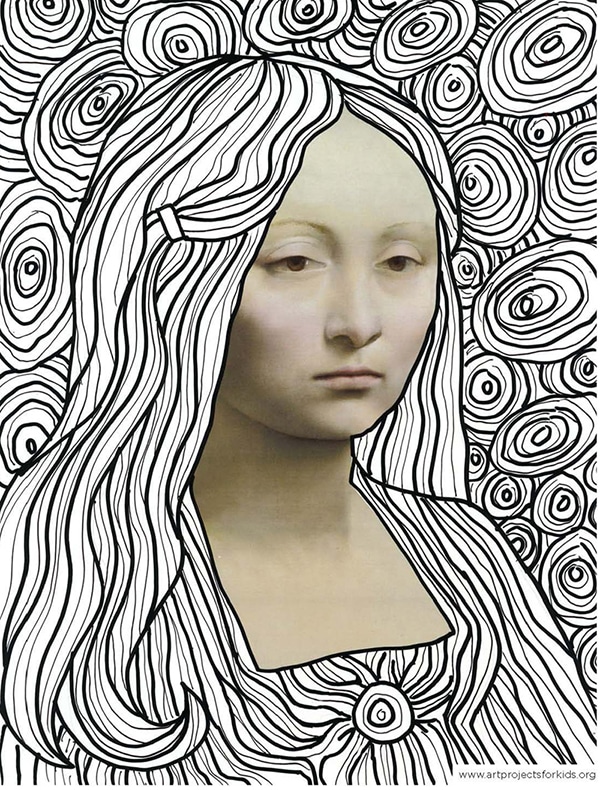
It actually started years ago with some very cool images I kept seeing on Pinterest. Artists were taking beautiful magazine photos of faces, cutting them out, and then adding their own completely new backgrounds around them. The interesting part was that the backgrounds were made with nothing but lines — lots and lots of lines.
The contrast between the smooth photo and the hand-drawn line work made the finished art really stand out. It also opened the door for all kinds of original thinking, because every artist could take the same basic idea and make it look completely different.
Of course, that got me wondering how I could turn the idea into something that would actually work in a classroom.
Having students find their own magazine image would be ideal in theory, but not very practical in real life. You could never count on finding enough good images for a small class, let alone 25 or 30 students. And then there’s the time it would take to look through all those magazines — not to mention how many students might get distracted along the way.
Not that I can blame them. I get distracted when I’m flipping through magazines too.
Bringing it to the Classroom
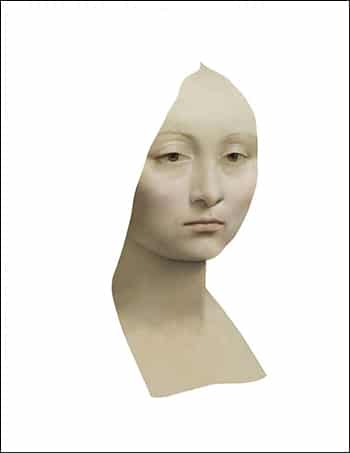
The solution came from my graphic design background. I found one really strong image, removed everything except the face, and printed a color copy for each student to use as a starting point.
Using a classic fine art image made the project even better, especially one with such beautiful skin tones. That simple change helped turn the idea into a classroom-friendly lesson.
Instead of spending class time searching, cutting, and gluing, every student could begin right away with their own copy. It also helped the two kinds of media blend together much more smoothly. The printed face and the hand-drawn line art were on the same surface, so the finished work felt like one complete piece of art.
Best of all, there were no wrinkled magazine cutouts, messy glue spots, or uneven edges to distract from the drawing. Students could focus on creating their line designs, and viewers could focus on the art.
Join “The Daily Draw” above to grab this art lesson
Materials for a Da Vinci Art Lesson
Note: This post contains affiliate links. If you click and take action, I will be compensated a small amount at no expense to you.
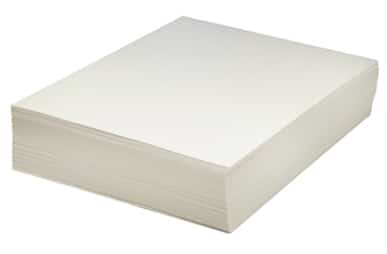
- Drawing Paper. Don’t substitute it with copy paper or construction paper. The surface will get fuzzy, erasing might cause holes, and the colors will generally not look as bright.
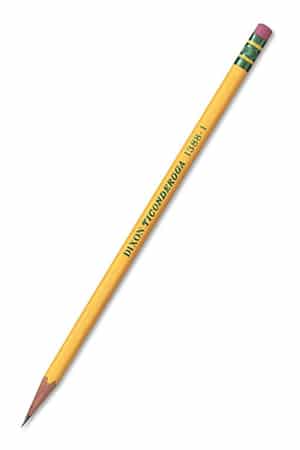
- Pencil. The Ticonderoga brand are the most reliable, make nice dark lines when you need them, and are the easiest to erase.
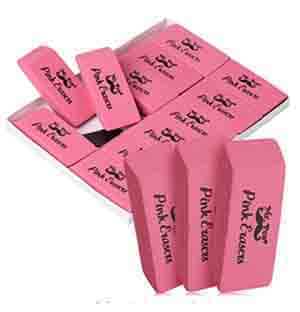
- Eraser. Large ones you can hold in your hand do a much better job than just the pencil tips.
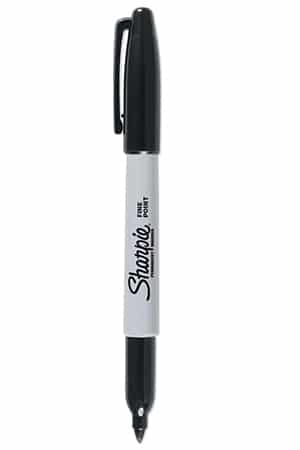
- Black Sharpie Marker, Fine tip. These fine point permanent markers make nice black lines, have a good tip for coloring, and never bleed when they get wet. Use them in areas with good ventilation and add extra paper underneath for table protection.
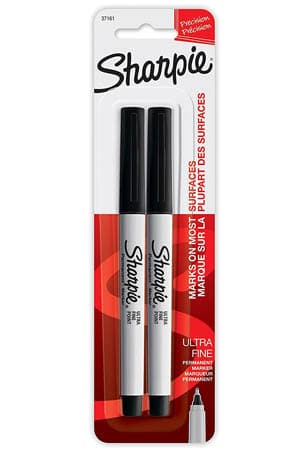
- Black Sharpie Marker, Ultra fine tip. Great for making thin lines that show up on all types of media. Use them in areas with good ventilation and add extra paper underneath for table protection.
Directions for a Da Vinci Project
Time needed: 45 minutes
Easy Da Vinci Art Lesson
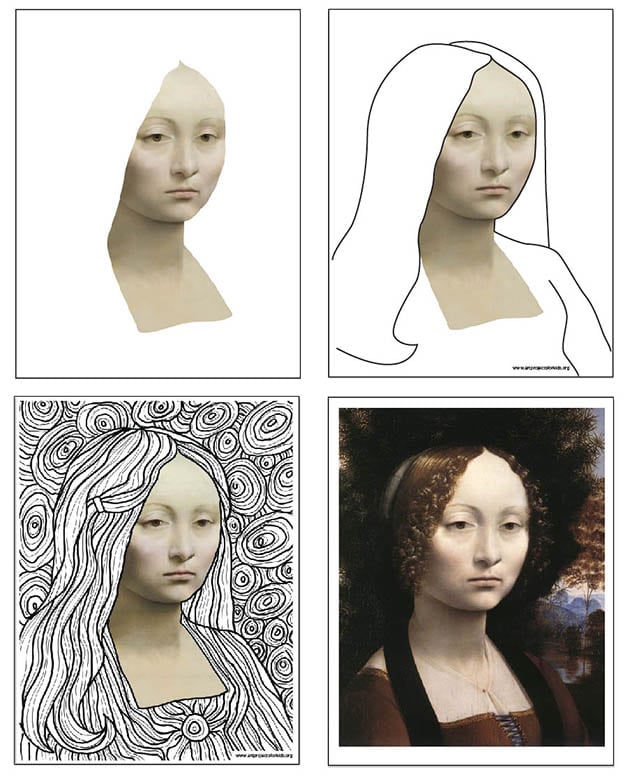
- View the Da Vinci painting for reference.

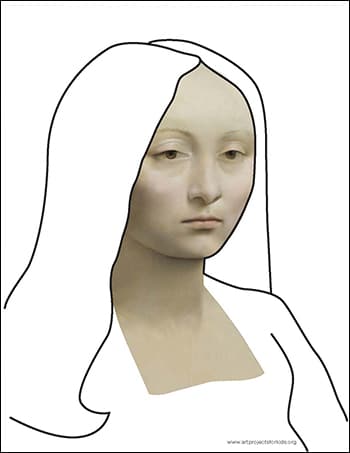
- Print the template on drawing paper.

- Sketch and trace the basic outlines. Trace with a thick marker.
- Add lots and lots of patterns with a thin black marker.