Easy Mona Lisa Art Lesson: Having Fun with Patterns
Here’s a fun Mona Lisa art lesson, starting with her very famous face and then filling in your own background with lines, just for contrast.


Mona Lisa Line Art Drawing
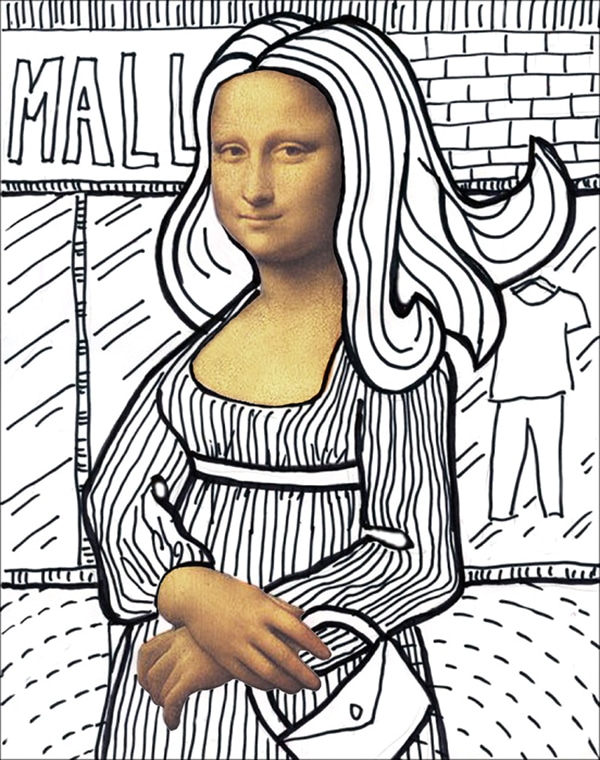
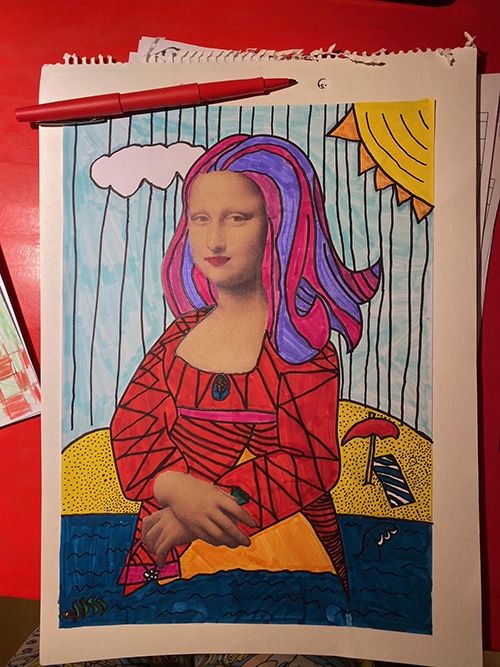
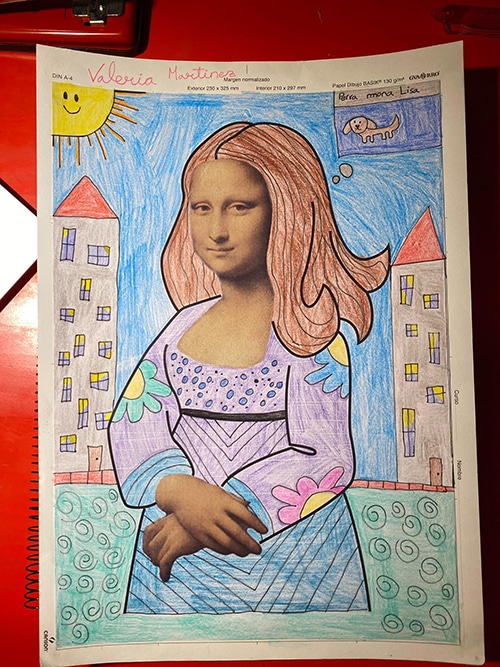
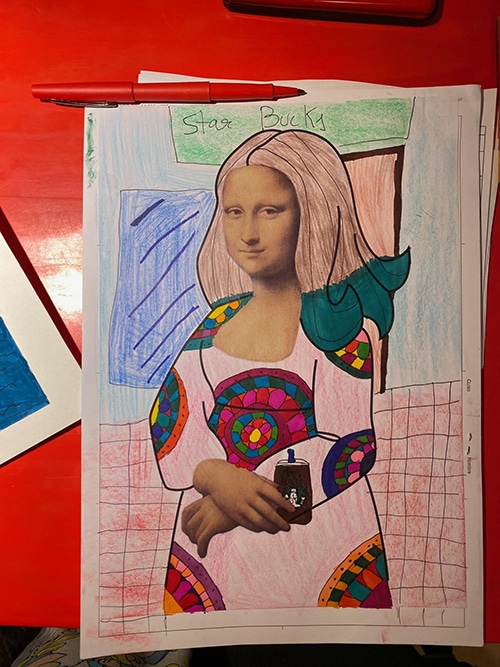
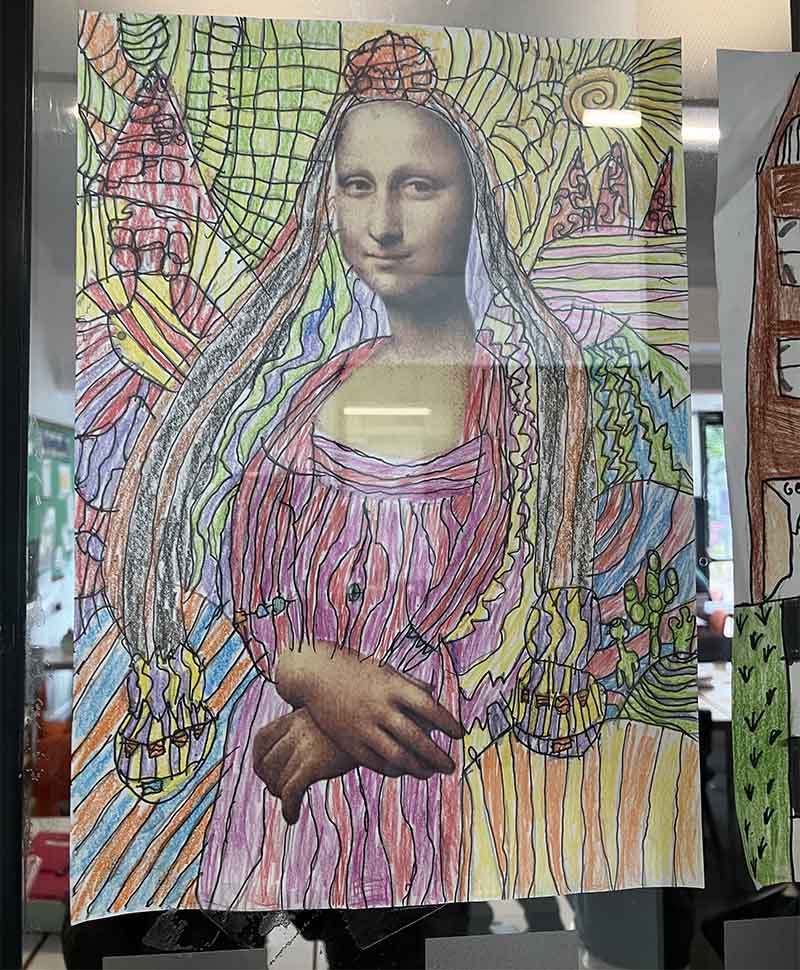
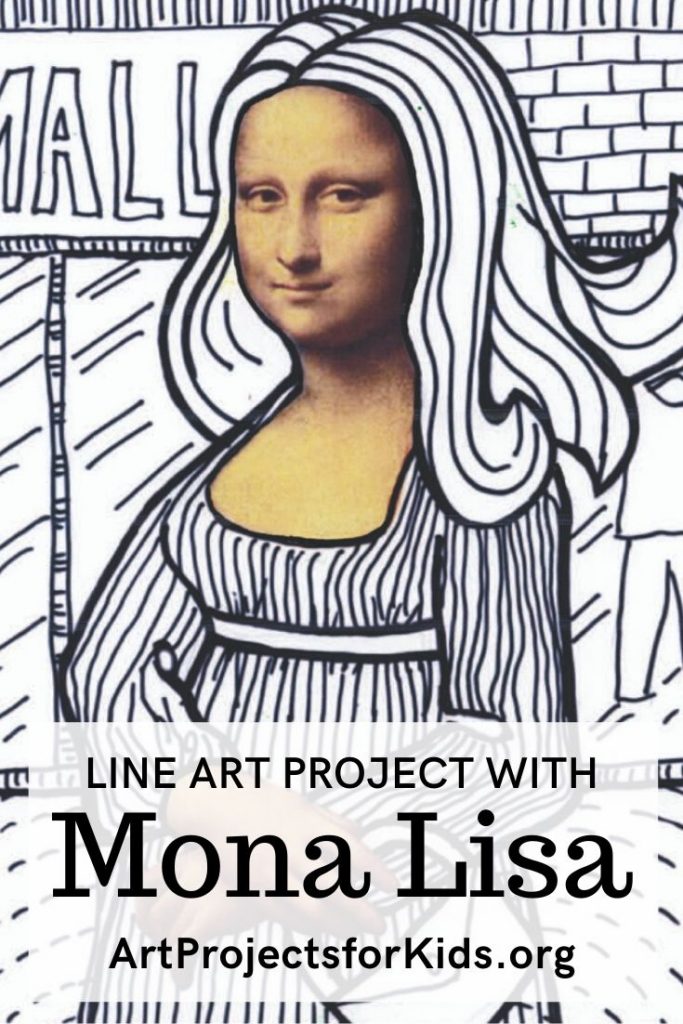
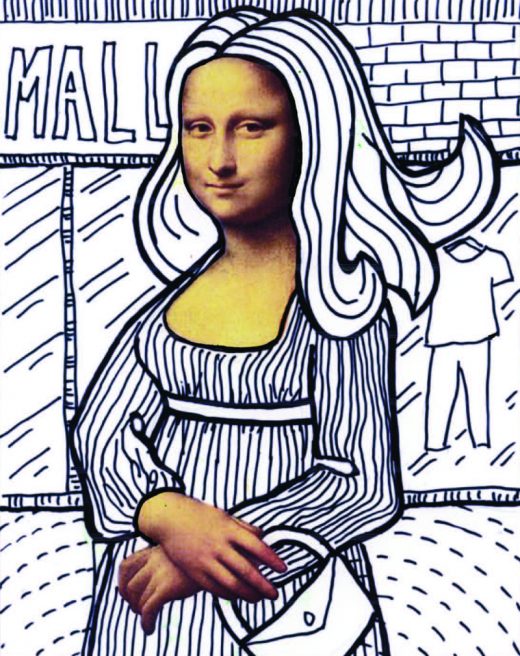
Studying the power of line, the beauty of contrast, and the enduring mystery of the Mona Lisa can be surprisingly kid-friendly—especially when you turn it into a high-success line art project.
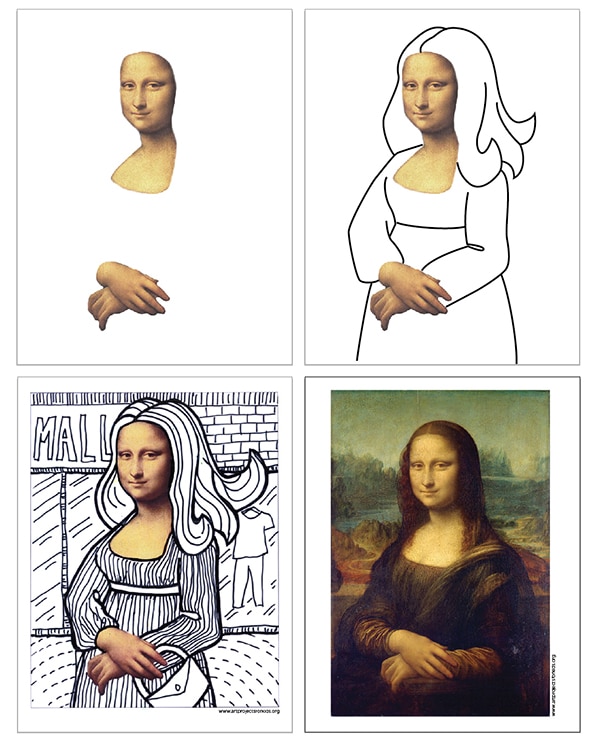
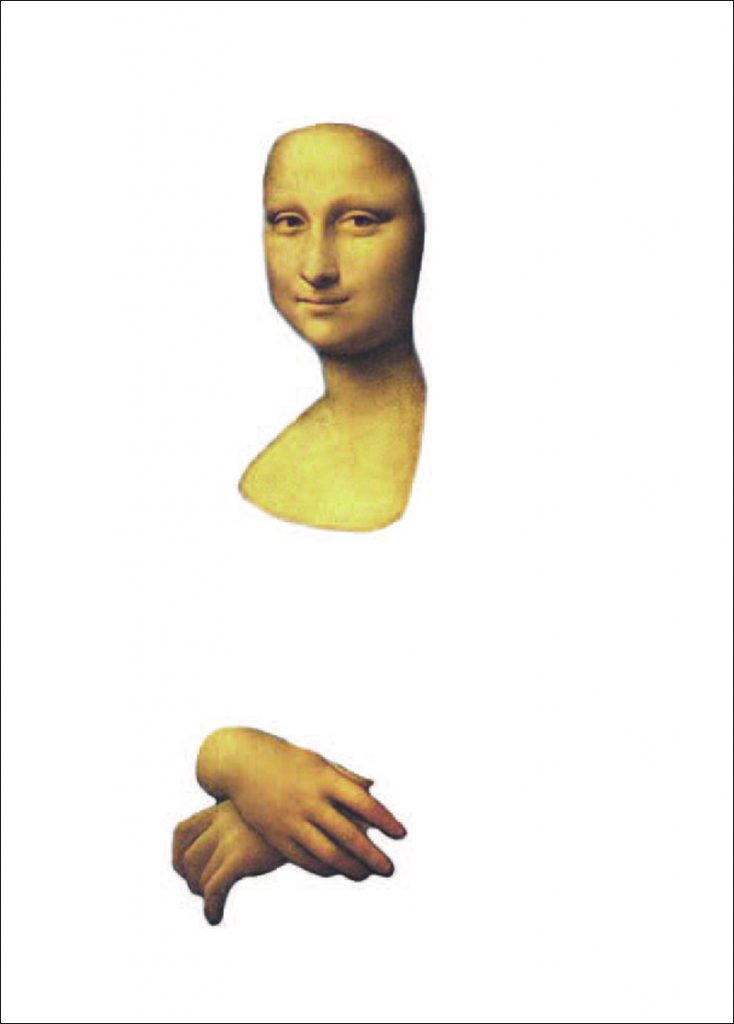
This lesson starts with a simple template of Mona Lisa’s face, which gives students an instant “win” and lets them focus on what really matters: building a brand-new Mona using shapes, lines, and patterns. After the face is in place, students lightly block in a body and background (simple shapes work best), and then the fun begins—filling every section with lots and lots of lines.
You could create a version of this project by cutting and gluing images, but it’s even more eye-catching when the color photo and marker drawing live on the same sheet of paper. The contrast between realistic color and bold line work is what makes the finished art feel so strong.
For best results, use two marker tip sizes:
• A heavier black marker for the main outlines and larger shapes
• A thin black marker for all the pattern detail
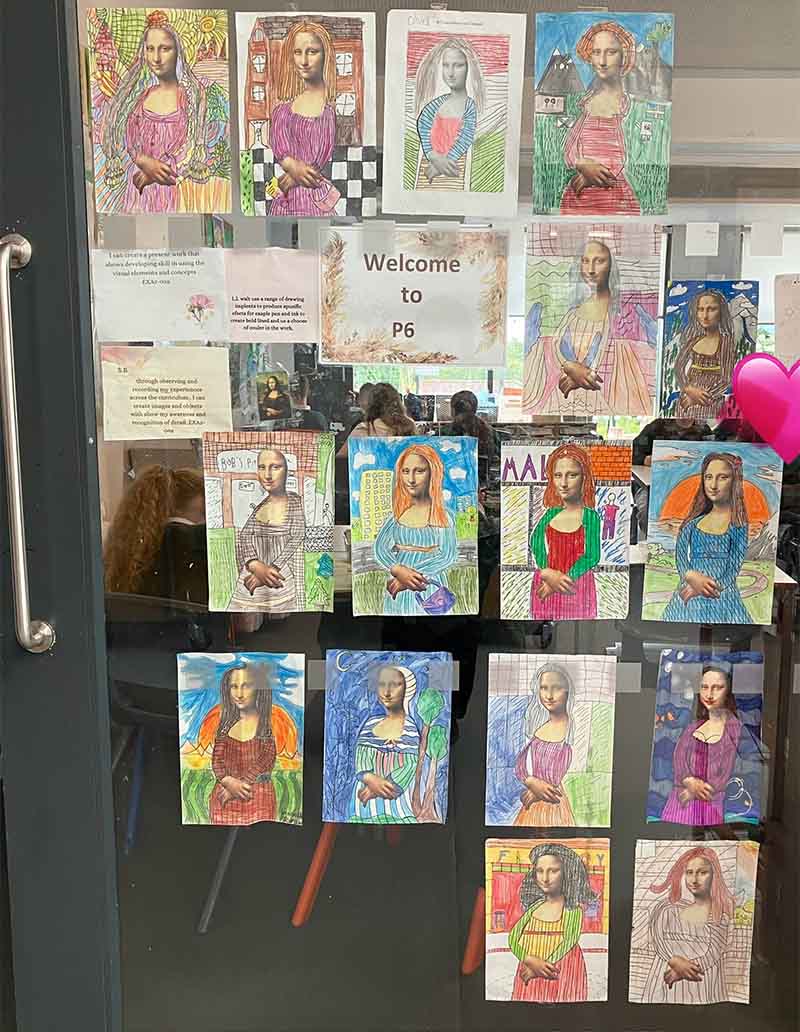
That combination makes the drawing easier to read from across the room, and it gives the artwork extra depth and visual interest. Once students realize that a few simple shapes can turn into an expressive, pattern-filled masterpiece, they’ll want to keep going—and every “Mona” will end up looking completely unique.
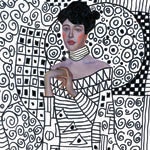
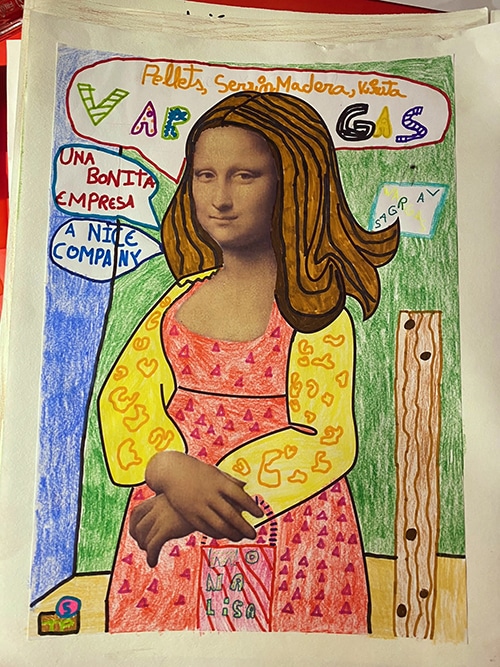
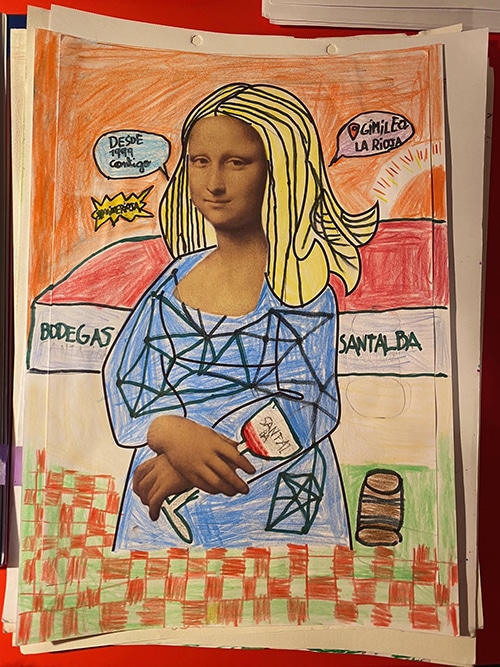
Student Art Inspiration – from Spain


Pin me to your Pinterest Board
Subscribe to “The Daily Draw” to grab this tutorial and template!
Materials for Mona Lisa Art Project
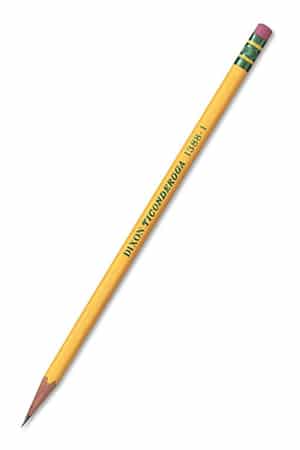
- Pencil. The Ticonderoga brand are the most reliable, make nice dark lines when you need them, and are the easiest to erase. Buying the pre-sharpened ones will save busy teachers a lot of time.
- Eraser. Large ones you can hold in your hand do a much better job than just the pencil tip erasers, especially when erasing leftover pencil lines after tracing.

- Black Sharpie Marker. These fine point permanent marker pens make nice black outlines, have a good tip for coloring, and never bleed when they get wet. Use them with good ventilation and add extra paper underneath to protect your tables.
Directions for Mona Lisa Art Project
Time needed: 1 hour
Mona Lisa Art Project Step by Step
- Preview the Mona Lisa painting for reference

- Print the template on drawing paper.

- Sketch and trace the basic outlines with a thick marker.

- Add details with a thin marker, the more the better.


Already subscribed to “The Daily Draw”?
Great, then use the button below to get your free Mona Lisa tutorial.
And thanks for wanting to bring more step-by-step, no-prep art lessons to your classroom!