Easy How to Draw a Fall Banner with Giant Ears of Corn
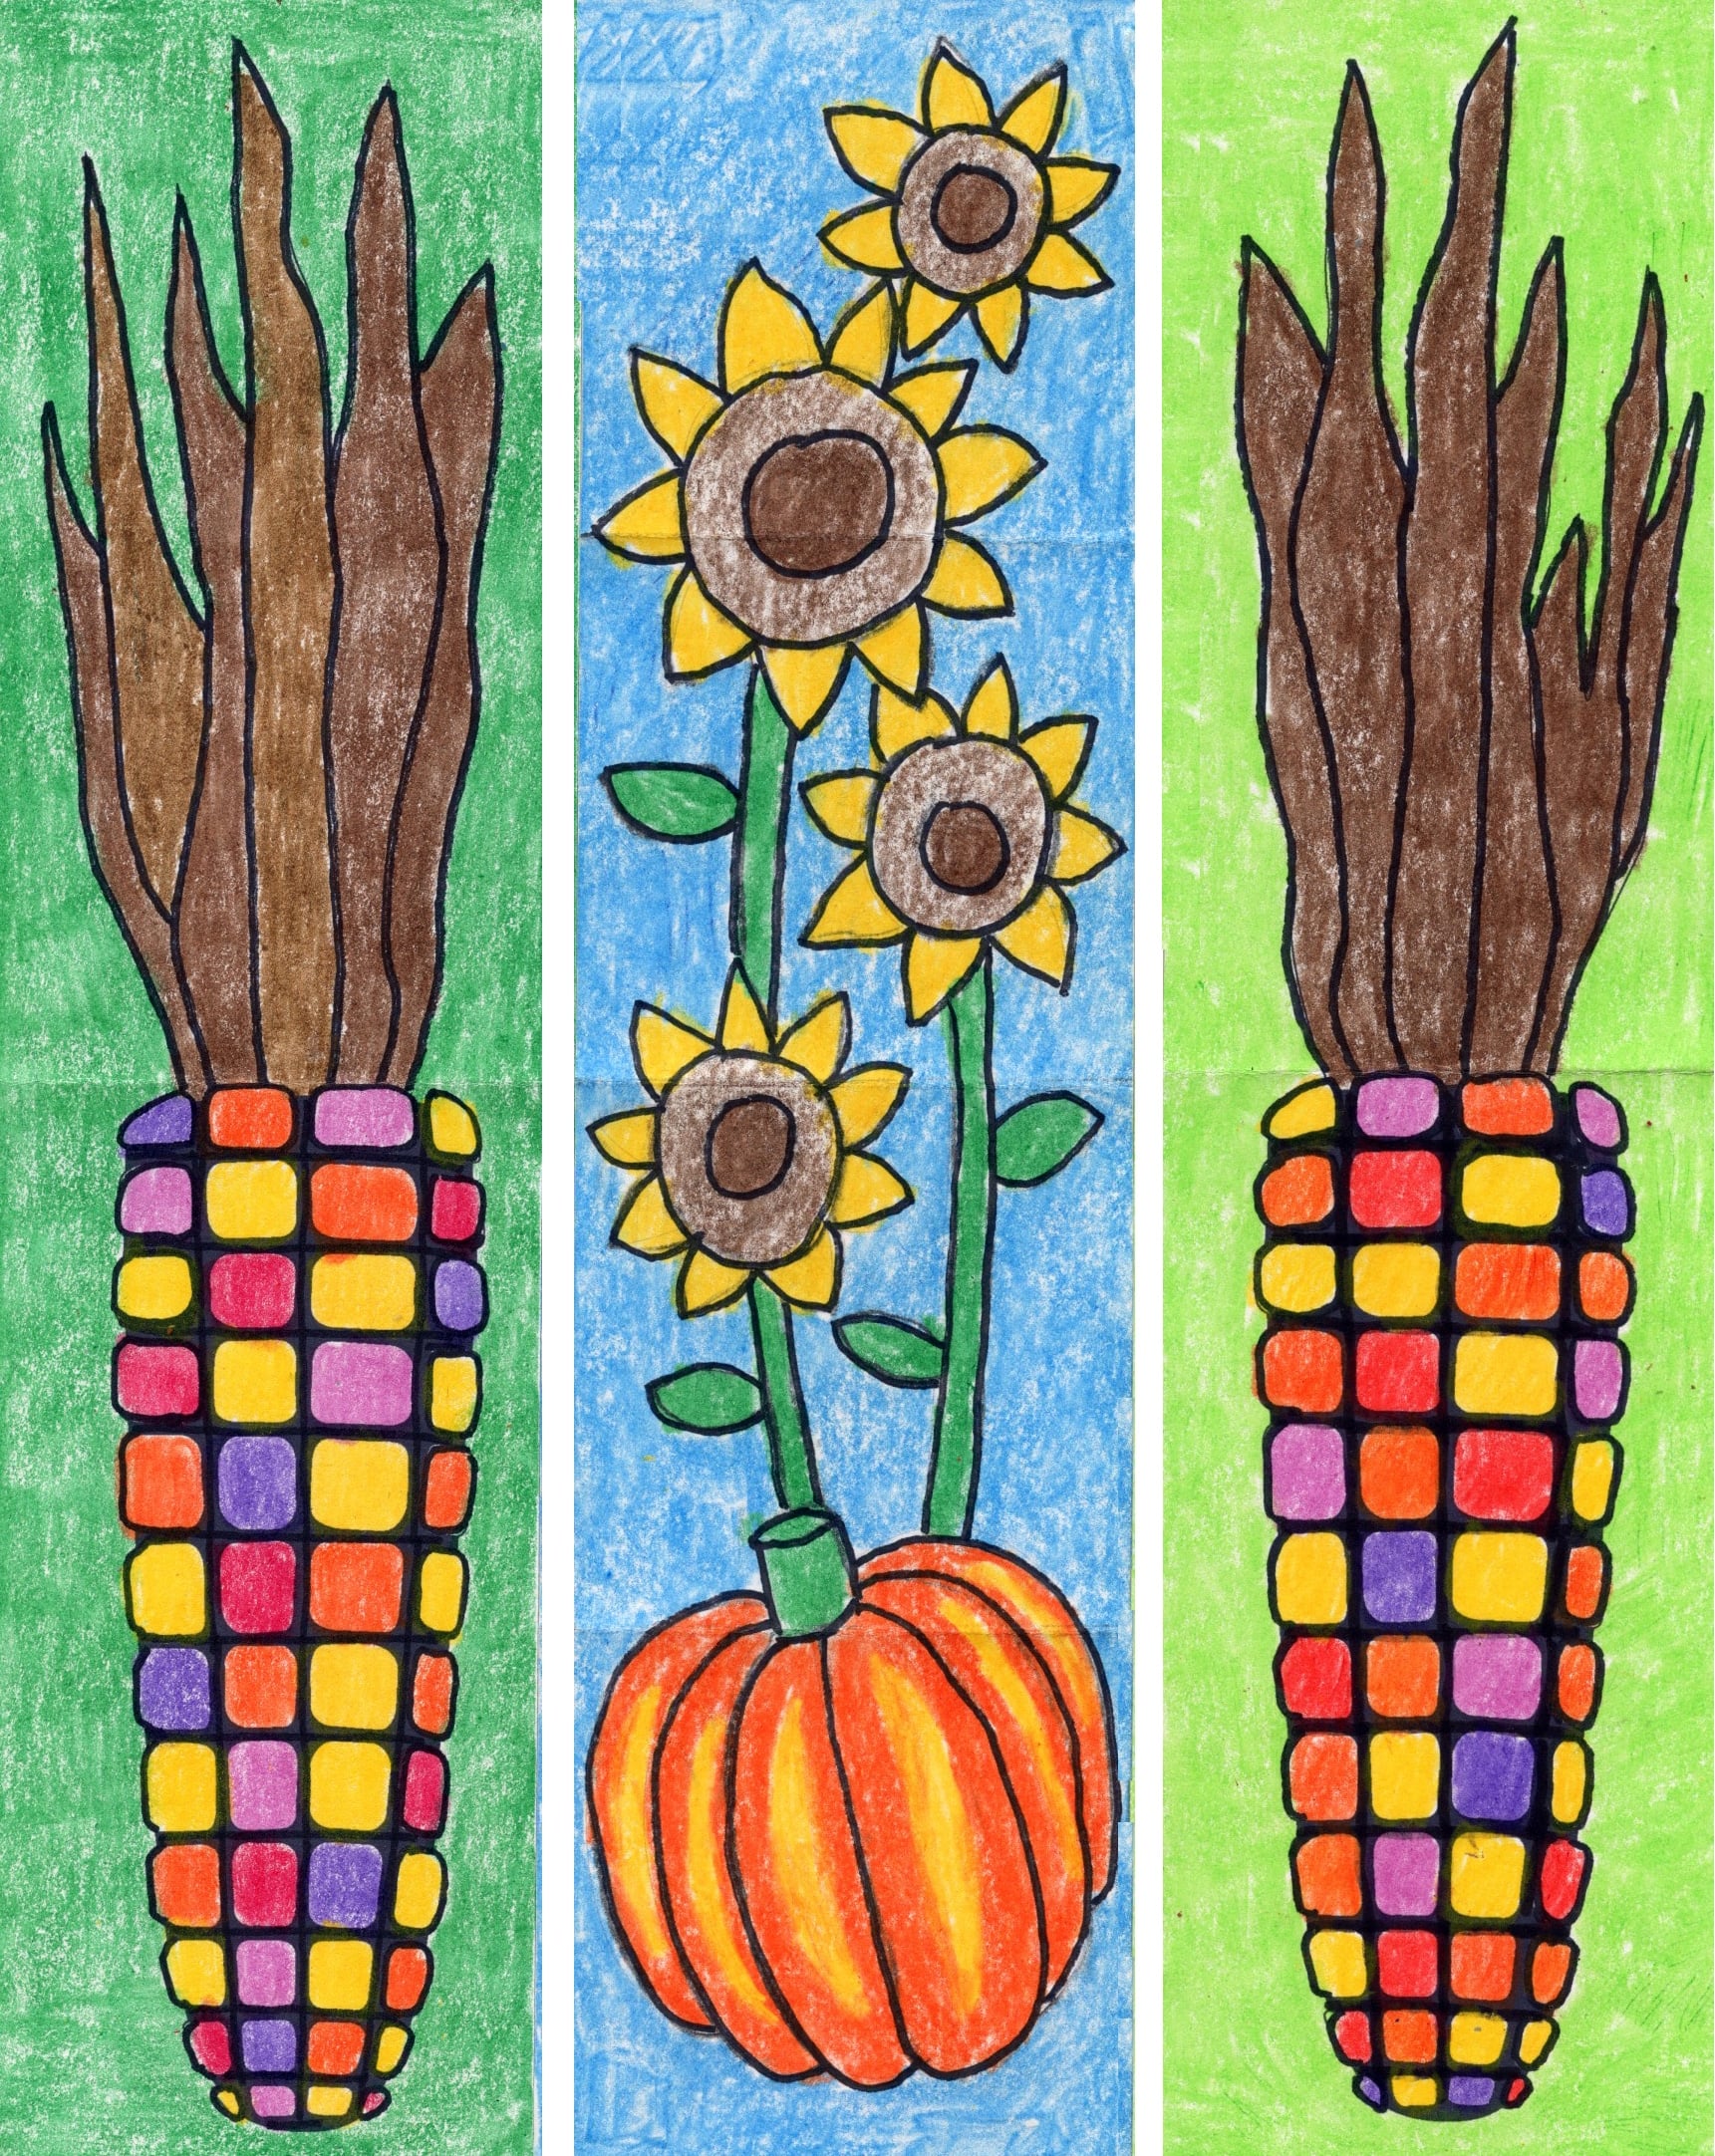
Below you’ll find an easy step-by-step tutorial for how to draw a fall banner. All you need is a roll of white paper, thick black markers, and lots and lots of crayons.
Banners on Butcher Paper
Fall Banner Drawing Guides
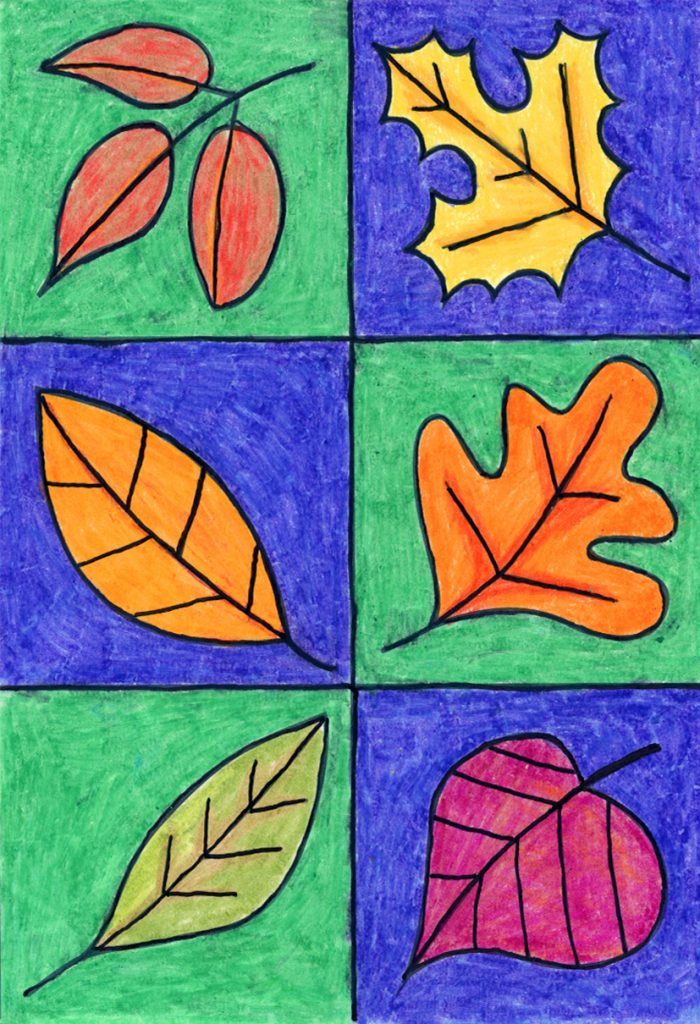
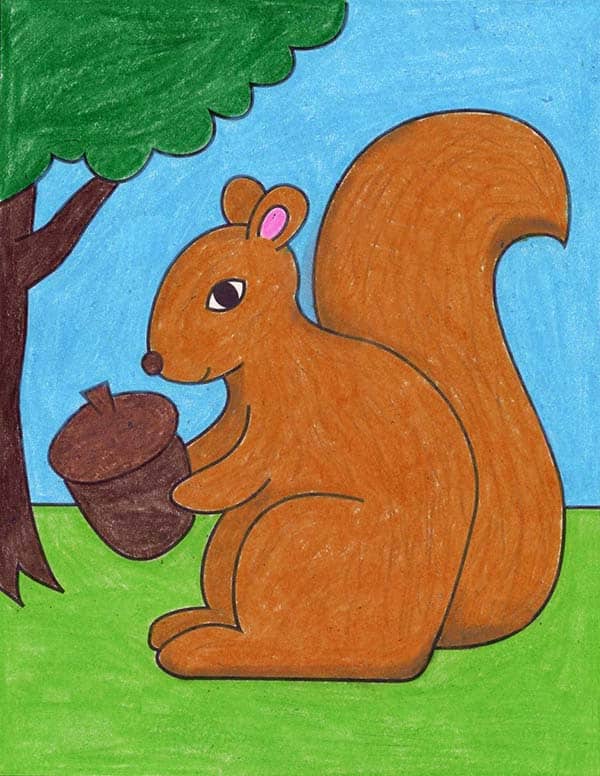
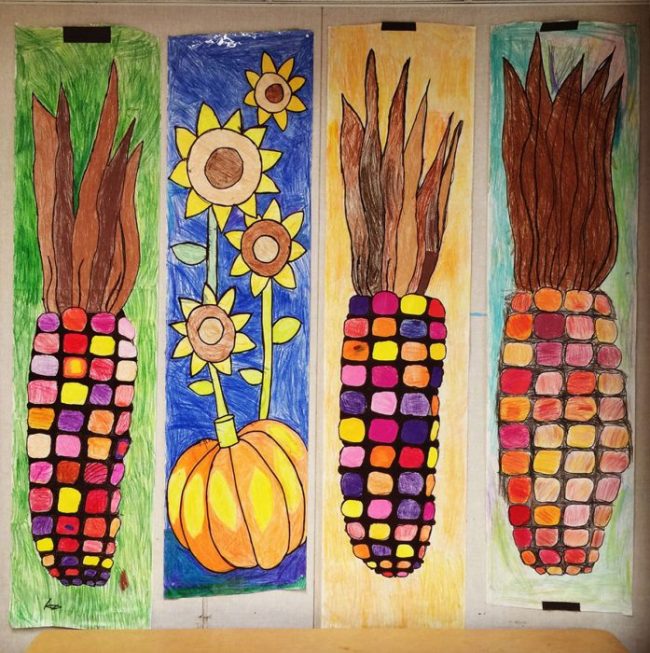
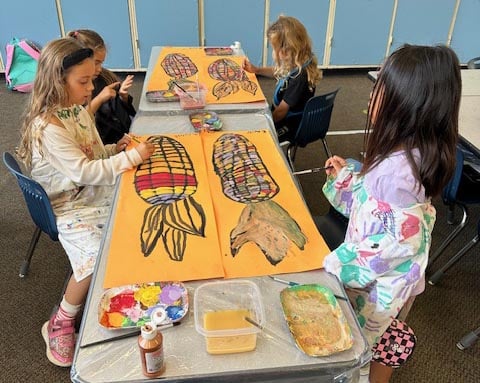
When students work together to create a fall banner, they learn a couple of things along the way. First, how impressive their drawings can look on a much larger scale. And second, how quickly a big project can come together when everyone pitches in.
I love that these banners don’t require any fancy art supplies, either. Just some paper, crayons, and a little teamwork can turn a classroom, school event, or even your home into a colorful display of hand-drawn art.
And don’t underestimate the humble crayon! With a little patience and some good old-fashioned elbow grease, students can create bold, beautiful decorations without spending much time or money.
Check out the tutorial below to see just how easy these fall banners are to draw.
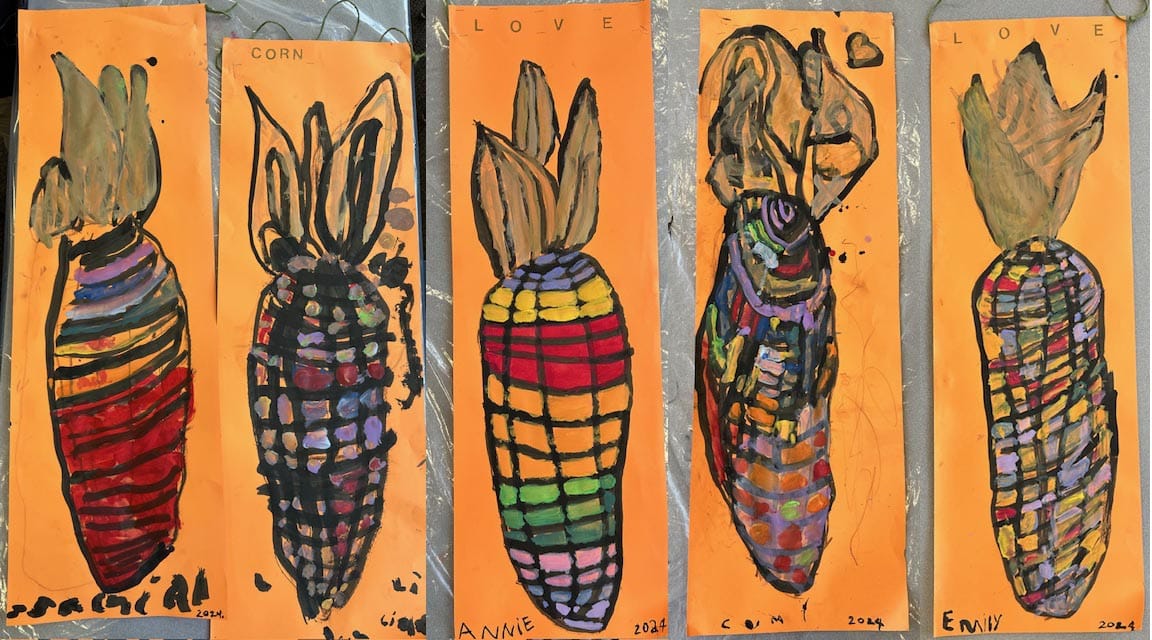
Student Art Gallery
Join “The Daily Draw” below to get this tutorial!
Save Me To a Pinterest Board

Materials to make a Fall Banner
- Large roll of butcher paper, about 20″ wide
- Black Sharpie marker, chisel tip*
- Crayons
Step by Step Directions for a Fall Banner Drawing
Time needed: 1 hour
How to draw a Fall Banner
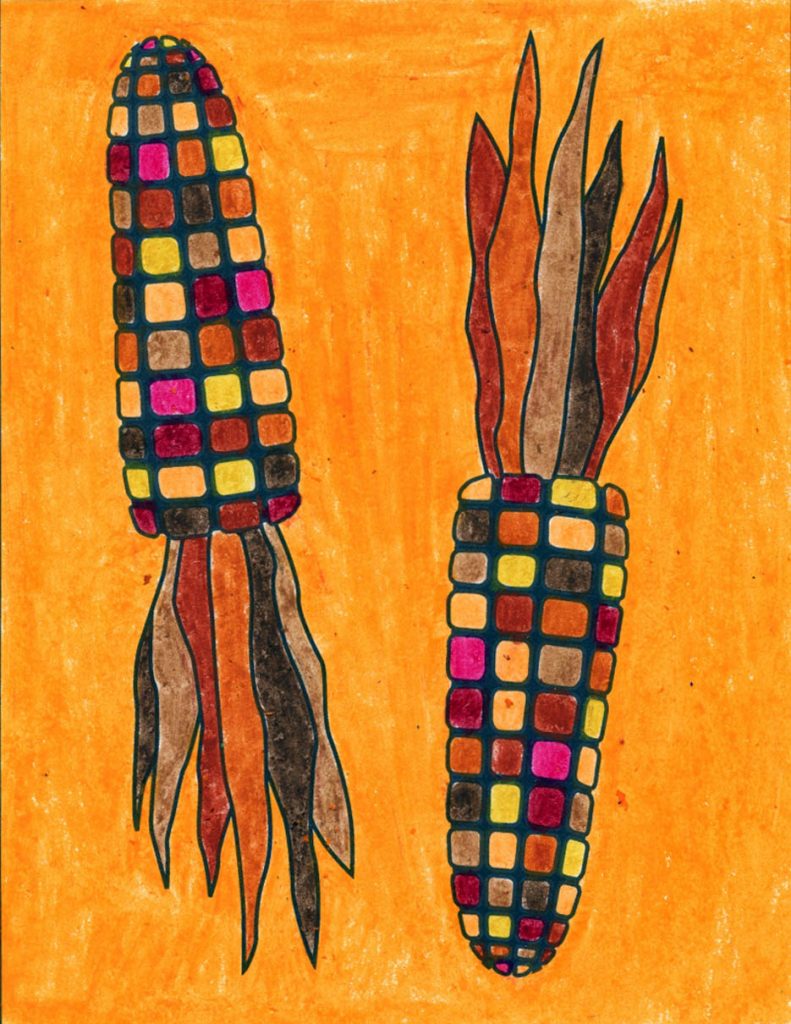
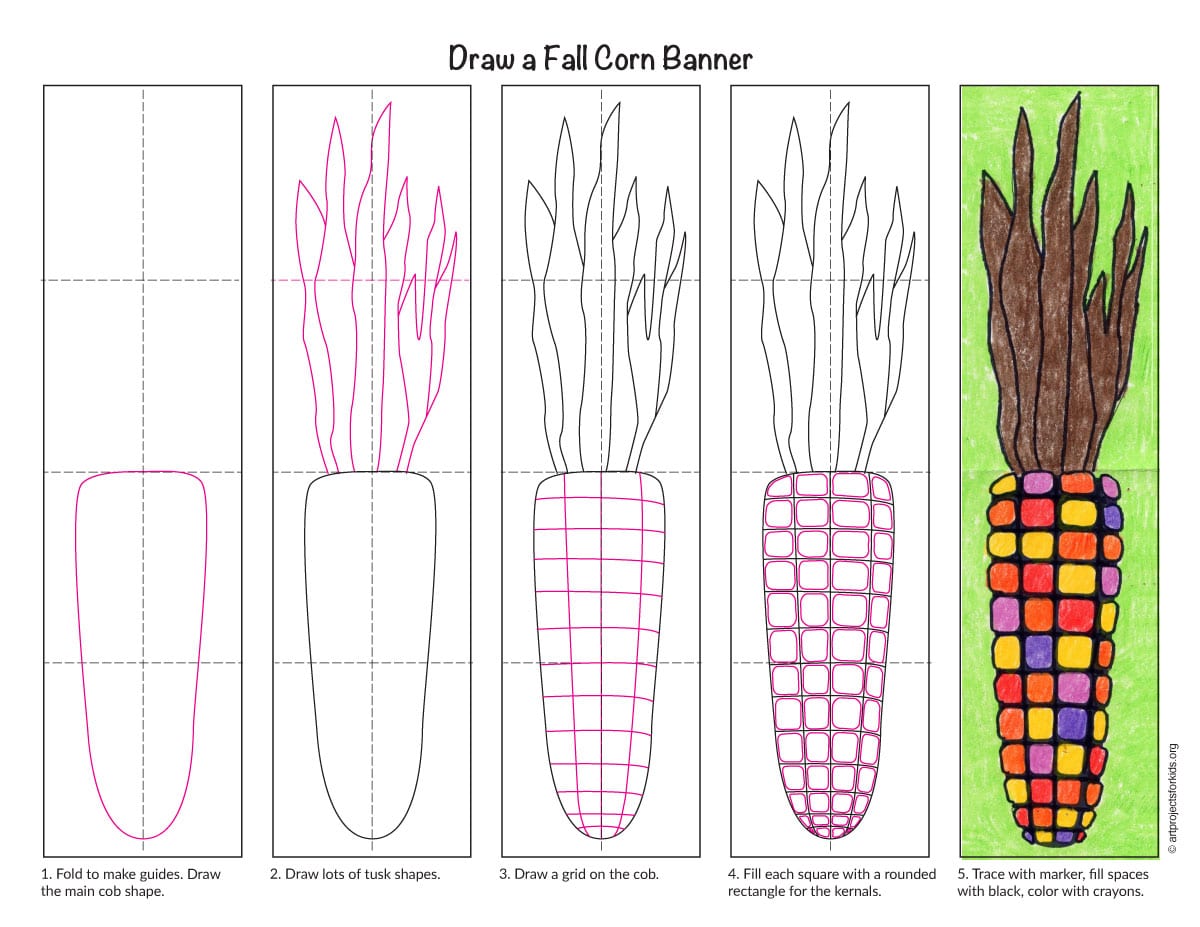
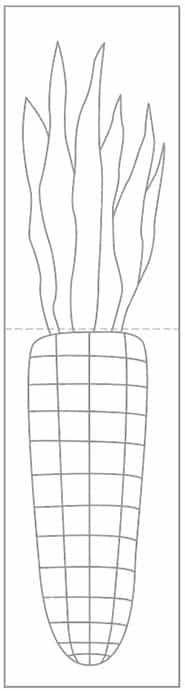
- Cut approx. 6 ft. of paper. Draw an outline of an ear of corn as shown. Add grid lines.

- Draw a rectangle with rounded corners in each square.
- Erase the grid lines. Trace with a black marker and fill in as shown. Color heavily with crayons.


More Fall Projects