How to Draw a Peacock: Easy Step-by-Step Art Lesson for Kids
Below you’ll find an easy step-by-step tutorial for how to draw a Peacock. Those feathers could be colored so many different ways!


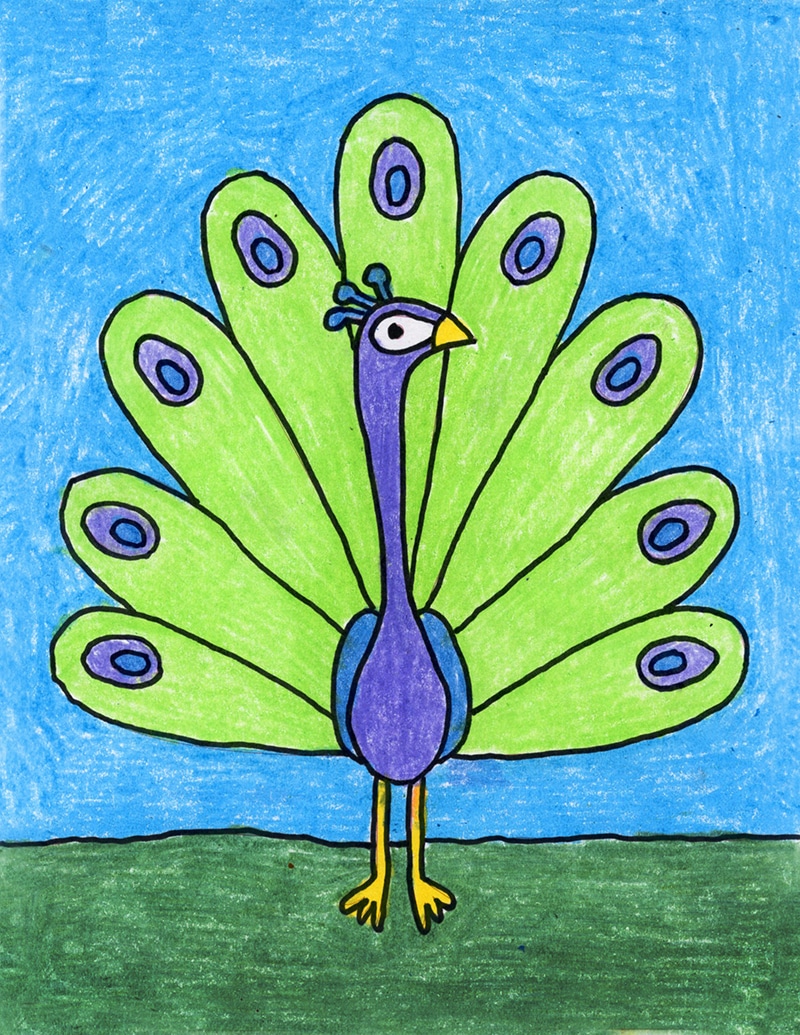
This tutorial will show students how to draw a peacock without getting lost in too many details. Those feathers, for instance are incredibly complicated in real life, but a simple petal shape, like those of a flower, do the job just fine. They are radiating out from the peacock body and offer some great radial symmetry drawing practice.
Even though peacocks appear to be very bright in color, they are not as bright as they look. In fact, peacocks are actually brown, and their color often changes due to the reflection of light. That’s the secret of their exquisitely colorful feathers. Every section of a peacock’s feather changes its color when the light strikes from different angles.
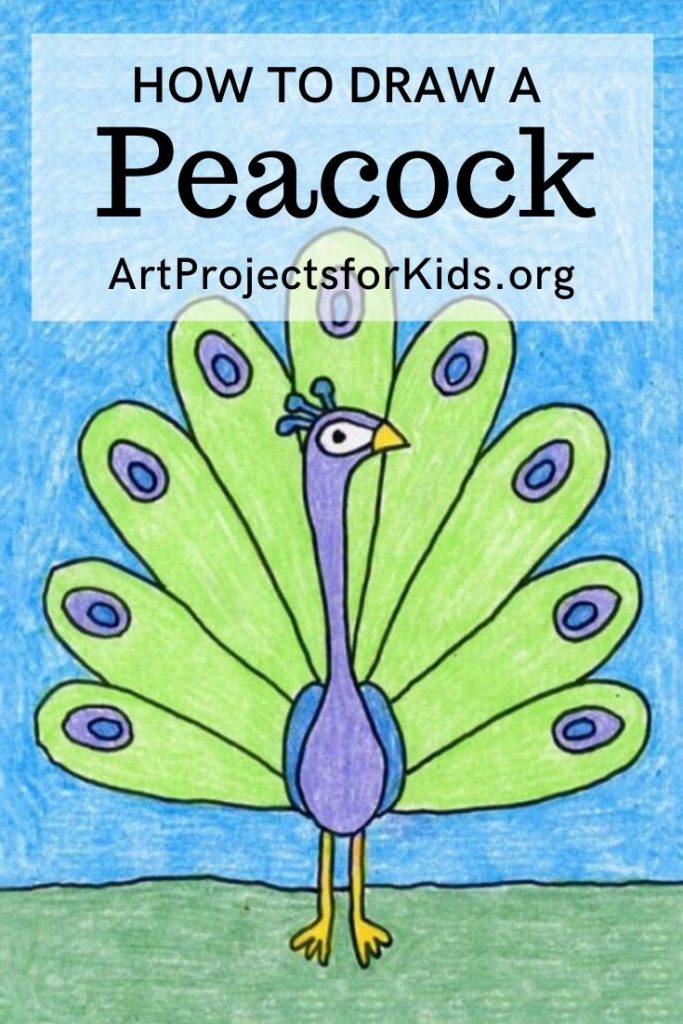
Pin me to your Pinterest Board
Join “The Daily Draw” below to get this free tutorial!
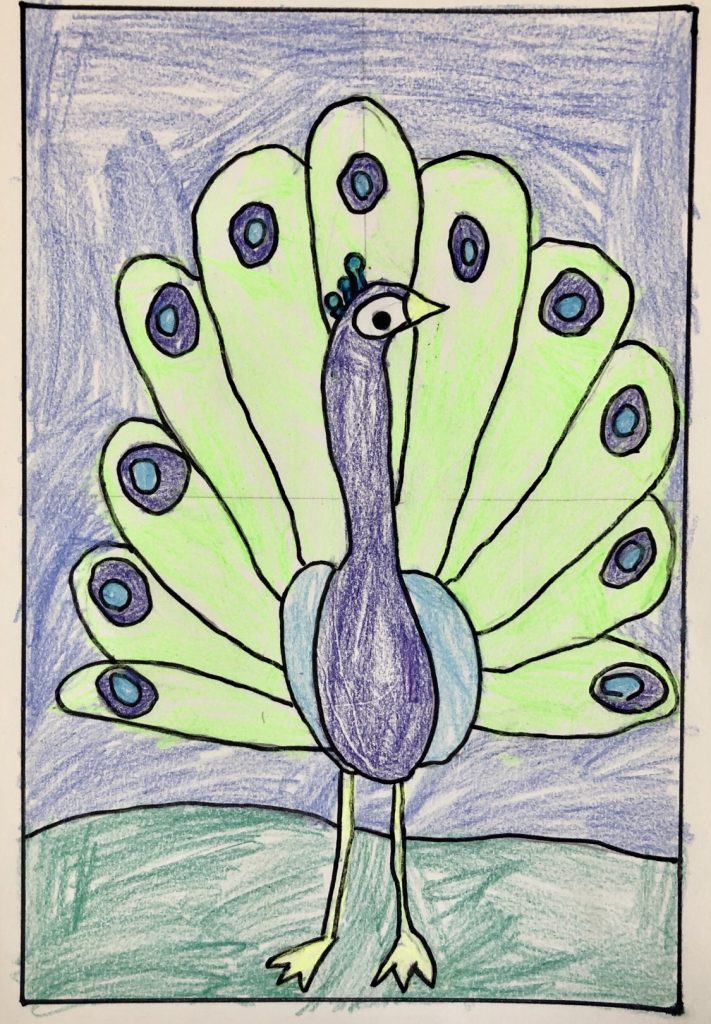
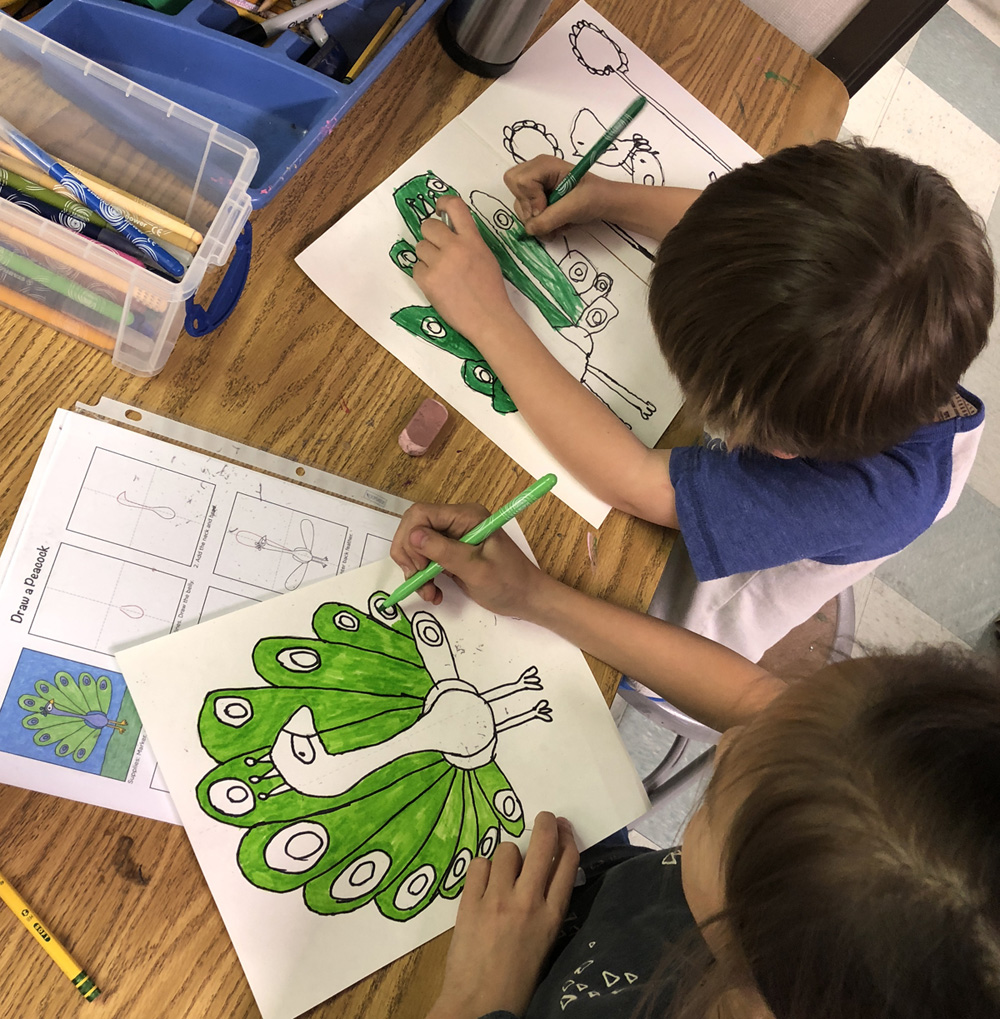
Peacock Drawings by Students
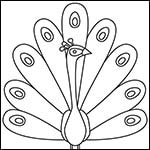
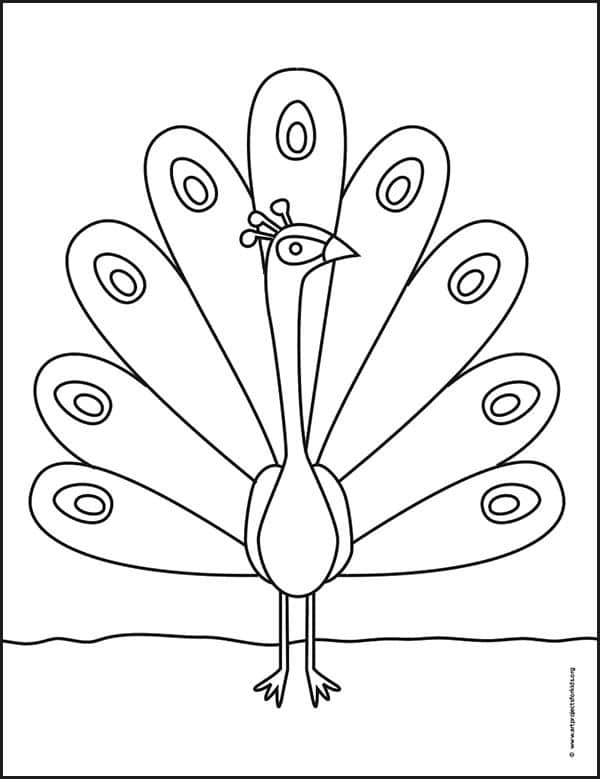
Peacock Coloring Page
Materials for Peacock Drawing


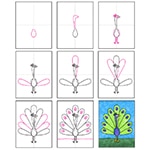
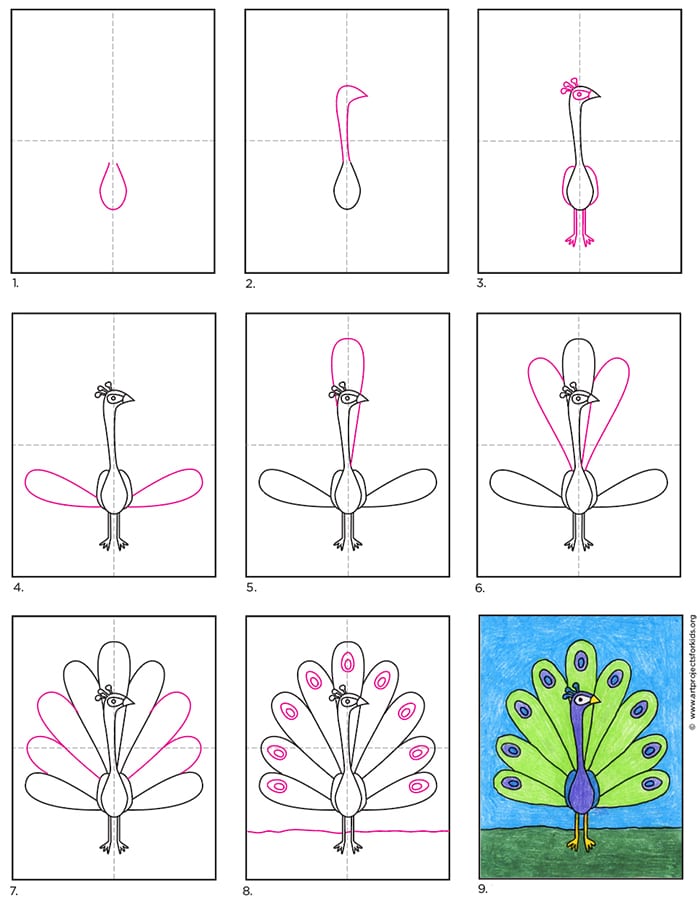
Step by Step Directions for Peacock Drawing
Time needed: 1 hour
How to draw a Peacock Easy
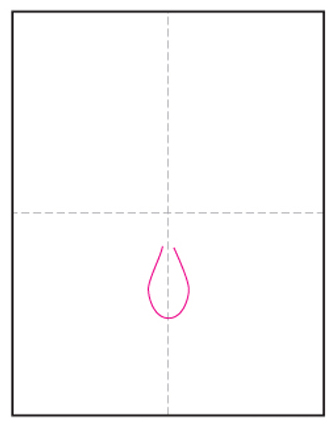
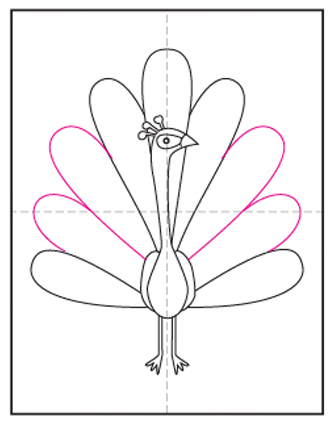
- Make guidelines. Draw the belly.

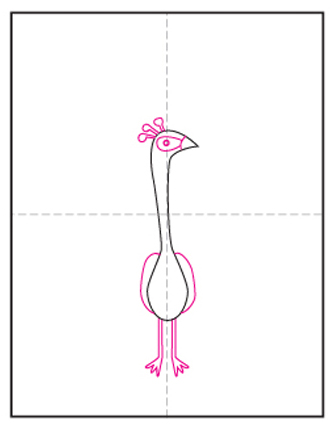
- Add the neck and head.
- Add wings, face and feet.
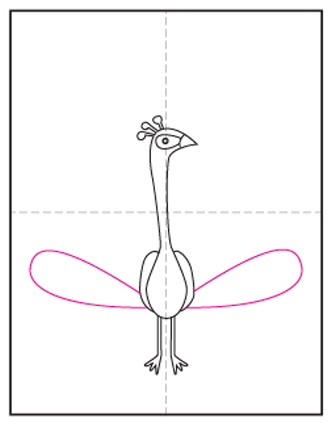
- Draw two bottom feathers.
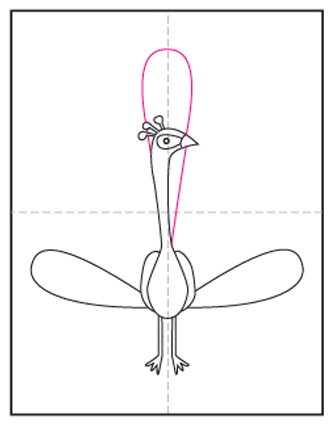
- Draw center back feather.
- Add feather to either side.
- Fill in with two more feathers.
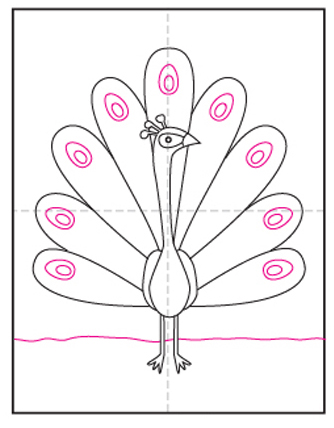
- Draw spots on feathers. Add ground line.
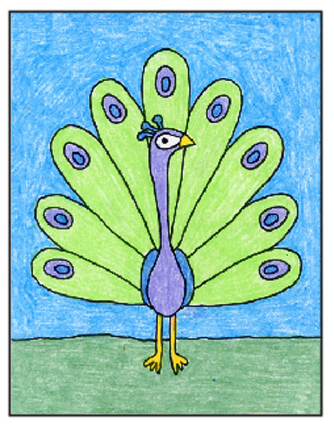
- Trace and color with crayons.


Already Subscribed? Then use the download button below
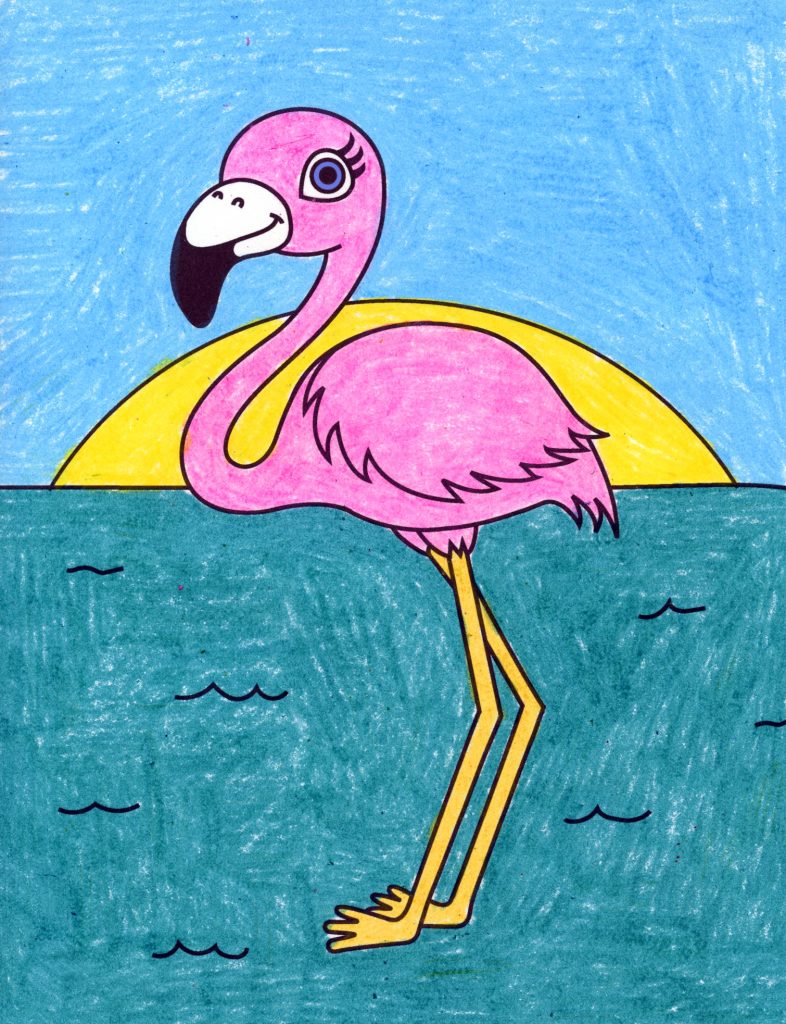
More Fun Bird Drawing Projects


Drawing For Kids – Peacock Drawing