Easy How to Draw an Ice Cream Cone Tutorial Video and Ice Cream Cone Coloring Page
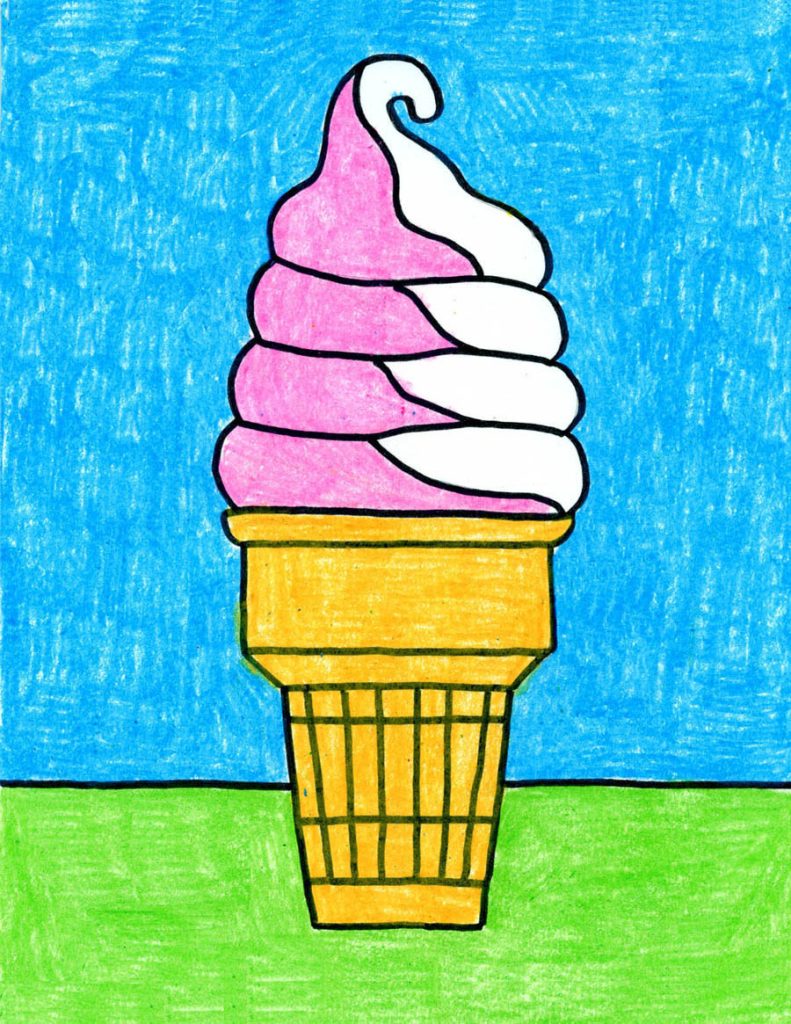
Below you’ll find an easy step-by-step tutorial video for how to draw an Ice Cream Cone and an Ice Cream Cone Coloring Page.
How to Draw an Ice Cream Cone Tutorial Video
More about drawing Ice Cream Cones
Many students first learn how to draw an ice cream cone with a simple triangle and stacked circles on top. That’s certainly not a bad way to start when they are just trying to figure out how to make a pencil do what they want. Perfecting simple shapes is the name of the game then.
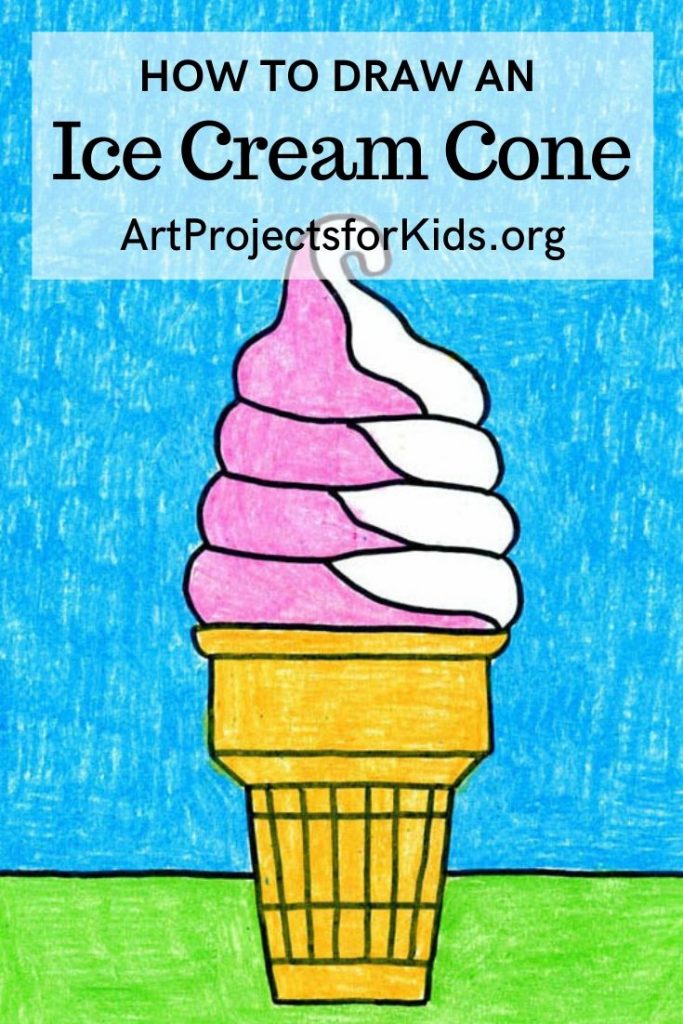
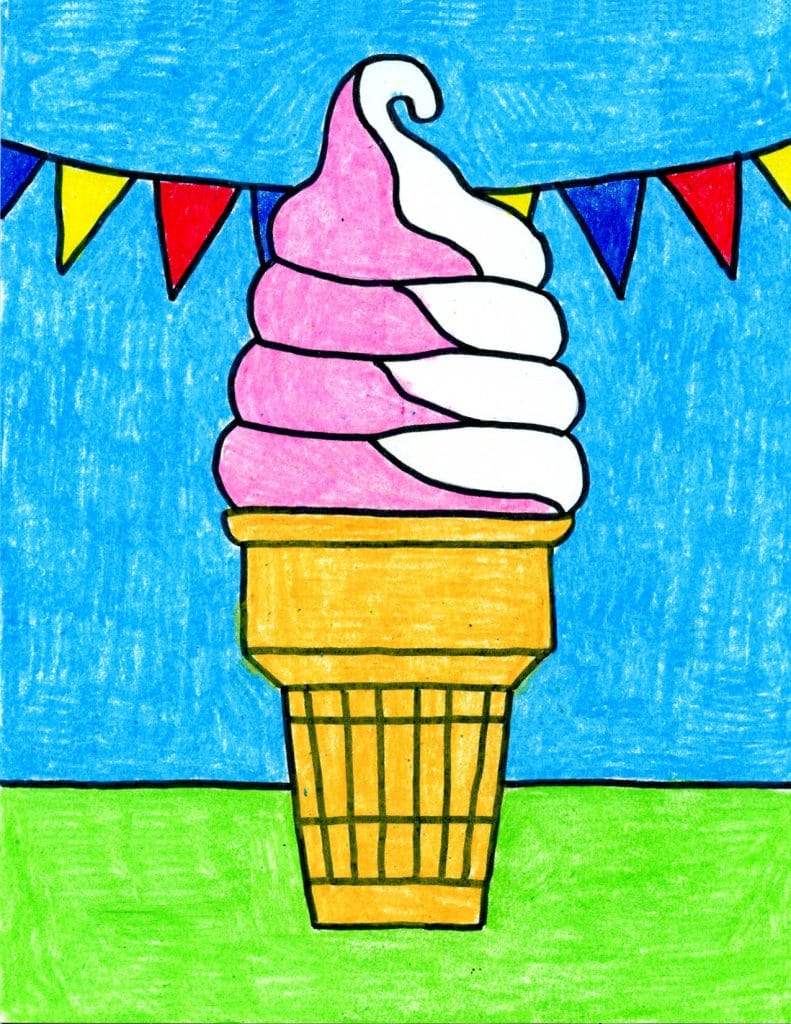
But at a certain point, some may be ready to draw something a little more realistic … AND maybe a little more yummy looking? Especially if they are fans of soft ice cream. So instead of the usual waffle cone and hard scoops on top, here’s how they can draw a standing cone with a soft swirl and curly tip. Once they have the shape down, there’s no limit to the color (and flavor) combinations that can be added!
Join my Email List below to get this printable!
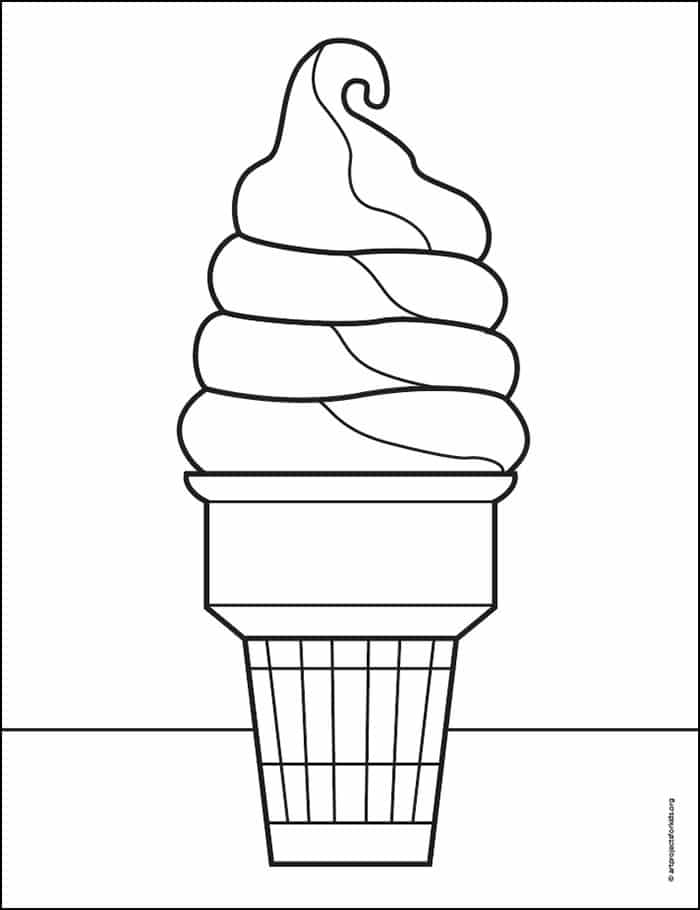
Ice Cream Cone Coloring Page
Materials to Draw an Ice Cream Cone
- Drawing Paper. This is the good stuff you can buy in bulk for a good price.
- Pencils. I like how this brand always makes nice dark lines.
- Black Marker. A permanent marker will give you a dark black color.
- Crayons. The larger packs are nice for more color choices.
- Note: All of the above are Amazon affiliate links.
Directions to Draw an Ice Cream Cone
Time needed: 45 minutes
Ice Cream Cone directions
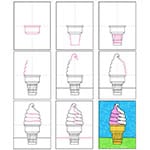
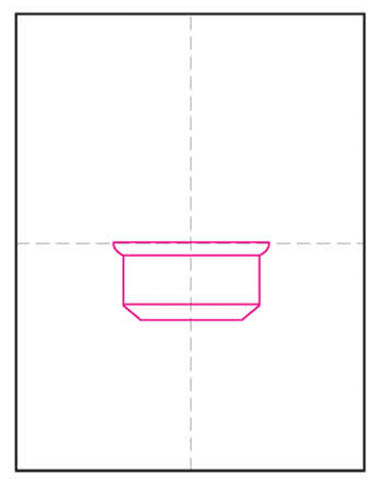
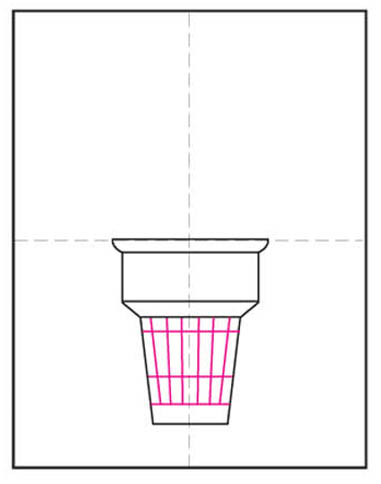
- Draw the top of the cone.
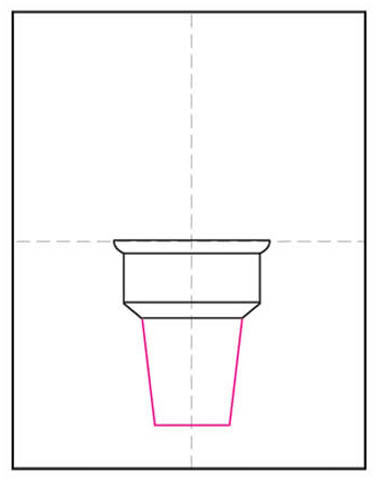
- Add the bottom of the cone below.
- Draw the texture by adding lines inside.
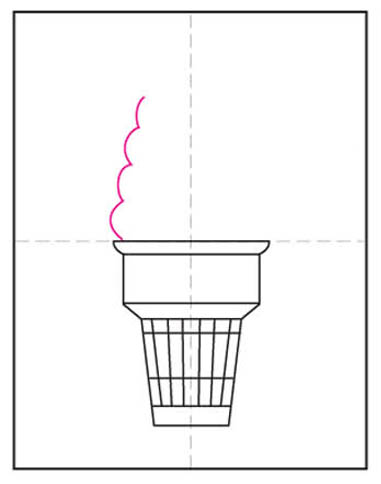
- Draw the left side of the ice cream, with four bumps.
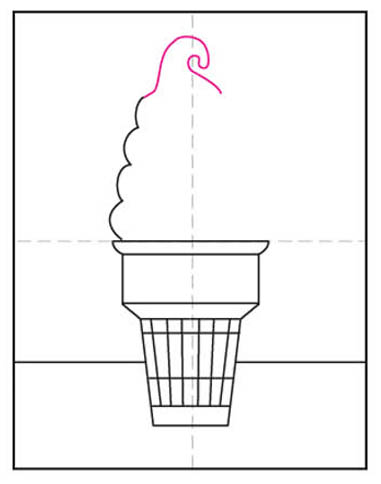
- Add the swirl tip on the top.
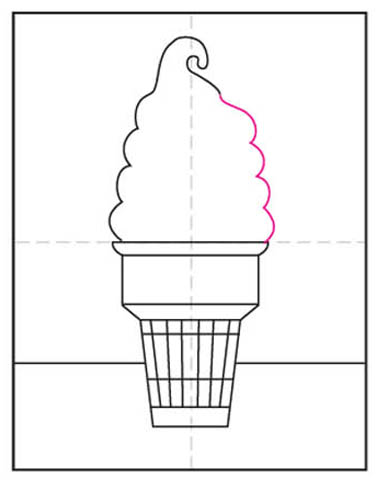
- Draw the right side of the ice cream, also with four bumps.
- Connect the sides with three horizontal lines.
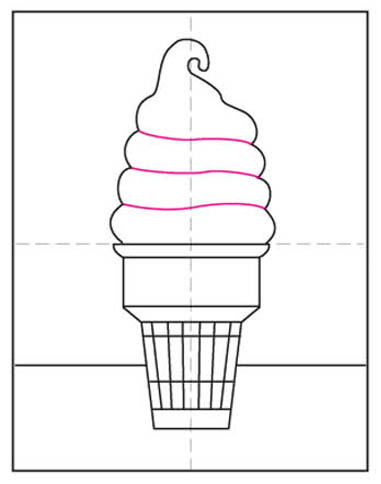
- Add the inside divider lines of the flavors.
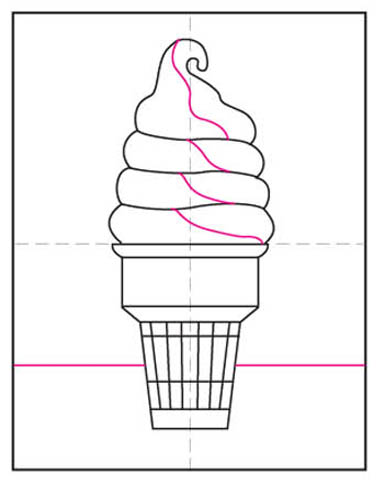
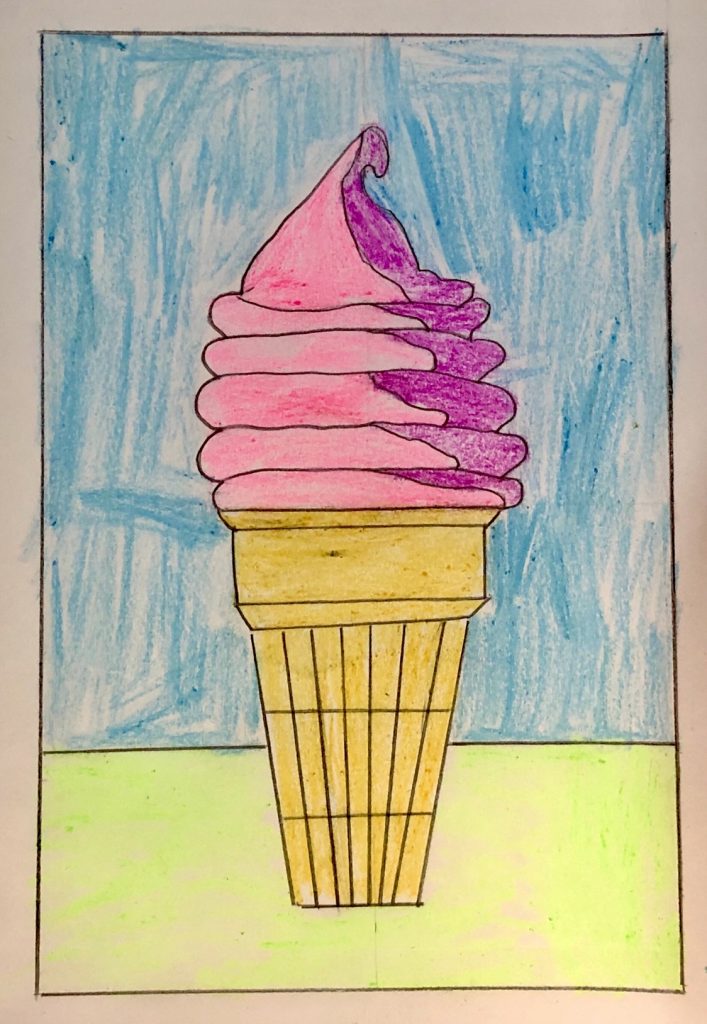
- Trace with a marker and color.

Student Gallery
Save me to your Pinterest Board!
