How to Draw a Volcano: Easy Step-by-Step Art Lesson for Kids
Below you’ll find an easy step-by-step tutorial for how to draw a Volcano. It’s easy to make it look pretty active!
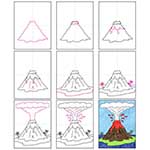

Volcano Drawing
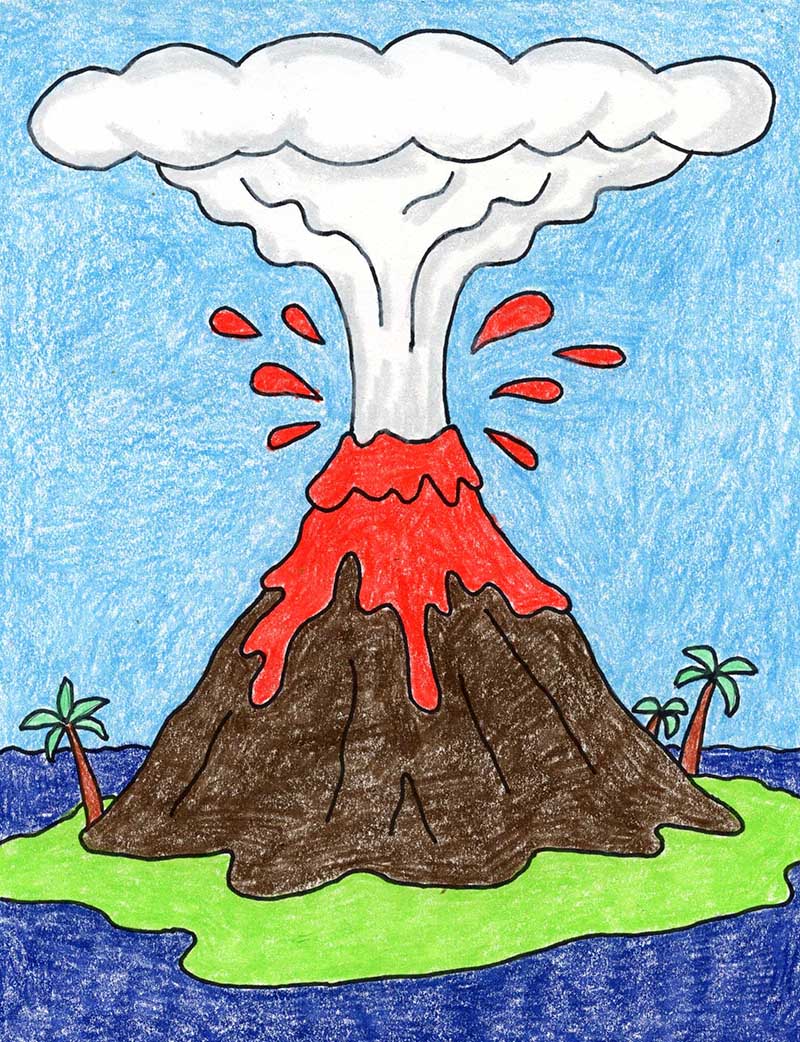
Now students can learn how to draw a volcano with all the exciting features that make one so fun to illustrate — smoke, flowing lava, and a big mountain rising up from the land.
This tutorial uses some pretty simple shapes, which makes it a good project for younger elementary students too. They’ll start with a large mountain, add drippy lava flowing down the sides, draw an island or ground around it, and finish with plenty of smoke shooting out the top. There are even a few tips for adding shadows to the mountain and lava, which can help give the drawing a little more depth and extra pizzazz.
Volcanoes are also a great example of how drawing can connect with other subjects. When students are learning about volcanoes in science, making a drawing can help them slow down and pay attention to some of the features they are studying. It gives them another way to think about what a volcano looks like and remember some of those details later.
And because the steps are simple and visual, students can often follow along pretty independently. Add crayons, markers, or colored pencils when the drawing is finished, and they can make their volcano as fiery and dramatic as they like.
It just might be easier — and more fun — to draw a volcano than you think!
Use the Button below to grab a PDF Tutorial

Volcano Coloring Page

Materials to draw a Volcano
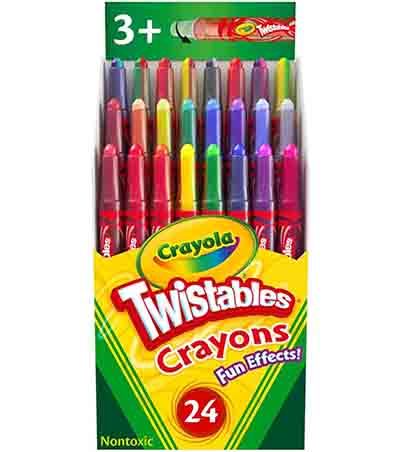
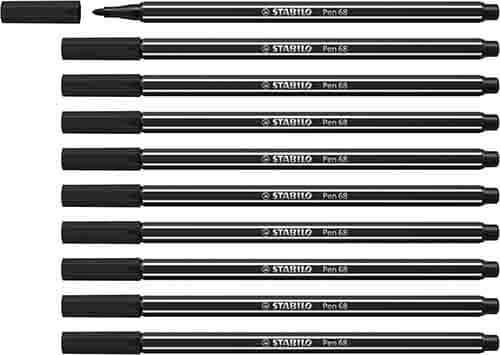

Step by Step Directions for a Volcano Drawing
Time needed: 45 minutes
Draw an Easy Volcano
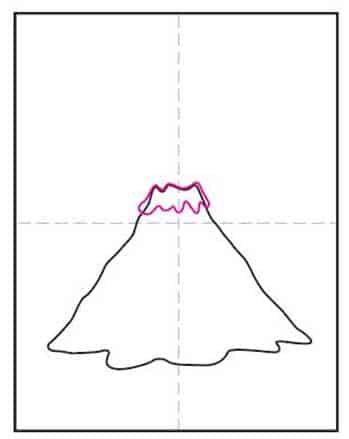
- Start with a large mountain shape.

- Add a drippy layer of lava at the top.
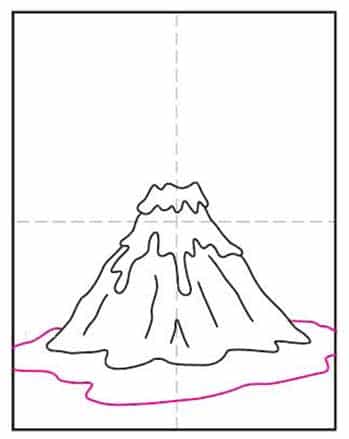
- Erase lines inside, add more lava.
- Erase lines inside, and add texture lines.
- Draw an island around the mountain.
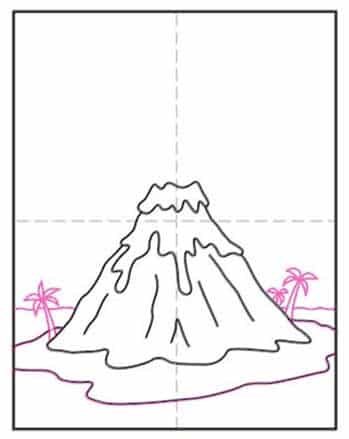
- Add small palm trees and water line.
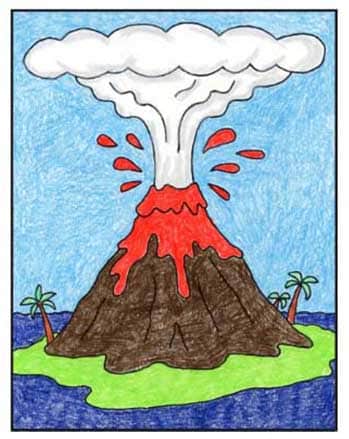
- Draw a cloud of smoke at the top.
- Add smoke lines and spurts of lava.
- Trace with a marker and color.