How to Draw a Woodpecker: Easy Step-by-Step Art Lesson for Kids
Below you’ll find an easy step-by-step tutorial for how to draw a Woodpecker. That red cap of feathers says exactly who he is.
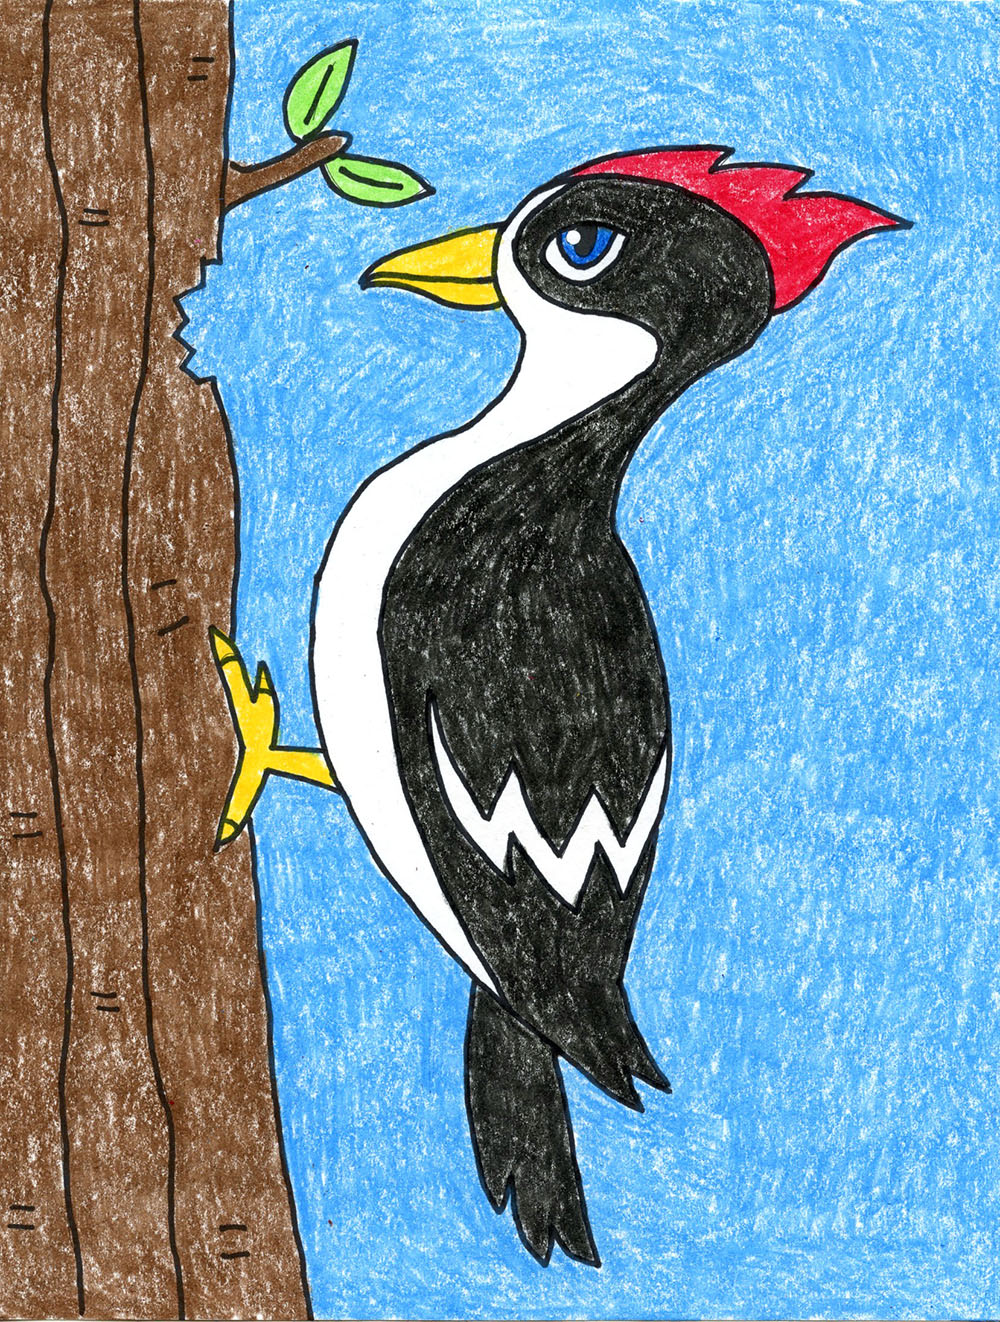
Here’s a woodpecker drawing tutorial that blends two of my favorite approaches to animal art: a touch of realism, and a dash of imagination.
It’s always helpful for students to learn what an animal (or bird) really looks like, so this woodpecker includes the details that make it recognizable—like the bright red cap, patterned wing, and sharp, pointy beak.
But once those essentials are in place, it’s time to have a little fun. The easiest place to add personality is the face—especially the eye. Swap a typical “bird eye” for a more human-looking one, and suddenly your woodpecker feels expressive, relatable, and full of character.
When students get to mix realism with a bit of fantasy, they often feel more creative and invested—and that’s a win in any art room.
Use the Button below to grab this art lesson
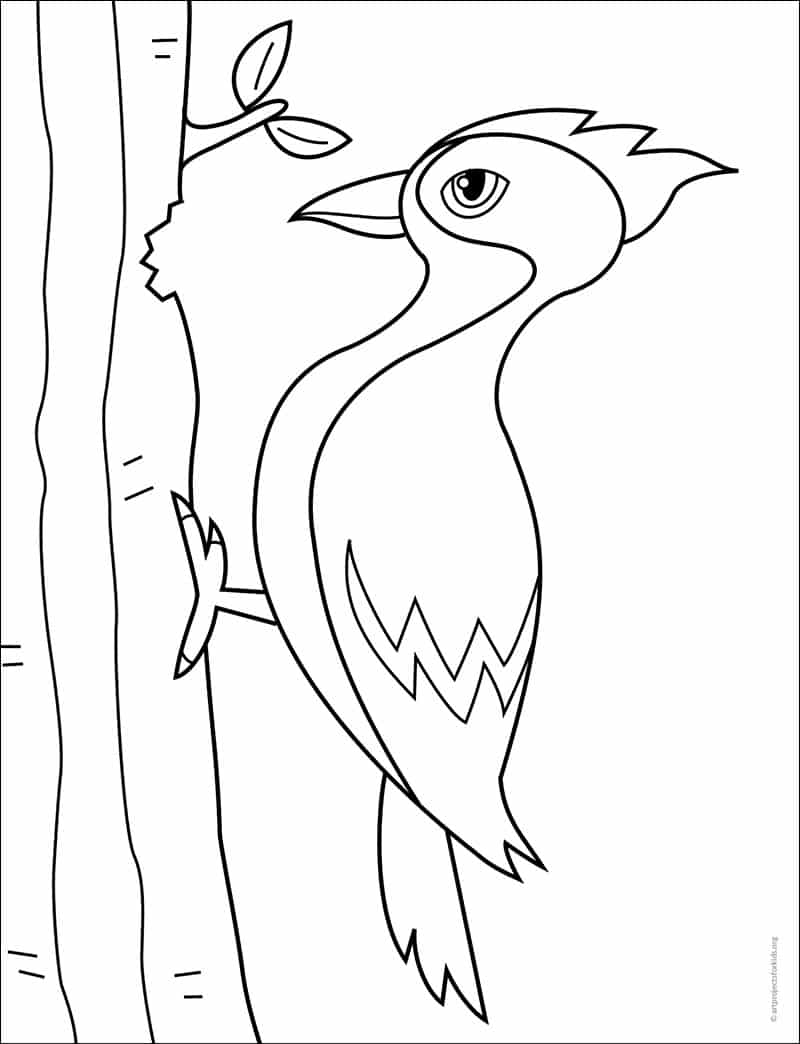
Woodpecker Coloring Page
Materials


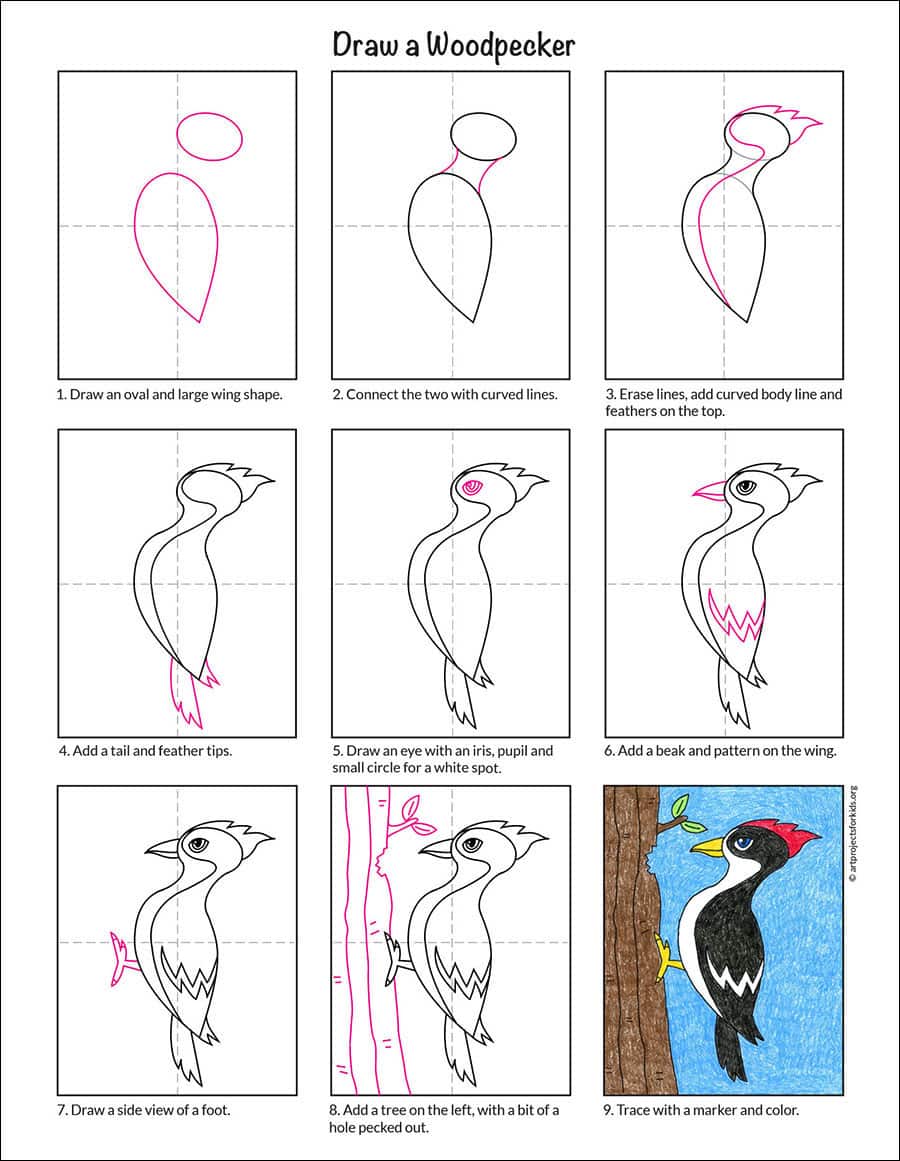
Step by Step Directions
Time needed: 45 minutes
Easy Woodpecker Drawing
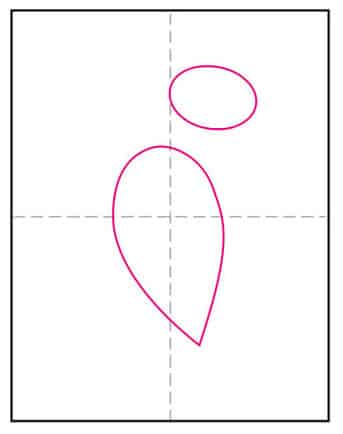
- Draw an oval and large wing shape for the body.

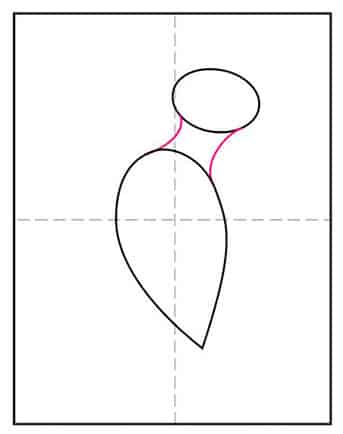
- Connect the two shapes with curved lines.
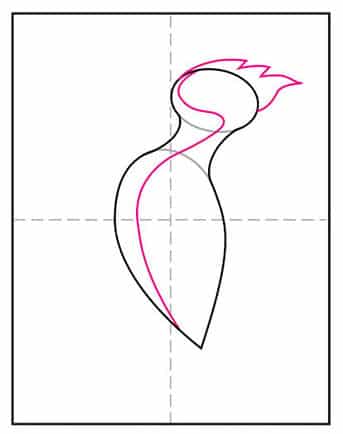
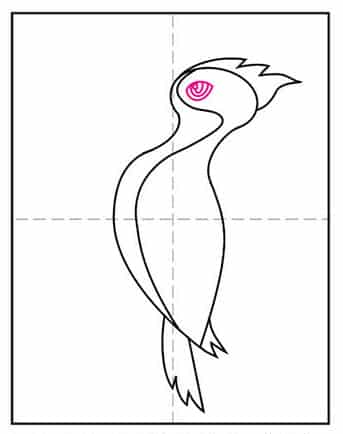
- Erase the extra lines and add a curved body line. Add feathers on the head.
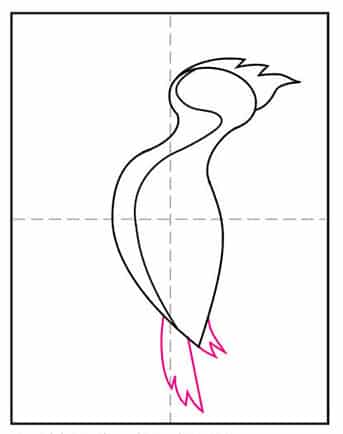
- Add a tail and feather tips to the wing.
- Draw an eye with an iris, pupil and a small circle for a white spot.
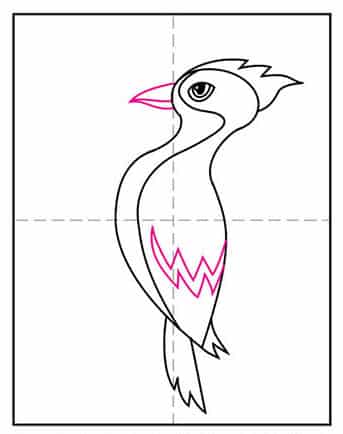
- Add a beak and a pattern on the wing.
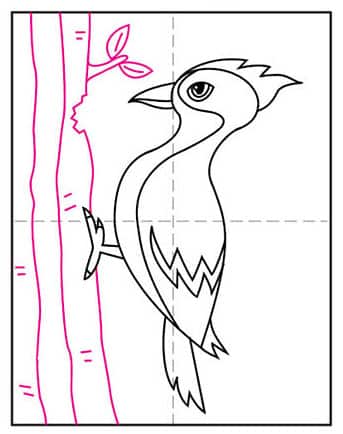
- Draw a foot with pointy claws.
- Add a tree, include a hole that the bird is pecking.
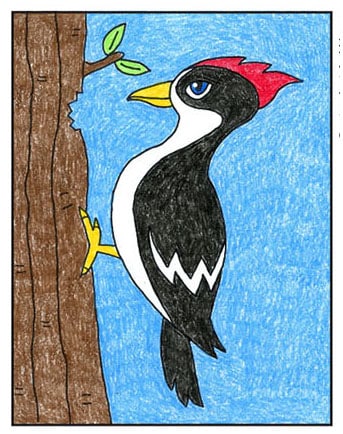
- Trace with a marker and color.