Easy How to Draw Hot Chocolate Tutorial and Hot Chocolate Coloring Page
Below you’ll find an easy step-by-step tutorial for how to draw Hot Chocolate and Hot Chocolate Coloring Page. It’s fun to design your own cup, while you are at it.
Hot Chocolate Drawing
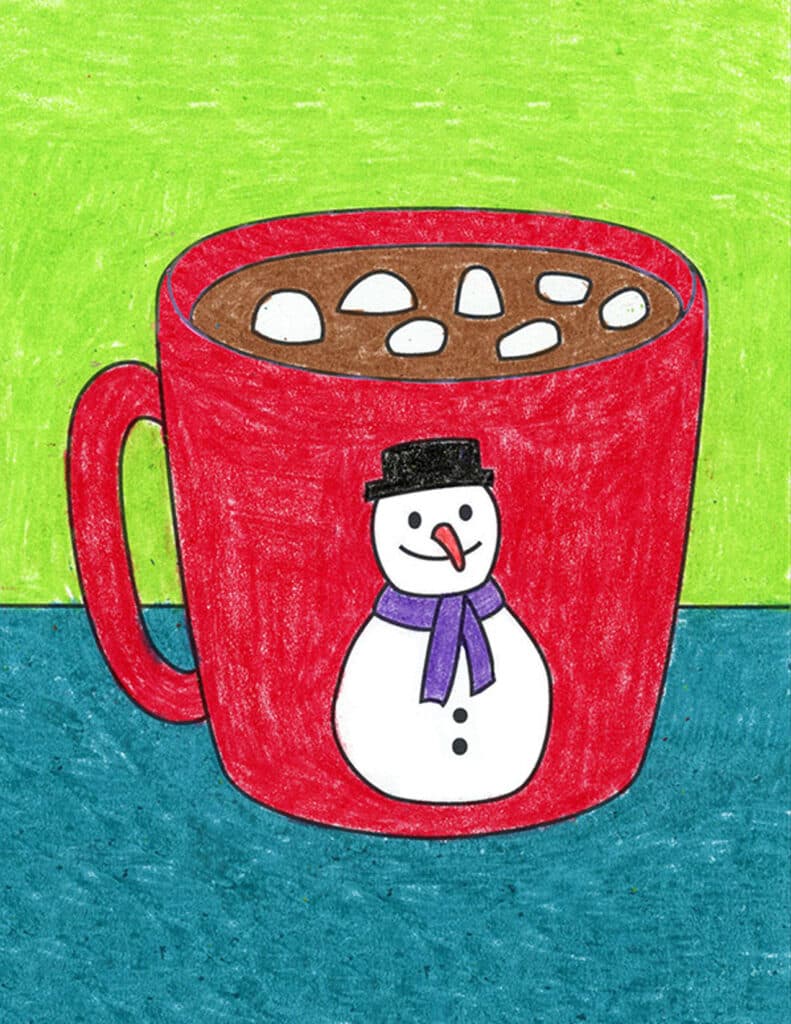
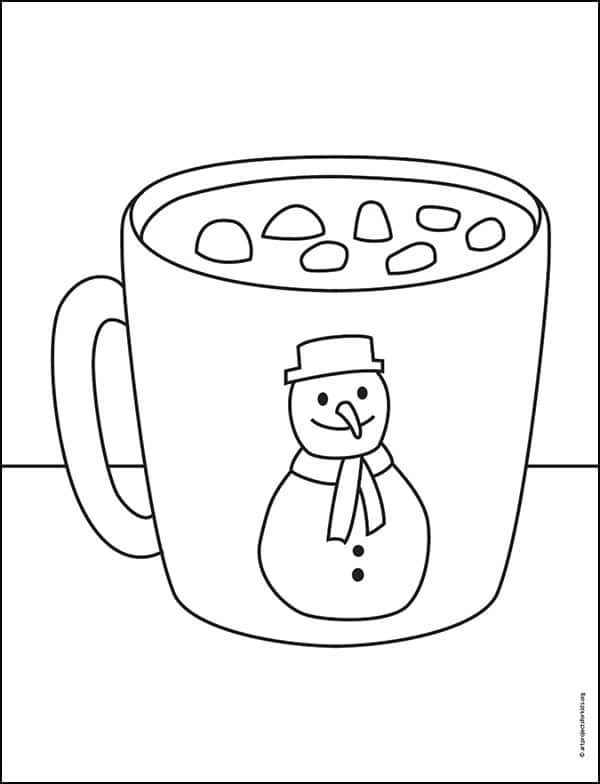
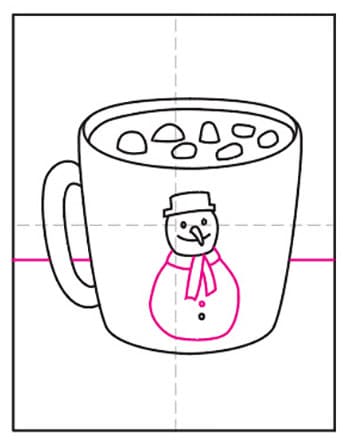
When you learn how to draw Hot Chocolate, you can make the mug as big as you want, filled with as many marshmallows as you want.
This tutorial will show students how to draw the mug with a slight downward point of view, so all the chocolaty goodness inside is on full display. If the top is drawn as an oval, and the bottom of the mug also is a curve, the mug will look like it has a nice round shape, as opposed to looking kind of flat.
For some extra creative thinking, you can challenge your students to come up with their own mug design. A simple snowman is an easy option, but there are so many others too. For a few ideas, just click on the “See More Winter Projects” button above.
Use Button below to get this free tutorial
Pin me to Your Pinterest Board!
Hot Chocolate Coloring Page
Materials for Hot Chocolate Drawing
- Drawing Paper. This is the good stuff you can buy in bulk for a good price.
- Pencils. I like how this brand always makes nice dark lines.
- Black Marker. A permanent marker will give you a dark black color.
- Crayons. The larger packs are nice for more color choices.
- Note: All of the above are Amazon affiliate links.
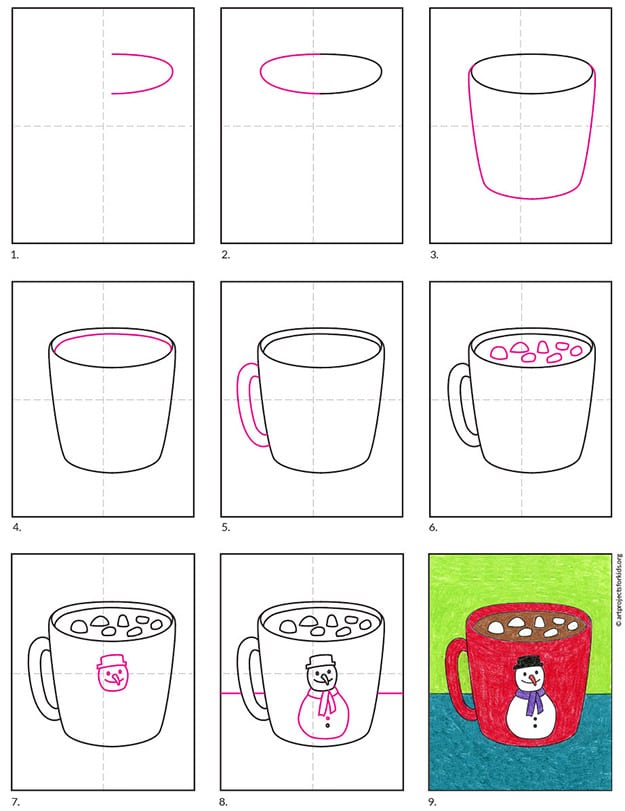
Step by Step Directions for Hot Chocolate Drawing
Time needed: 45 minutes
- Draw half a oval, a bit to the right.

- Complete the oval as shown.

- Draw the base of the cup below.

- Add a edge inside for the cocoa.

- Draw the handle on the left.

- Add lots of marshmallows inside.

- Start the snowman on the side.
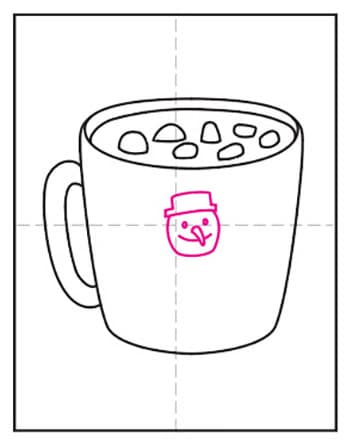
- Finish the snowman, and table line.
- Trace with a marker and color.


