How to Draw Ice Cream: Easy, Step-by-Step Art Lesson for Kids
Below you’ll find an easy step-by-step tutorial for how to draw Ice Cream and a Ice Cream Coloring Page.
Ice Cream Cone Drawing
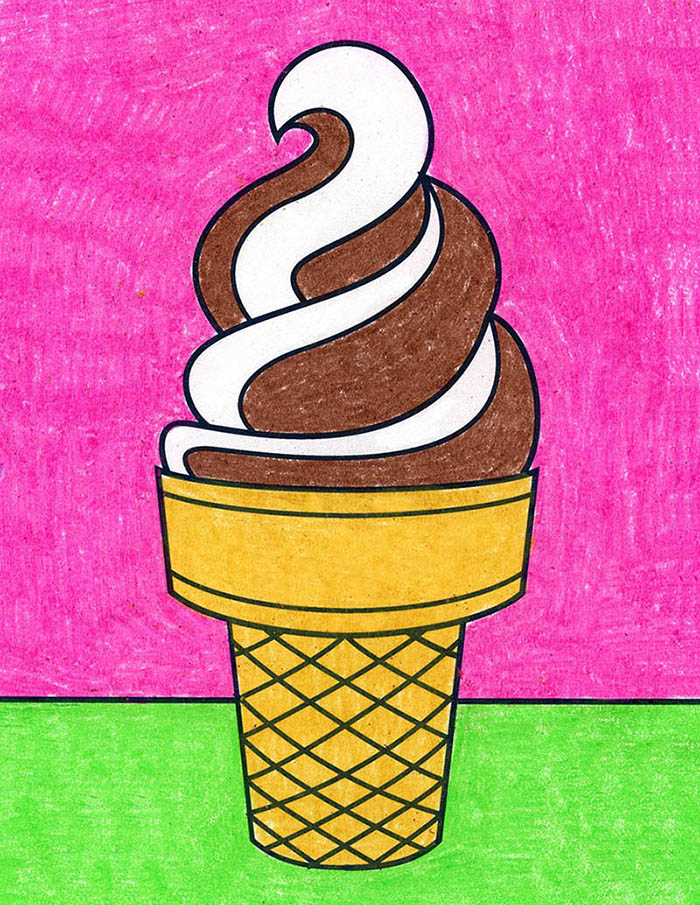
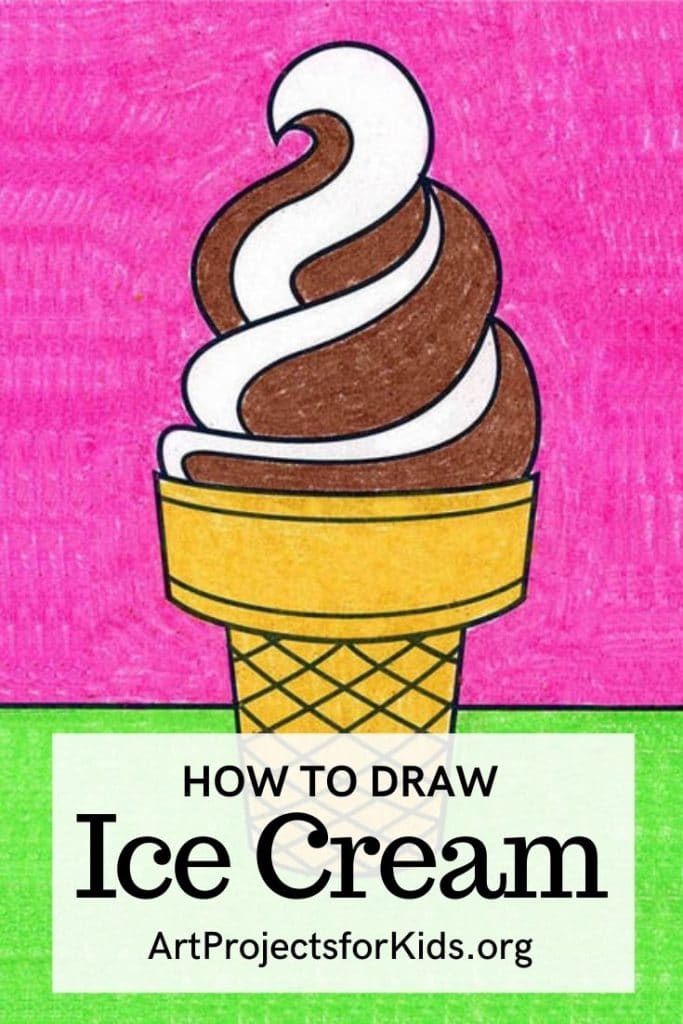
When learning how to draw ice cream, it helps to make it as swirly as can be, and standing in a cone. That way students can shows off all the colors, and provides some lessons in drawing with dimension too. The cone needs to be curved to look round, and the swirls need to get thick and thin, just like they do in real life.
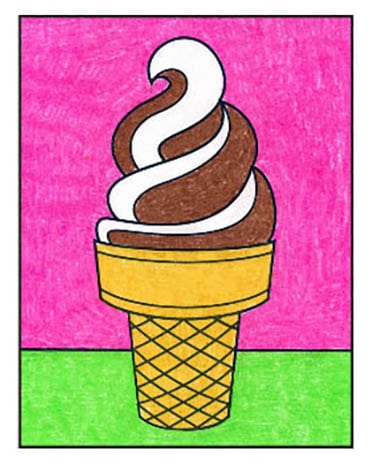
These days, the classic twisted soft serve in a cone is what most children fondly remember about summer. This tutorial shares how a little curve on the cone can make it look more round, and a few diagonal lines can add the familiar texture. A few well-placed twist lines in the ice cream itself will turn it into two flavors, which they can color as they wish. It makes for a lovely work of art that will never melt!
Use the Button below to grab a PDF tutorial

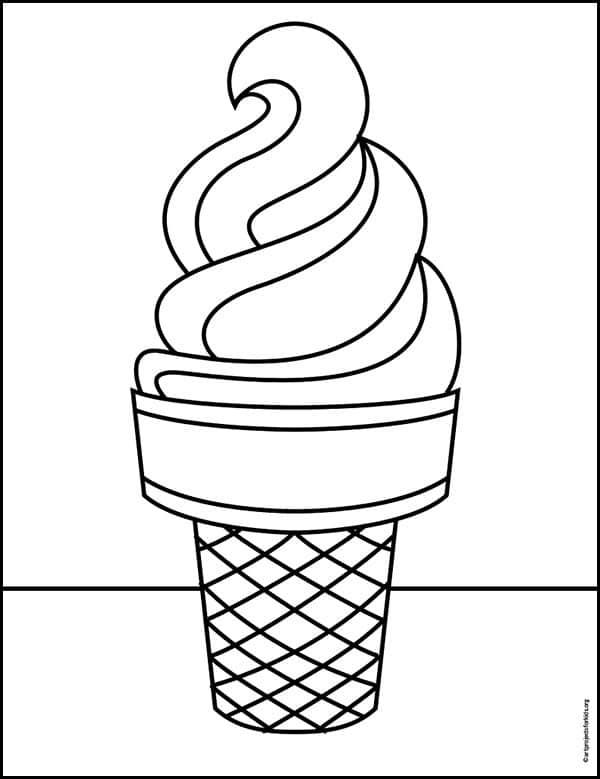
Ice Cream Coloring Page
Materials
Directions to Draw Ice Cream
Time needed: 45 minutes
How to Draw Ice Cream
- Draw the curved shape of the rim of the cone.
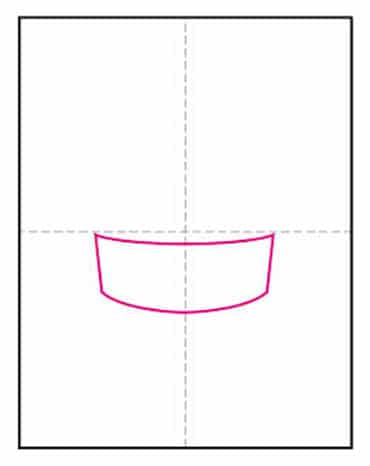
- Add the cup shape below the rim.
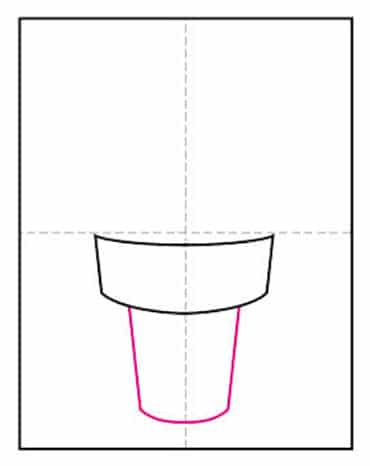
- Draw the rim lines and start the diagonal pattern below it.

- Add diagonal lines in the opposite direction.

- Draw the first ice cream layer like this.

- Add another ice cream layer on top of it.
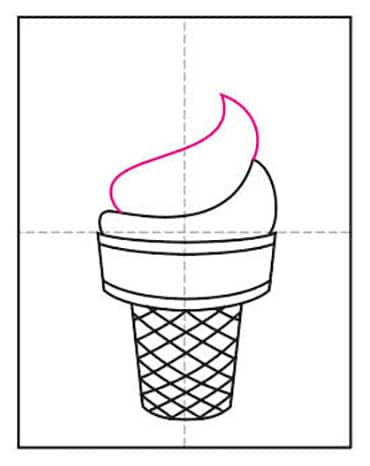
- Add a third ice cream shape with twist on top.

- Draw the inside swirl lines in each section.

- Trace with a marker and color.









First off, I want to thank you for your willingness to share your hard work! I have had many students benefit from your step by step drawing! We always come to your site first. Second, link to the pink background swirl icecream pdf is actually a dinosaur :-). Thanks again for your offerings!