How to Draw Your Self Portrait with a Step-by-Step Guide
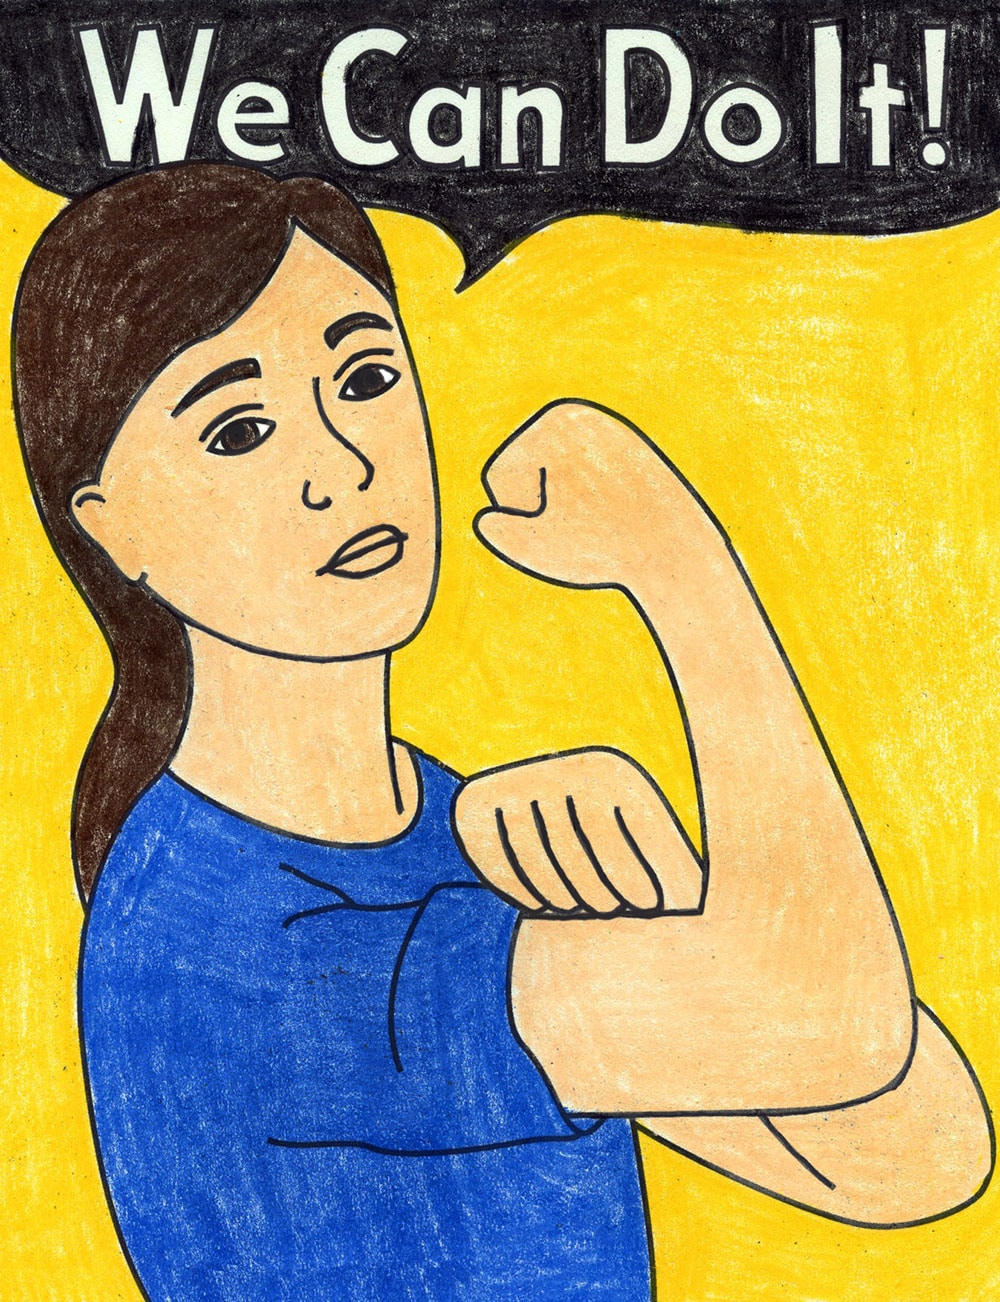
Here’s a step by step art lesson for drawing your own self-portrait art with the pose of Rosie the Riveter. She became an iconic symbol of working women in the World War II era.


Who was Rosie the Riveter?
Rosie the Riveter was an allegorical icon of World War II, representing the women who worked in factories and shipyards during World War IIs. According to the Encyclopedia of American Economic History, “Rosie the Riveter” was the inspiration for a social movement that increased the number of working American women from 12 million to 20 million by 1944.
The slogan “We Can Do It!” was originally about winning the war. But it’s now meant to suggest women can do anything they put their minds to.
As students prepare for their new school year, and look for a way to draw themselves with a growth mindset mentality, this famous pose and message can send a powerful message. This step by step tutorial shows students how to draw a basic body in the famous “Rosie” pose, with the hair and face being one of the final steps they could customize.
Working with Drawing Guides
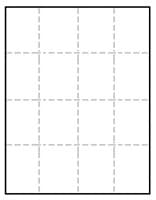
You may have noticed that there is a grid of three dashed lines, both in the horizontal and vertical direction, on every step of this tutorial. If students make their own centered lines on their own paper, before drawing, they will have an easy reference to follow.
For instance, as seen in Step 1 below, this head shape sits above the center horizontal line, and to the left of the middle line of the paper. The body then falls below to fill up the bottom three rows of rectangles.
So does that mean students need to draw a big fat pencil lines one their white paper before they start? Not at all. That will most likely be hard to erase and distract from any finished art. No, simply fold the paper in half twice, both ways, make a crease, and unfold. The beauty is that by the time the drawing is done and colored in, the creases will disappear.
Use the Button below to download a PDF Tutorial

Who is this Self Portrait Project For?
Younger students that are still learning just how to sketch a head on a body, and where to place the facial features, will do better if they choose simpler self portrait projects. If I had to guess at a grade level, that means this is maybe better suited for fourth and fifth graders, or higher. Younger classes might have a few kids that could take this on, but on average there might be more that are frustrated than those who are not.
This portrait, though greatly simplified, has the body at a slight angle. For that reason, I recommend it for students that have already drawn faces and bodies with a straight-on view, without a lot of difficulty. It’s not really about the age or grade level, more about the ability to draw a variation of something they have done already. It will greatly increase the possibility of them feeling successful, and that’s a wise thing to consider when choosing a project for a class.
Materials to Draw a Self Portrait
- Drawing Paper. This is the good stuff you can buy in bulk for a good price.
- Pencils. I like how this brand always makes nice dark lines.
- Black Marker. A permanent marker will give you a dark black color.
- Crayons. The larger packs are nice for more color choices.
- Note: All of the above are Amazon affiliate links.
Directions to Draw a Self Portrait Step by Step
Time needed: 1 hour
Make your own Self Portrait Drawing
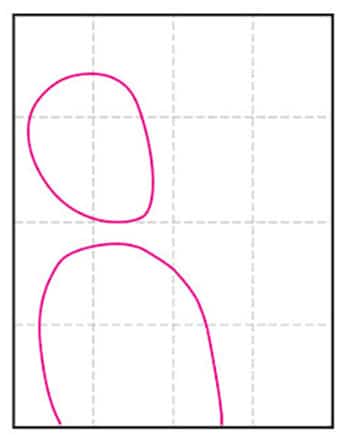
- Draw the head and basic body shape.

- Connect the two with a neck.
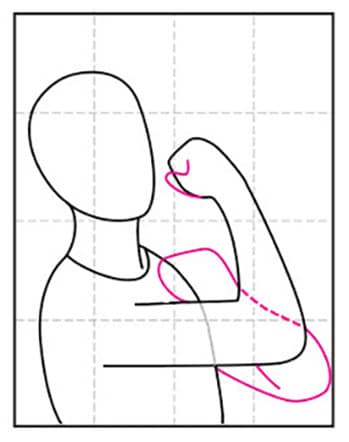
- Erase one line and draw the right arm.
- Add a thumb and draw the other arm. Make sure the hand lines up with the elbow.
- Add fingers to the hand and draw a folded sleeve.
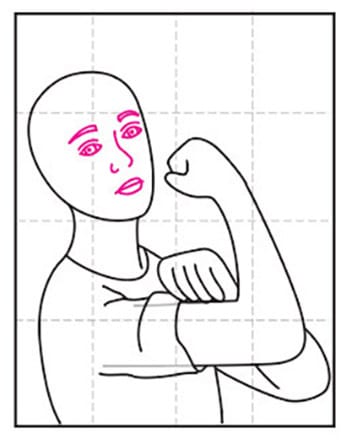
- Draw the face with a chin that is tilted back a bit.
- Add the hair around the head as needed, and an ear.
- Erase the inside head line and add a caption.
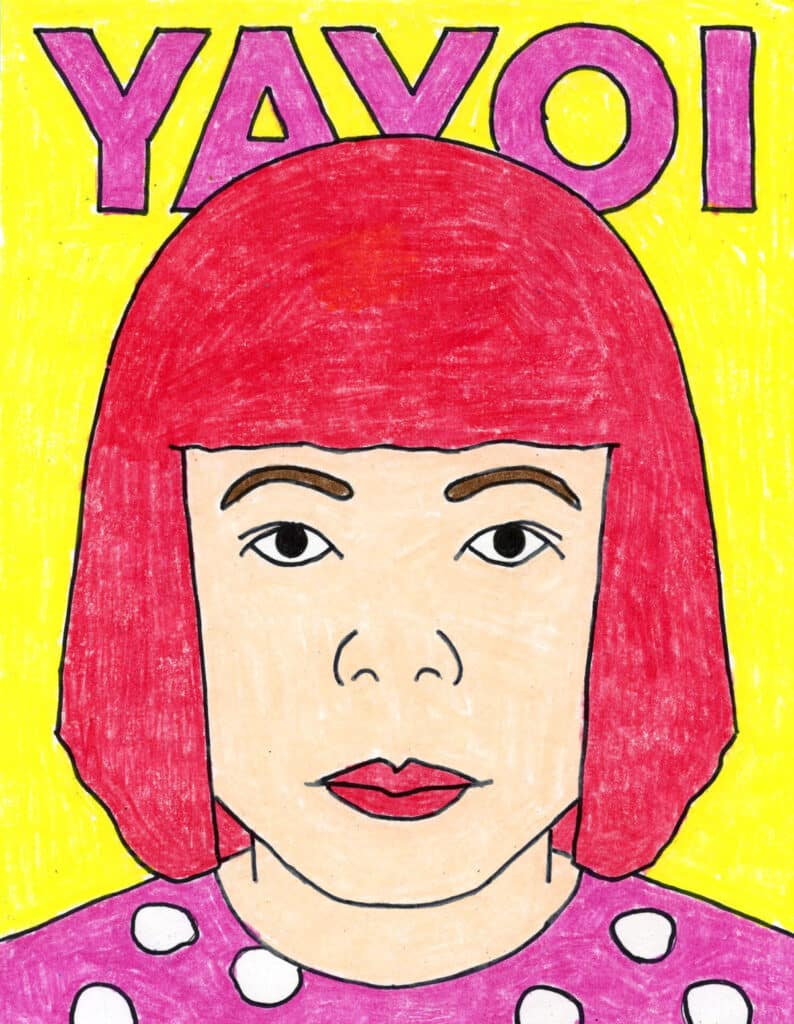
- Trace with a marker. Color with crayons, oil pastels or medium of choice.