How to Draw Cubism: Easy Step-by-Step Art Lesson for Kids
Here you’ll find an easy step-by-step tutorial for how to draw Cubism for Kids and Coloring Page. It’s easy for artists of all ages to draw.
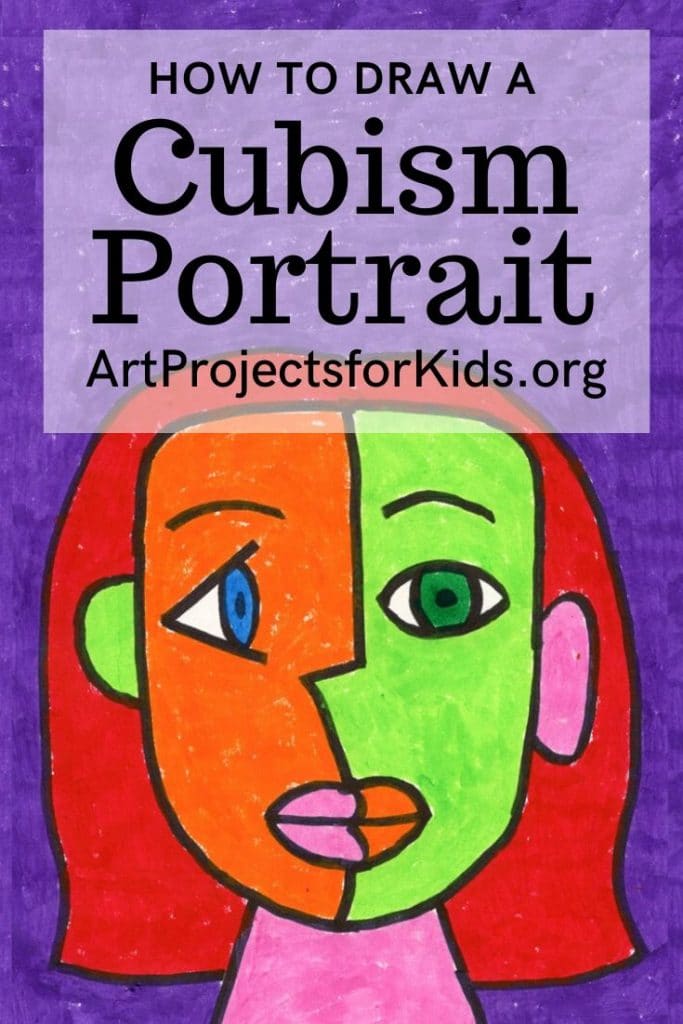
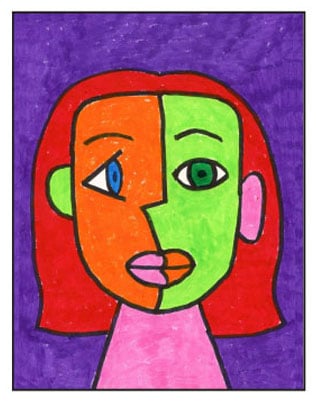
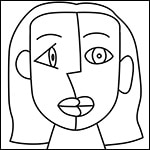
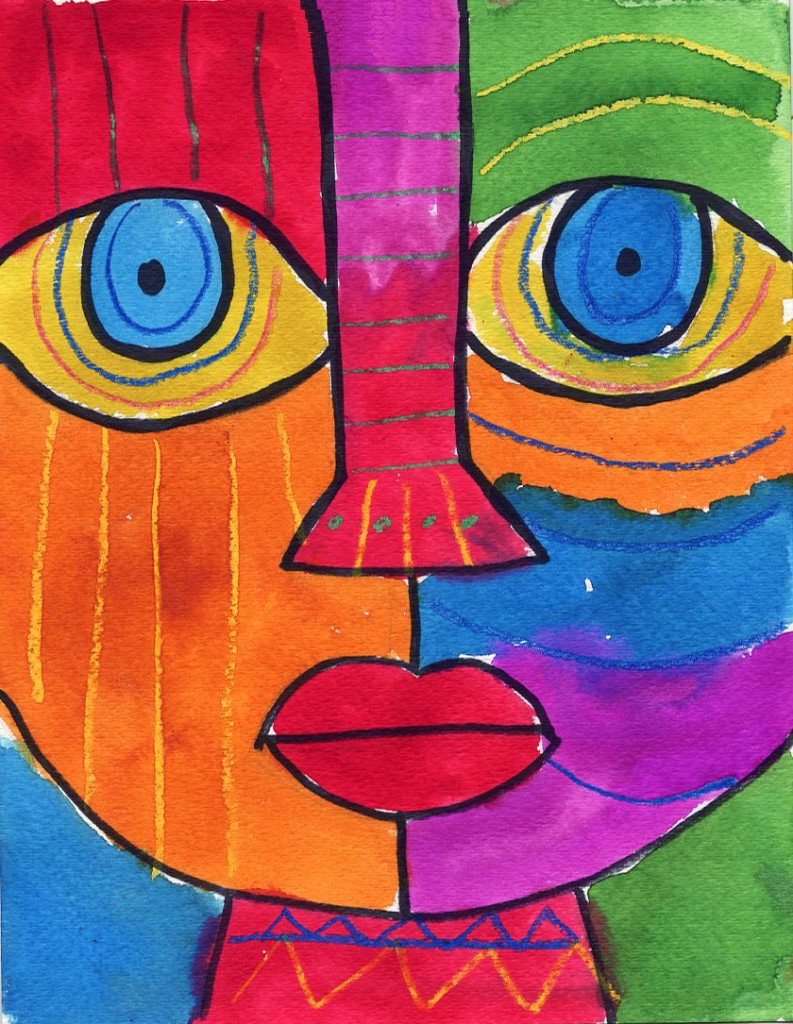
Drawing of a Cubism Portrait
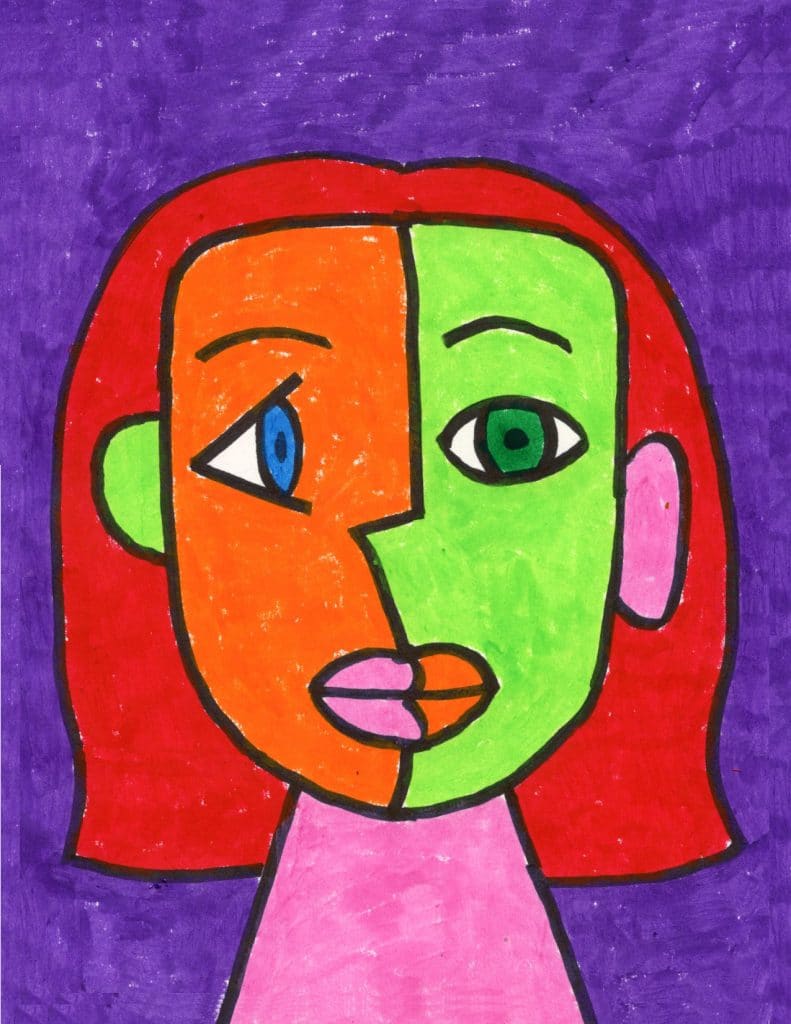
There are lots of long-winded explanations of what cubism for kids is, but I like to boil it down to the idea that it’s seeing two sides of one thing at the very same time.
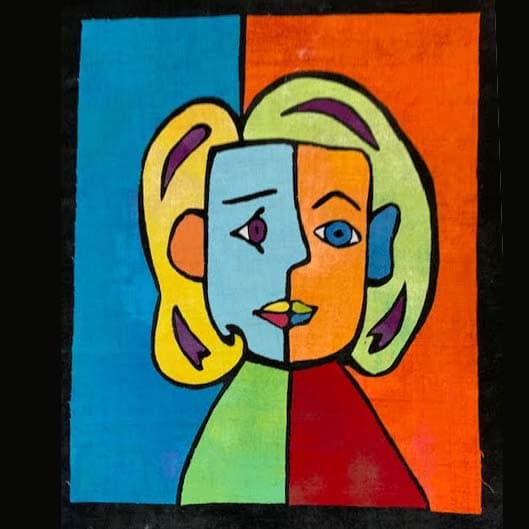
One of the easiest ways for students to try out that idea is to have them draw a face, with a cubism approach applied to it. One side is drawn in profile view, and one is straight forward. And if you make the dividing line run from the top of the face to the bottom, you get closed shapes that can easily be colored differently to emphasis the look.
This drawing can look great in all kinds of media, I just prefer one that lets your colors be as bright and bold as possible. Mr. Sketch Markers are a fun to work with, but in the end it’s also about the time and care that is taken while coloring. The more carefully things are filled in, the better (no scribbles!).
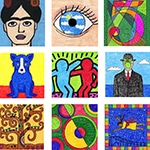
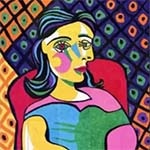
More Cubism Project Ideas
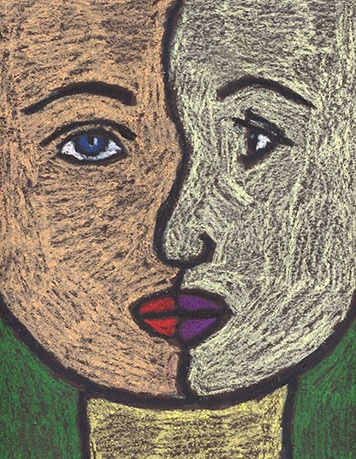
Cubism + oil pastels 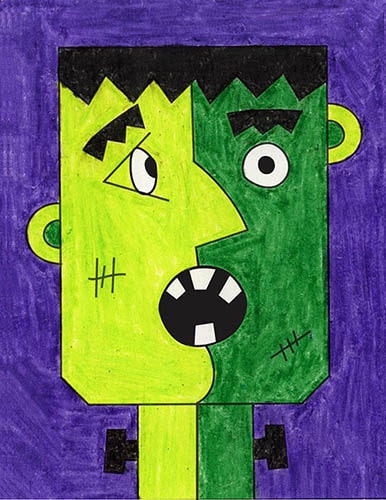
Cubism + Frankenstein 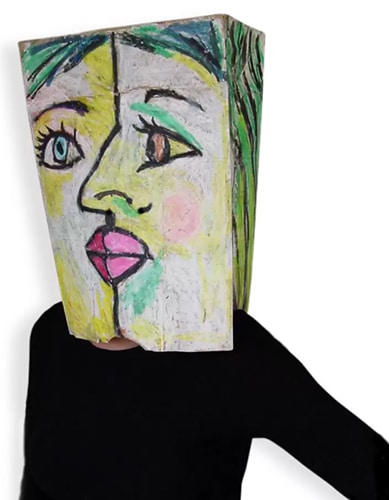
Cubism + grocery bag
Join “The Daily Draw” to get this free tutorial!
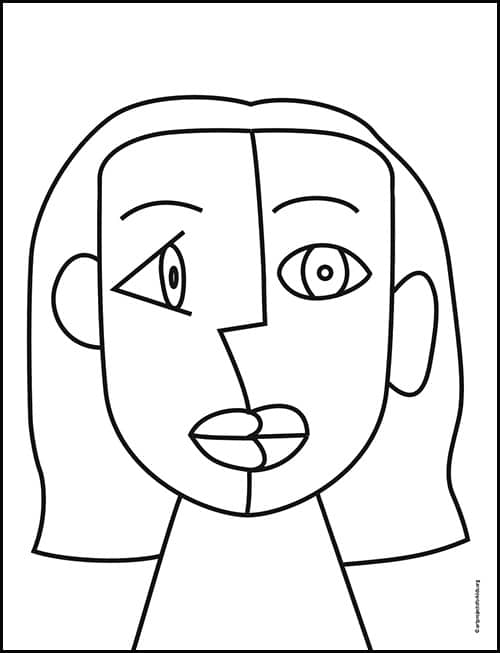
Cubism Portrait Coloring Page
Watch a short video of a Cubism for Kids drawing
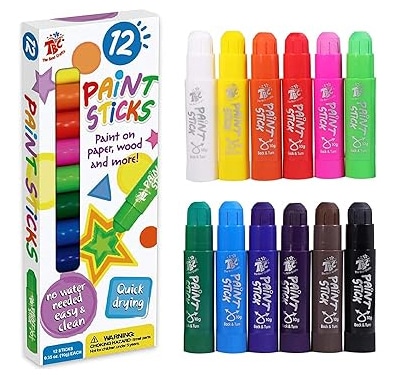
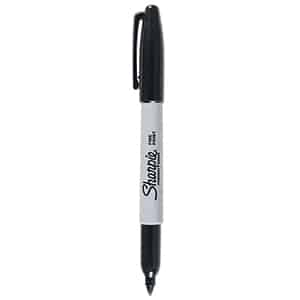
Materials to Draw a Cubism Portrait
Pin me to your Pinterest Board
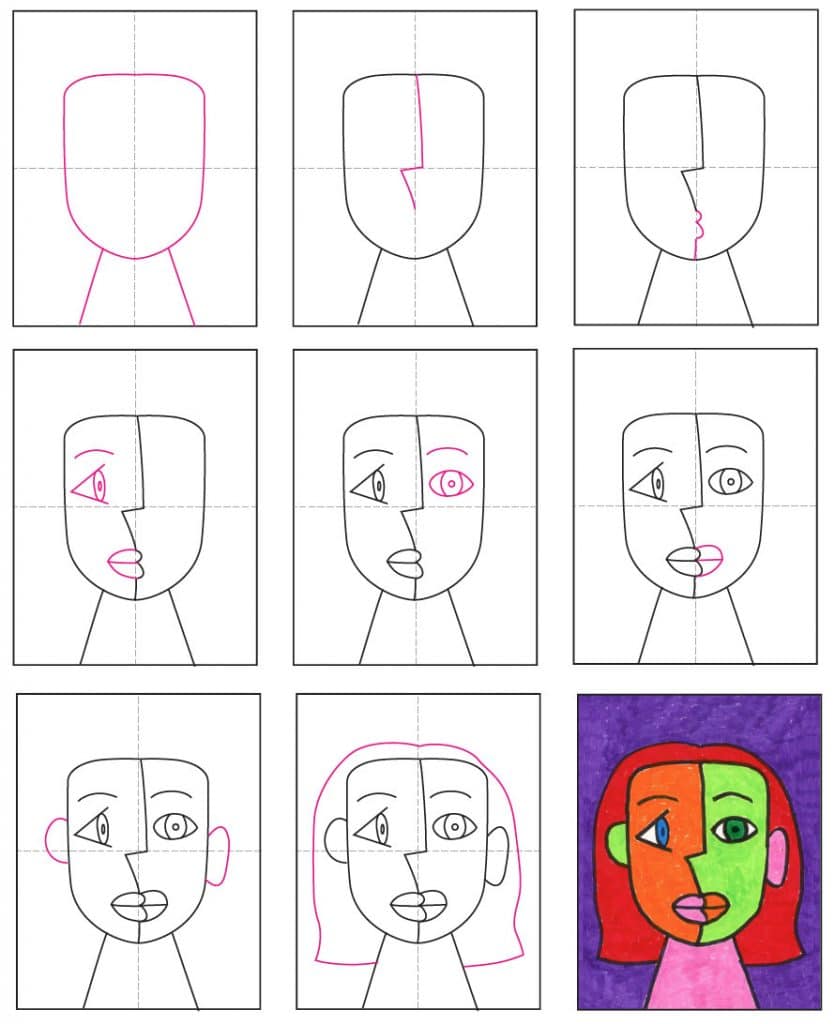
Step by Step Directions
Time needed: 1 hour
Draw a Cubism Portrait for Kids
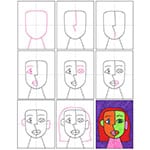
- Draw the head and a simple neck.

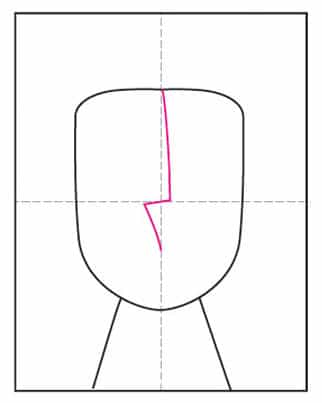
- Start the nose line as shown.
- Add the mouth and the chin.
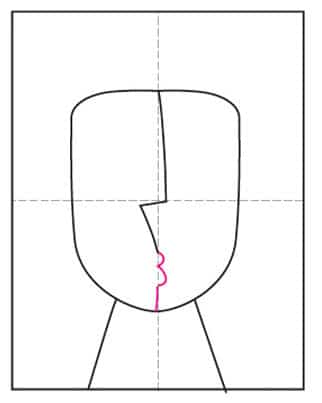
- Draw the left profile face with the eye and mouth lines.

- Draw the right forward looking eye.
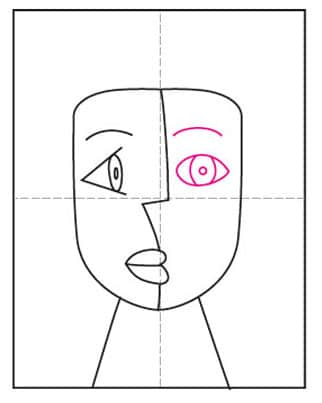
- Add the right side lips.
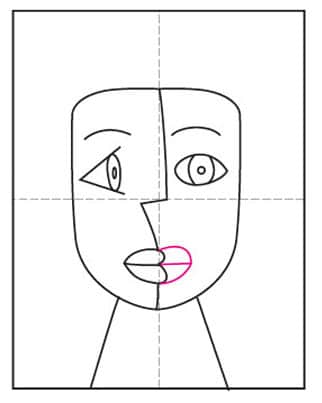
- Draw two ears on the side of the head, they do not need to match.
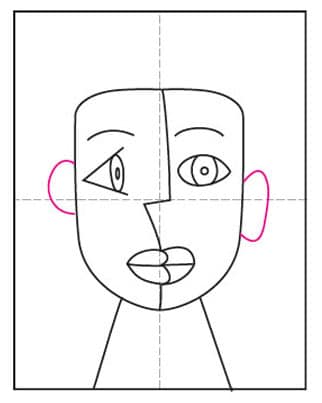
- Draw the hair around the head as needed.
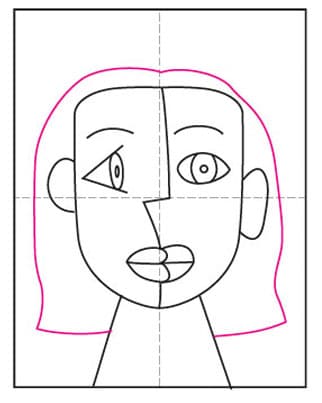
- Trace the drawing with a thick black marker and color.

Already subscribed to “The Daily Draw”?
Great, then use the download button below to get your free Circle Tree tutorial.
And thanks for wanting to bring more step-by-step, no-prep art lessons to your classroom!
I purchased your faces ebook. I have volunteered to teach a simple portrait quilt class for my guild this summer. I found lots of ideas on Pinterest including your instructions for kids.
I’d like to use a couple of your how to draw for my quilt class.. adults not kids. I could not find anything on license costs for students. What do I need to do to do this? Cindy
Hi, that sounds like a cool project! Can you email me at kathybarbro(at)gmail.com? Thanks!