Bowser Drawing: Step-by-Step Cartoon Lesson for Grades 4–5
Learn how to draw Bowser with this step-by-step lesson for grades 4–5. Includes video + PDF. Perfect for crayon cartoon drawing practice.
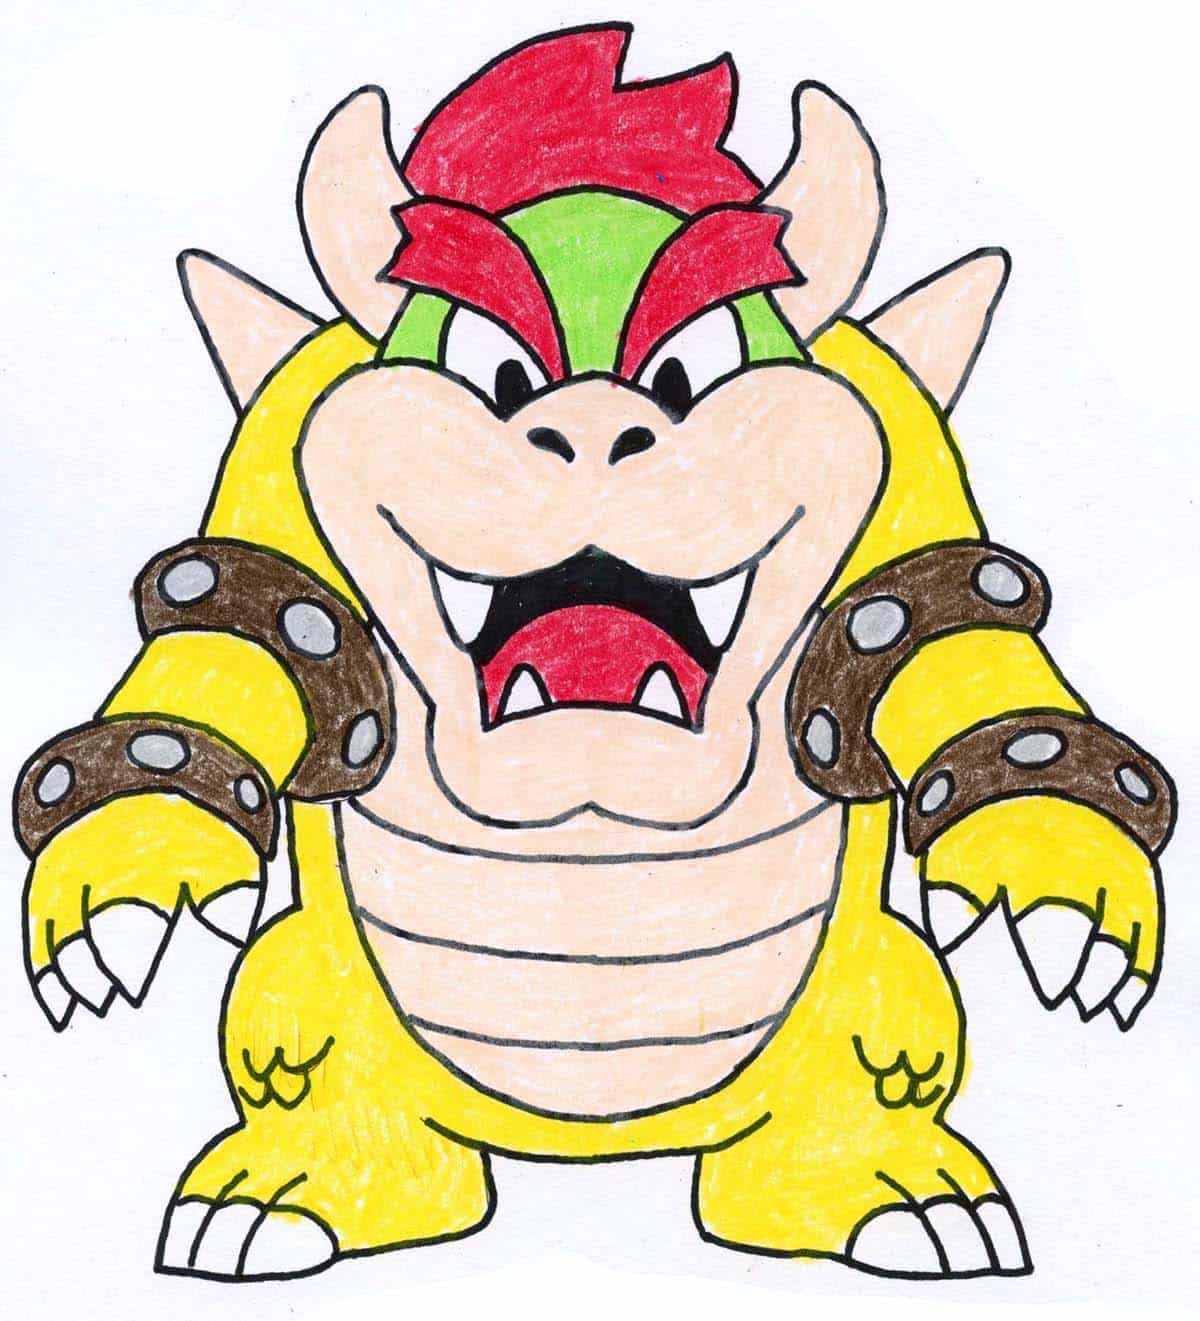
Bowser Drawing Art Lesson
This Bowser drawing lesson tends to be a hit because it taps into something kids already care about, while still giving you a clear, teachable plan. Bowser can look complicated at first, so it’s really satisfying when students realize they can build him step by step. Starting with simple shapes takes the pressure off and helps everyone get moving instead of freezing up at the beginning.
It works especially well for grades 4–5 because students are ready to add more detail—spikes, studs, claws—without needing the drawing to be “perfect.” The pacing is steady and easy to manage: draw one part, pause, do a quick check, and then move on together. That routine keeps the class on the same page, cuts down on repeated questions, and gives early finishers a reason to slow down and refine their work.
One of the skills students practice here is how cartoons are designed on purpose. They learn that cartoon drawing isn’t about copying every tiny detail—it’s about using bold, simplified forms and then exaggerating the most important features. Bowser is a great example because his jaw, shell, and overall shape are what make him recognizable right away, even before you add all the extras.
And because the final step uses crayons, the finish line feels very achievable. Crayons let students fill big areas quickly, choose bright colors, and create strong contrast without needing advanced shading skills. Once they trace with marker and add color, the drawings look polished and display-ready, which makes this project a confidence booster and a great one for the hallway.
Exaggeration and Simplification in Cartoon Drawing
This Bowser drawing lesson works well in an elementary art room because it takes a character kids already love and turns it into a steady, confidence-building project. Bowser can look intimidating at first, so students feel proud when they realize they can draw him. The steps are clear and visual, which helps kids trust the process instead of worrying about being “good at drawing.”
It’s a great fit for grades 4–5 because students are ready for fun details—spikes, studs, and claws—but still need structure to stay successful. Starting with simple shapes and repeatable parts keeps frustration low, and adding details in order makes the drawing feel doable for everyone.
This project also teaches an important cartooning idea: cartoons are designed on purpose, not drawn realistically. When students exaggerate key features and use simplified shapes like ovals, curves, and triangles, their drawings look cleaner and more recognizable
Finishing with marker and crayons makes it especially classroom-friendly. Crayons help students fill large areas quickly, use bold color, and get a polished result without advanced shading. The final drawings pop on display and leave students feeling proud and excited to draw again.
Grab this how to draw Bowser PDF Tutorial
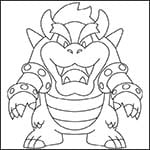
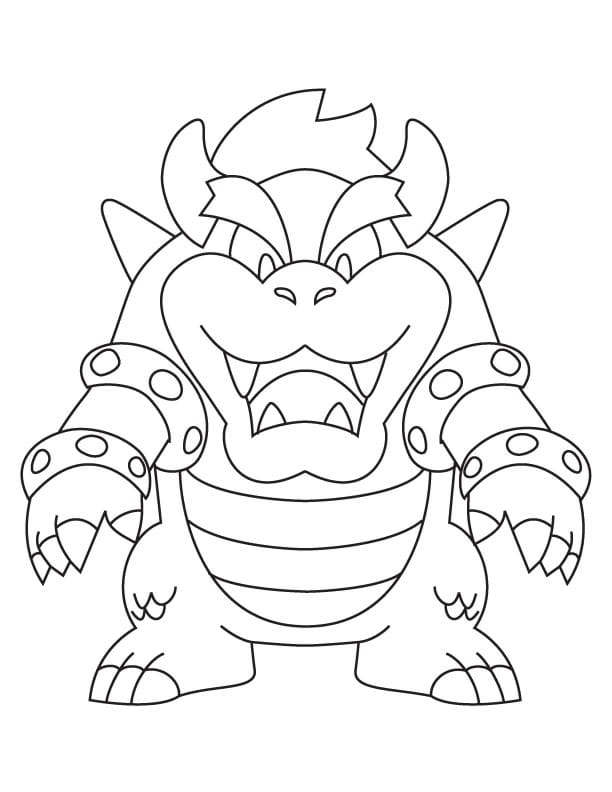
Bowser Coloring Page
Bowser Drawing Lesson Materials List


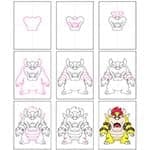
Bowser Drawing Step-by-Step Instructions
Time needed: 1 hour
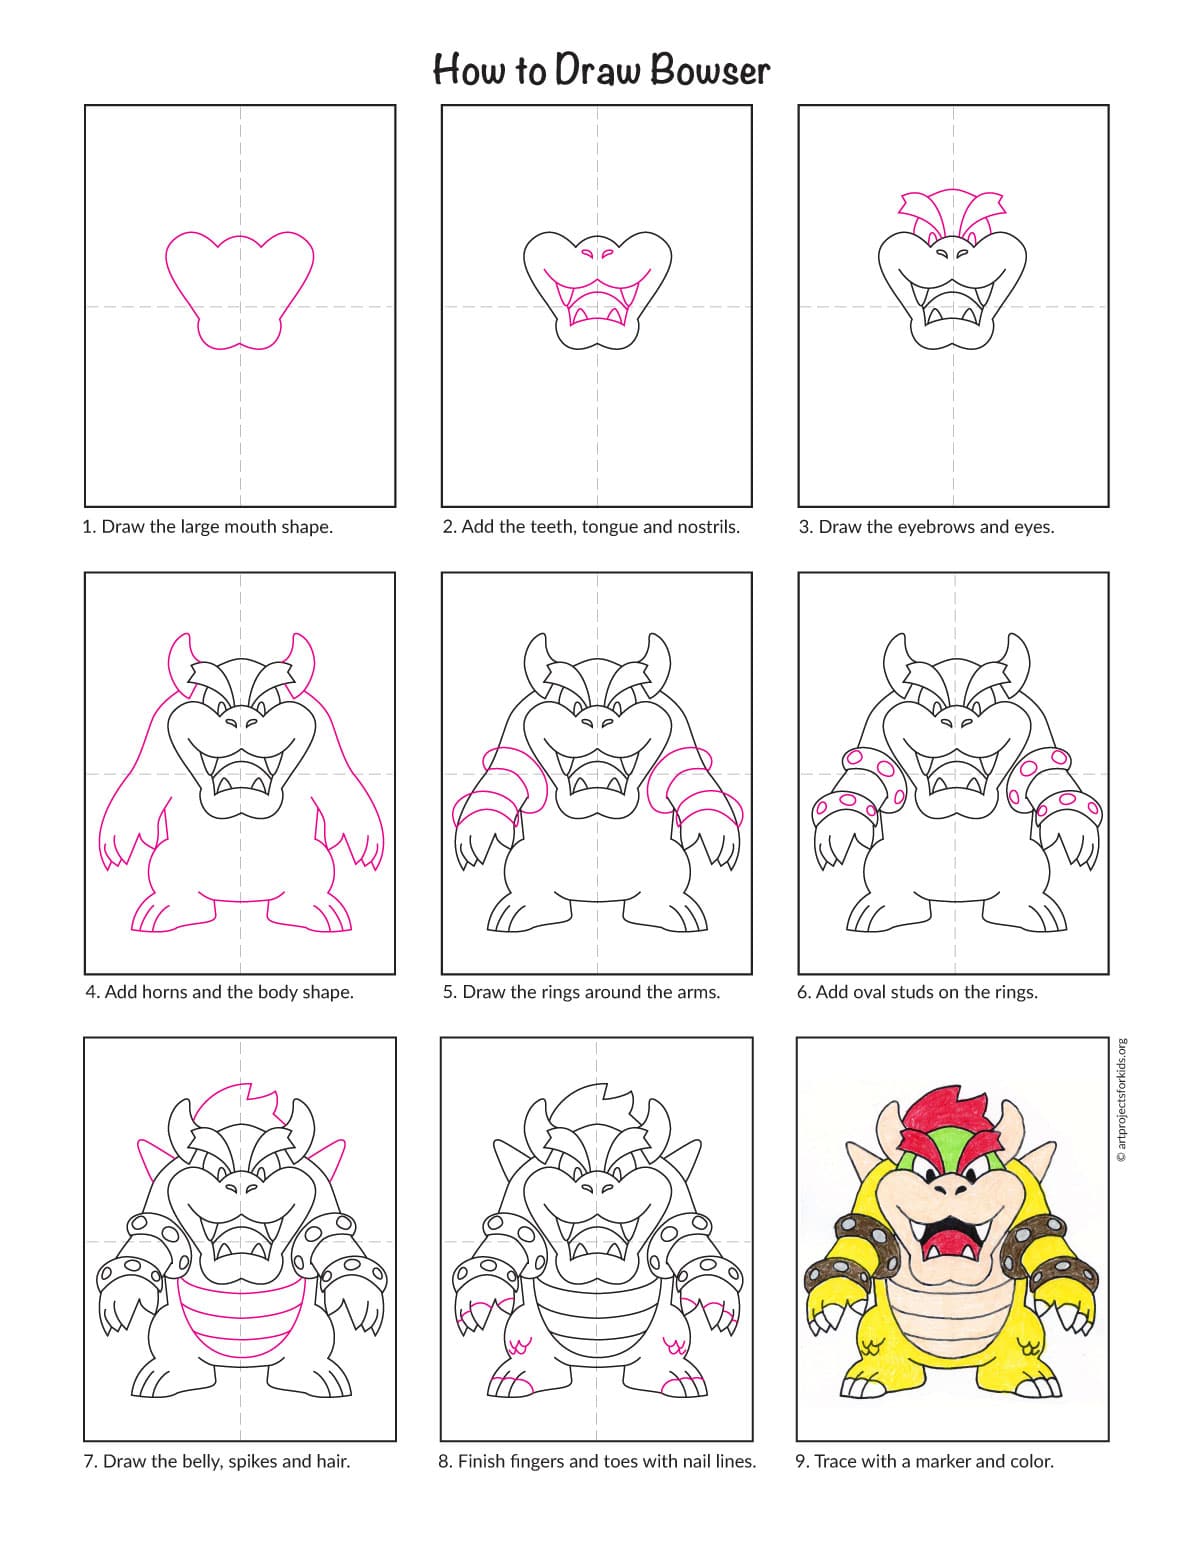
How to Draw Bowser Step by Step
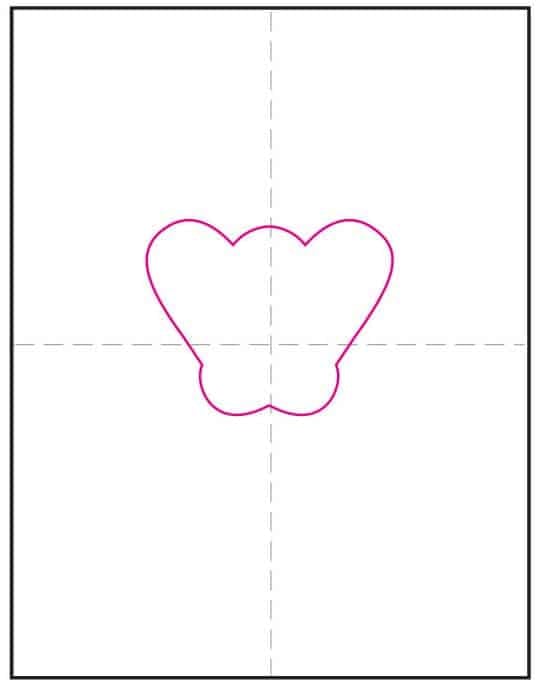
- Draw the large mouth shape.

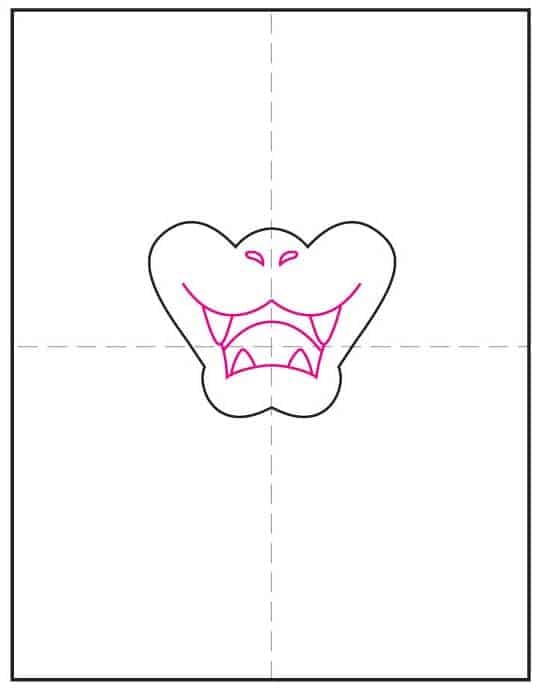
- Add the teeth, tongue and nostrils.
- Draw the large eyebrows and eyes below.
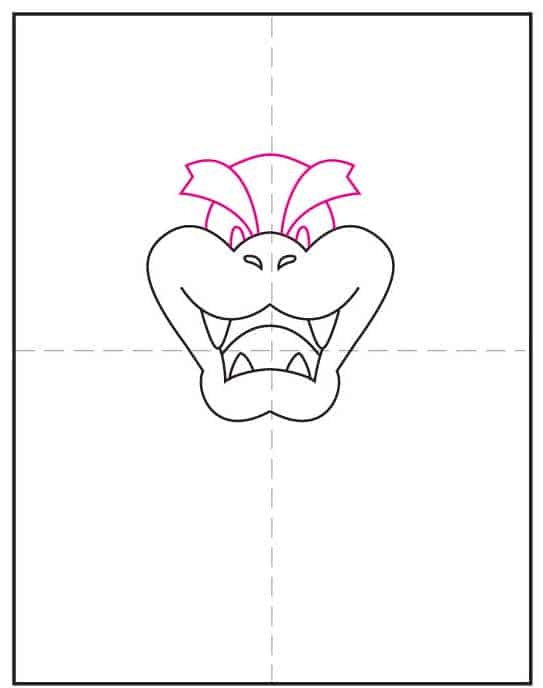
- Add the top of the head.
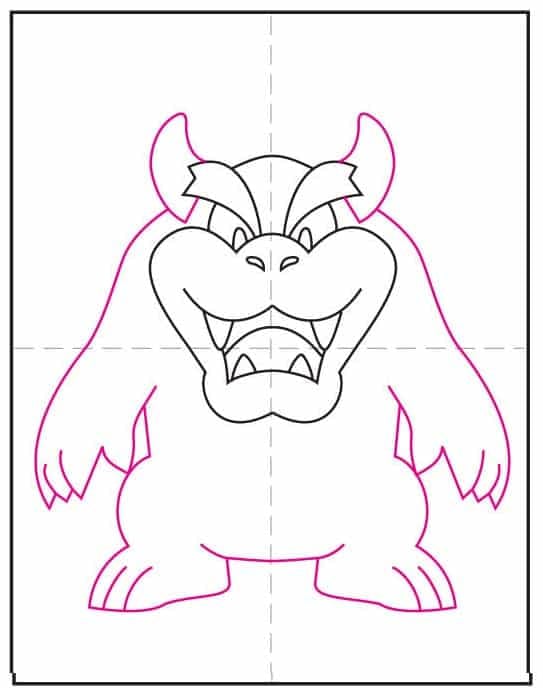
- Draw the horns and outline of the body.
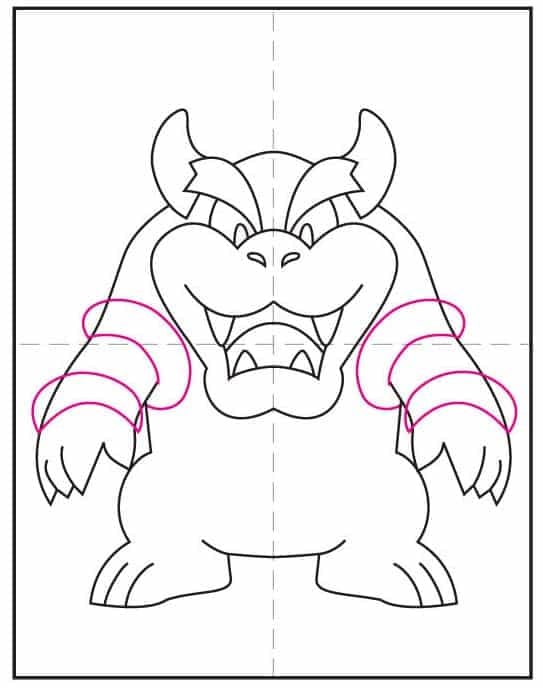
- Draw the rings around the arms.
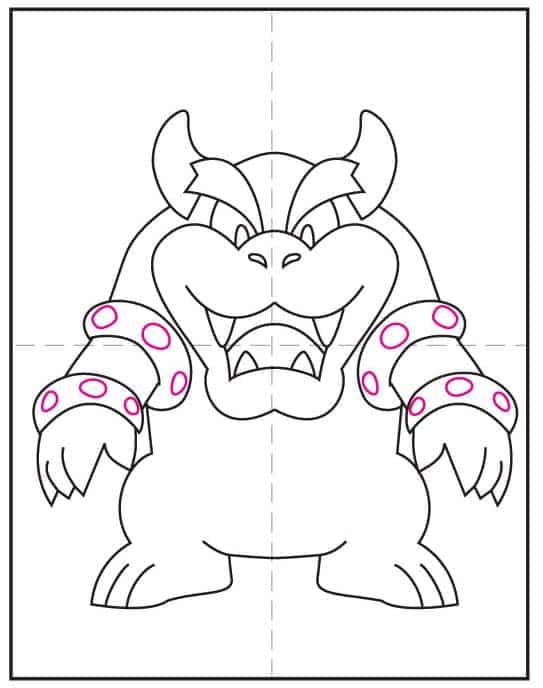
- Add the oval stud shapes to the rings.
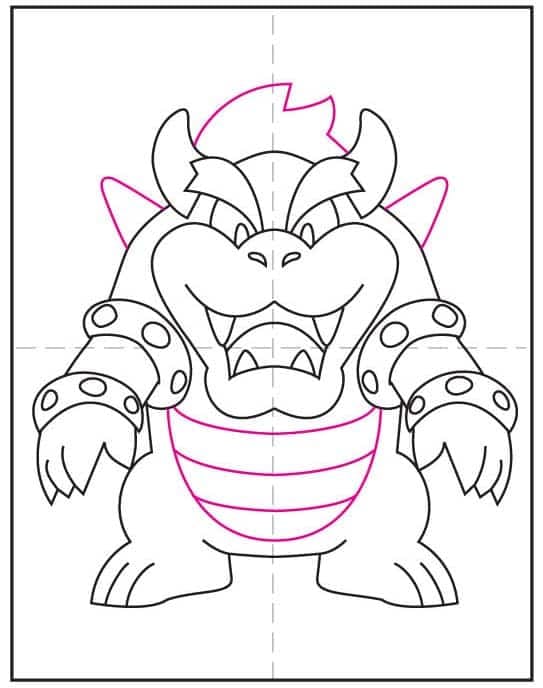
- Add shell, spikes and tuft of hair.
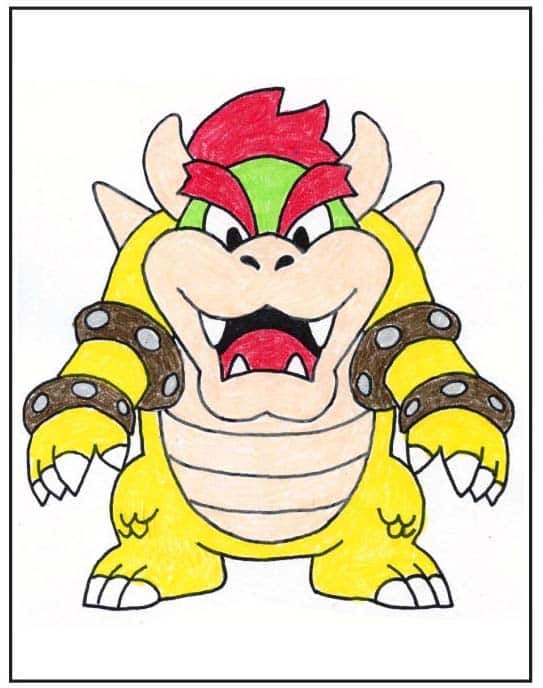
- Trace with a marker and color.