Easy Valentine Portrait: Heart Glasses Drawing
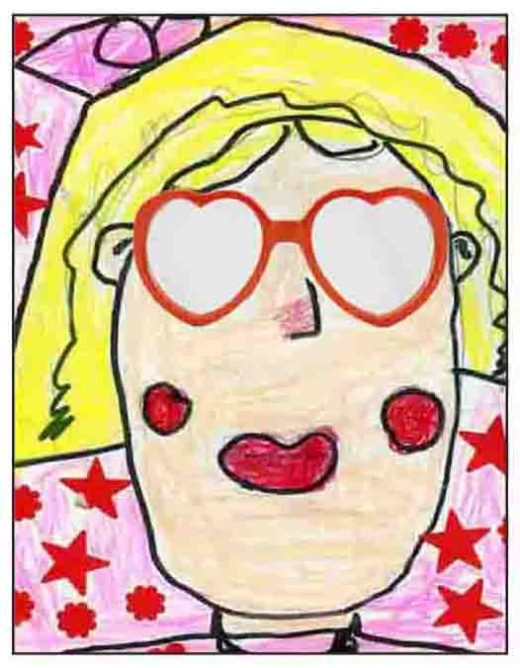
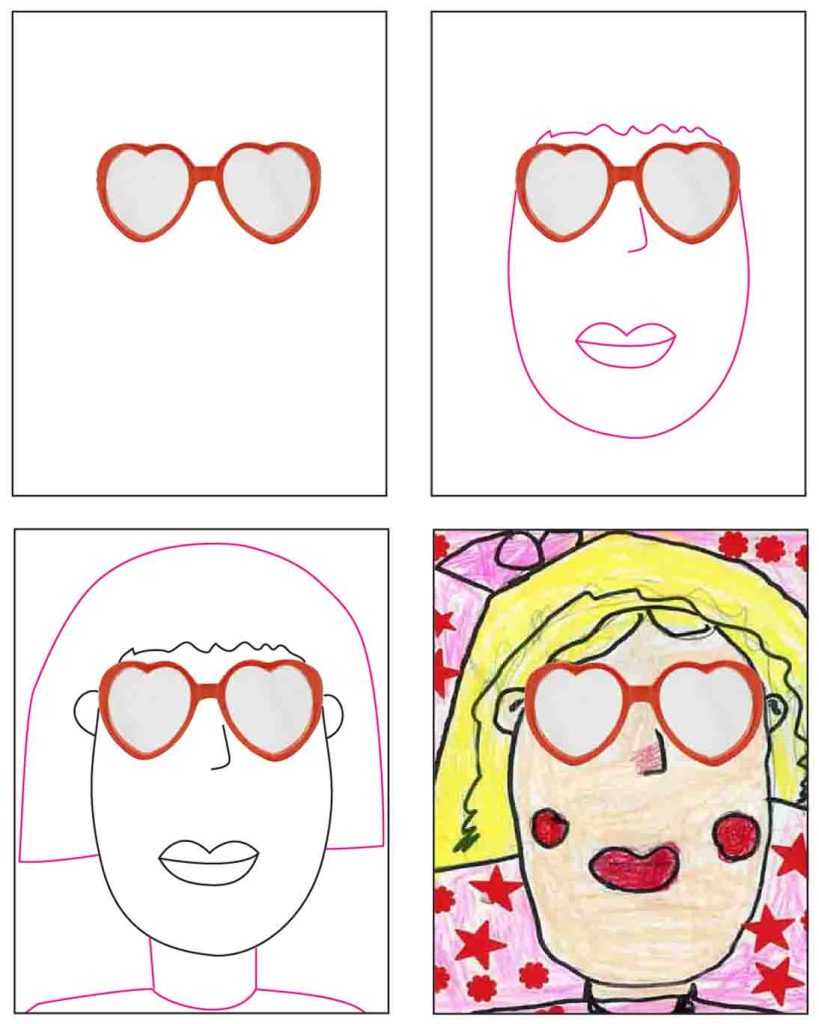
Below you’ll find an easy step-by-step tutorial for a heart glasses drawing. Now students can practice drawing their faces, while making a very cool Valentine portrait.
This project can certainly help students create a fun and cute drawing of themselves, but it can also teach a lesson too. Starting with a fixed shape, like the sunglasses, shows how they need to think about proportion, when making a Heart Glasses drawing.
When starting off their drawing, point out that the width of a head should always match the width of glasses, when both are part of a portrait drawing. If they draw a head that is much larger, the glasses will look rather odd and small in comparison. The same is true if they go the other way, and draw a very small head, which will make the glasses look extra large.
For a proportion that looks more natural, no matter what the type of glasses, the head is usually just about the same width as the glasses. After all, they do line up with the ears that sit on the outside of the head.
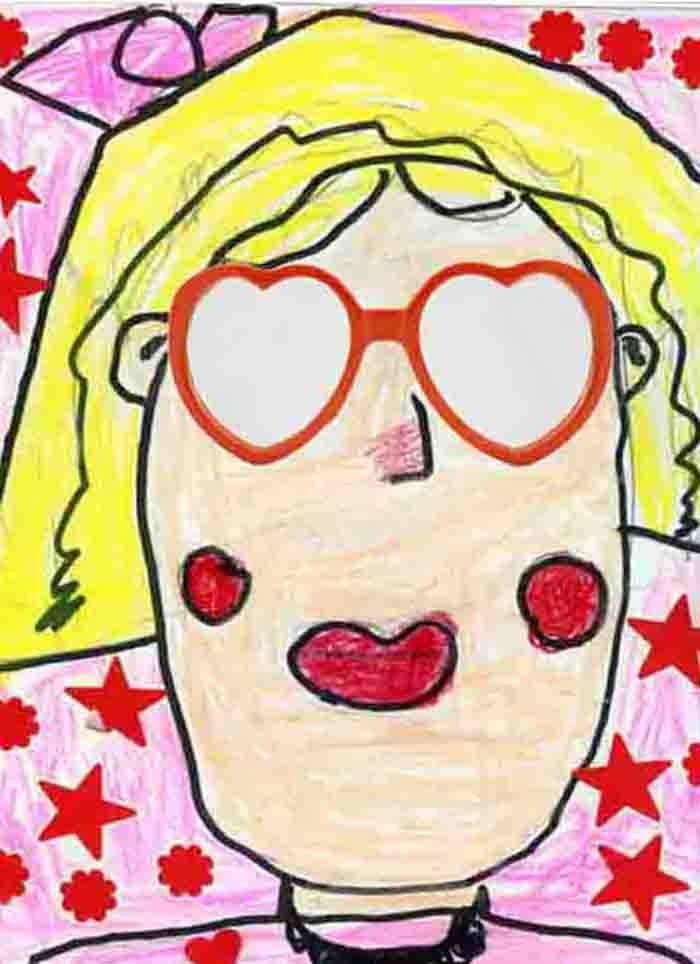
When students take a moment to get their first lines in place where they want them for this Valentine portrait, the rest will fall into place. The drawing above was made by a kinder, years ago, who went on to add lots of pretty stickers. It still makes me smile, every time I see it.
Use the Button below to Download a PDF Tutorial
Materials to draw Heart Glasses Portrait
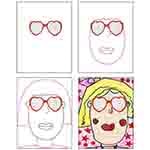
Step by Step Directions for a Heart Glasses Drawing
Time needed: 1 hour
How to draw a Heart Glasses Portrait
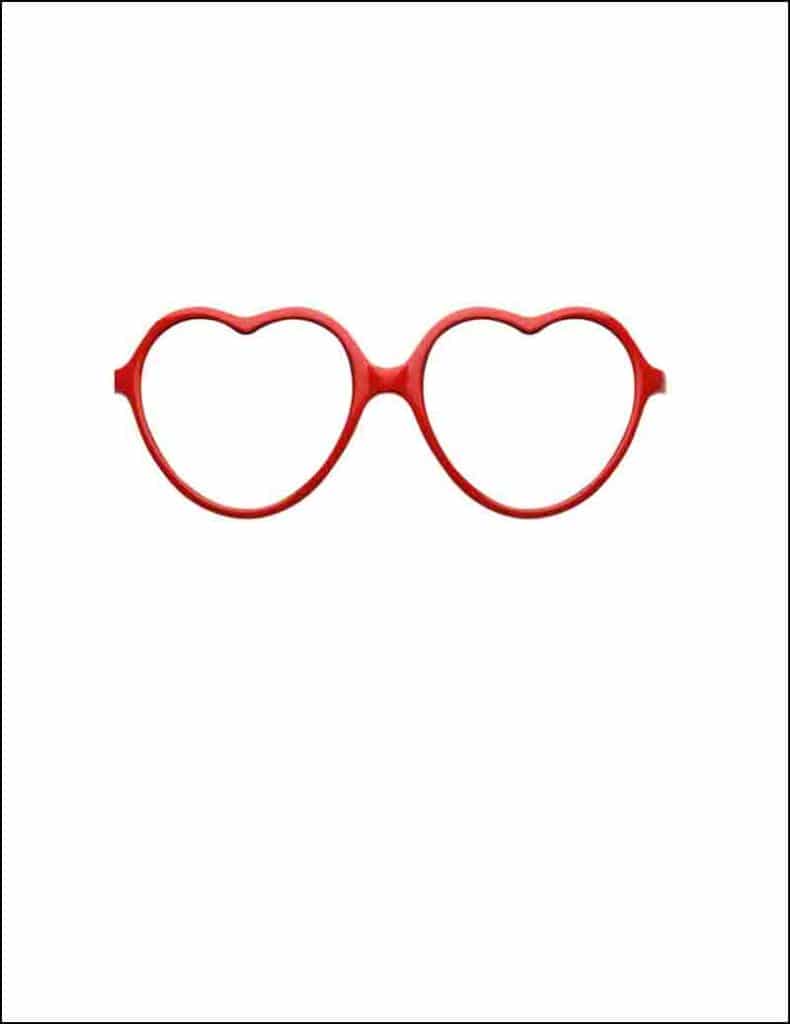
- Print the template on drawing paper.
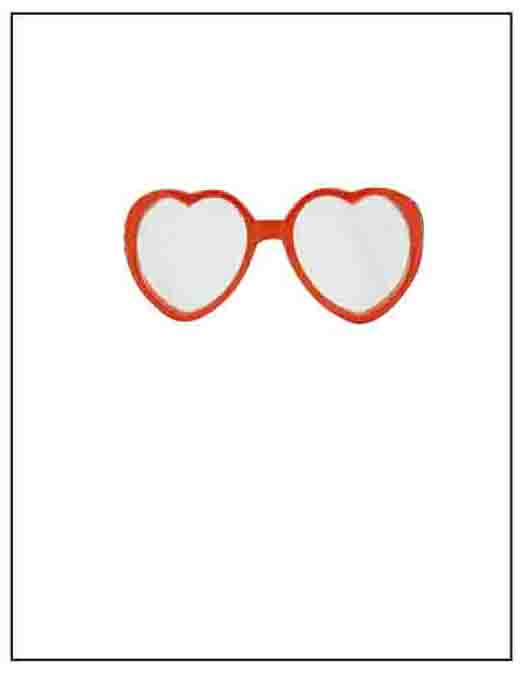
- Draw the face around the glasses.
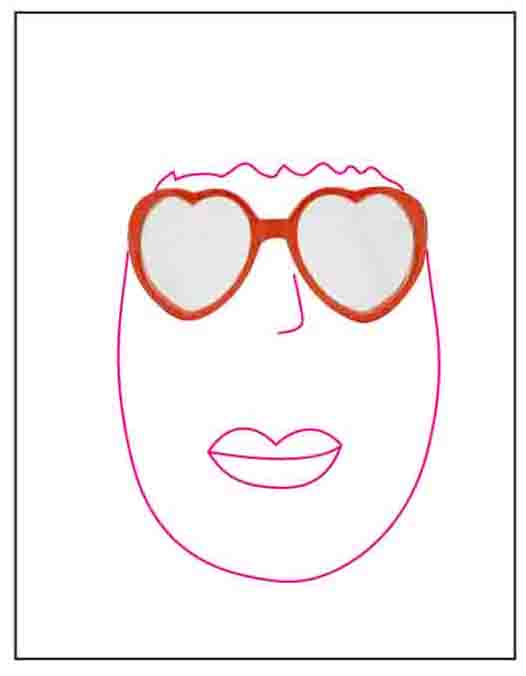
- Add the hair, neck and shoulders.

- Trace and color.
