How to Draw a Dog: Easy Step-by-Step Puppy Directed Drawing for Kids
Below you’ll find an easy step-by-step tutorial for how to draw a Puppy. There are even two different lessons to choose from!


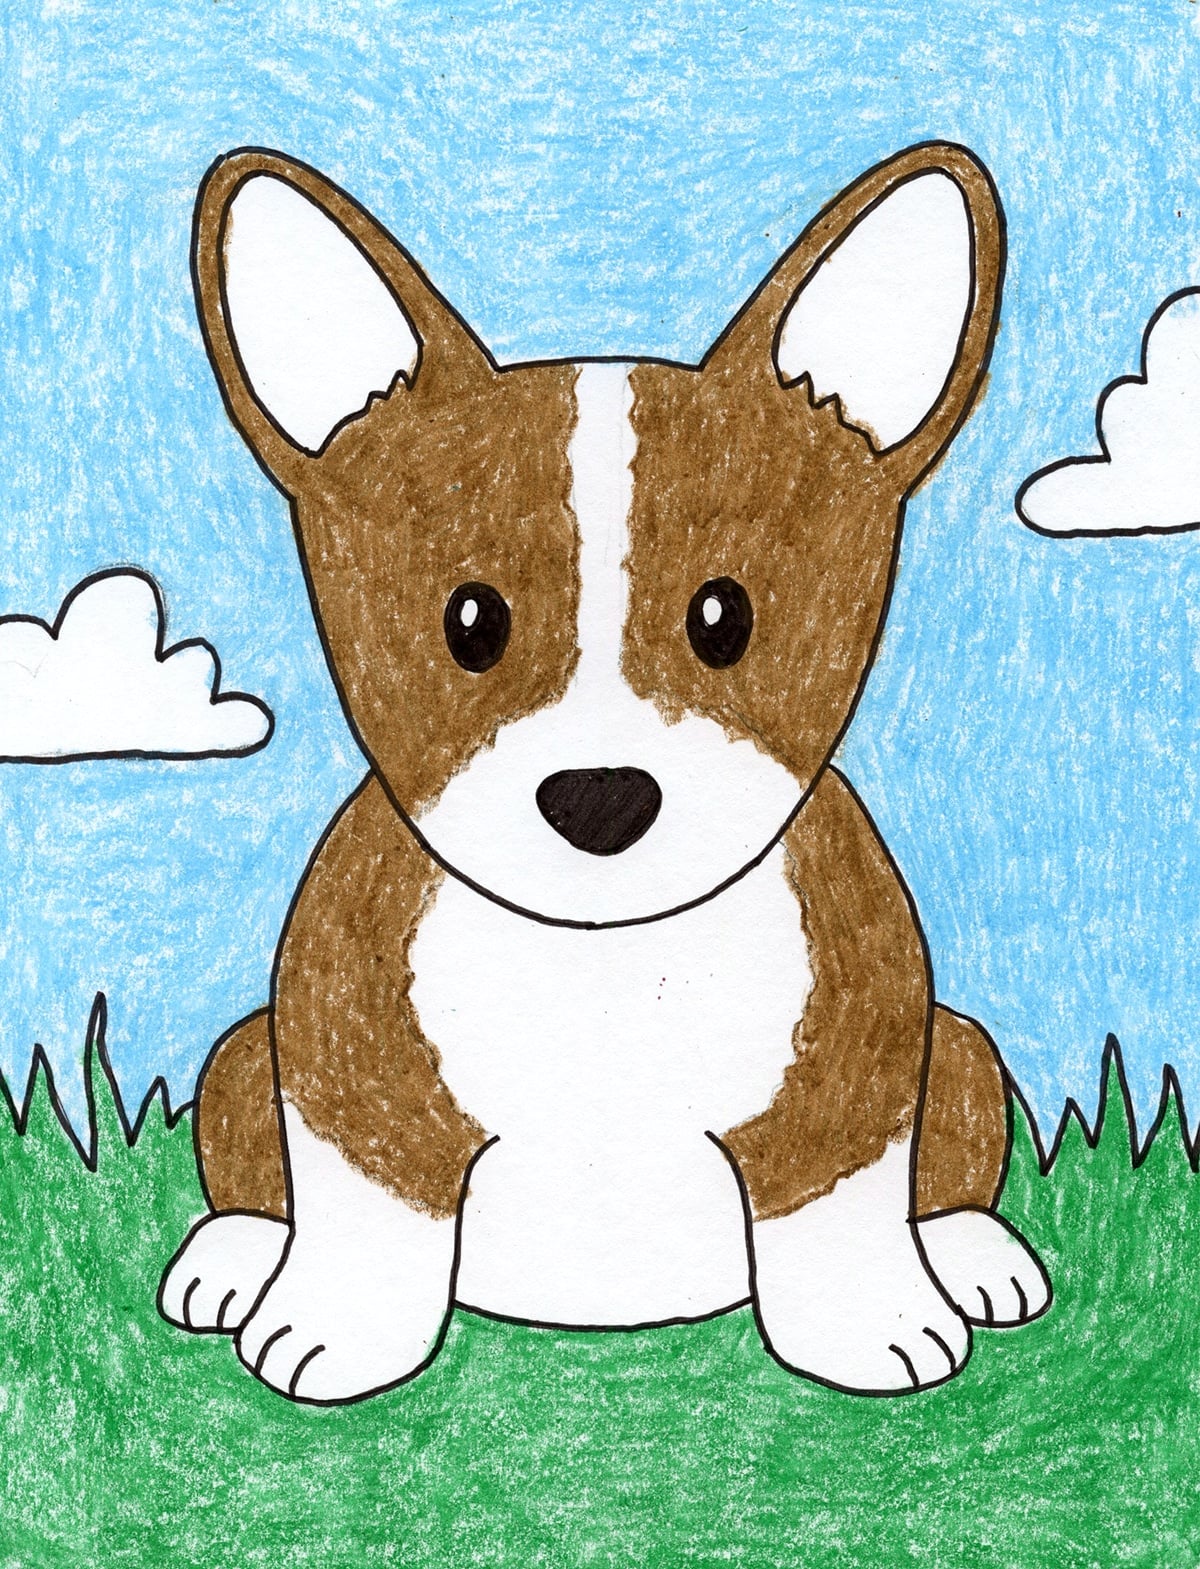
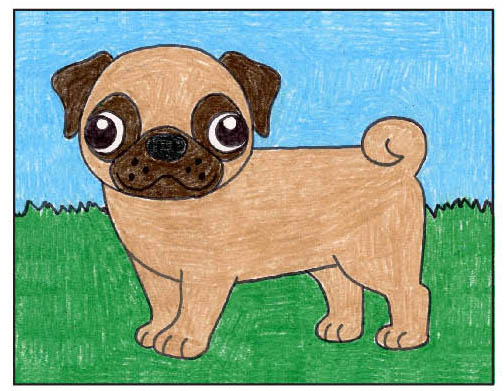
Puppies are always a favorite subject in an elementary classroom because students instantly connect with their sweet faces and playful energy. This tutorial also gives them a chance to see that drawing a puppy is a little different from drawing a full-grown dog. Puppies aren’t just smaller versions of adult dogs — their proportions are different in some very important ways.
To make a dog look young, students need to draw the head a little larger than they might expect, and keep the legs and body a bit shorter and softer looking. Those proportions help create that unmistakable “puppy” look, with a body they haven’t quite grown into yet. It’s actually a great lesson in observation, because the same idea is true for many baby animals, and even people too.
This makes for a fun drawing lesson, but it also helps students practice noticing how artists use proportion to show age and personality. A few thoughtful changes in size and shape can completely change the look of a drawing. Add some simple fur texture and soft coloring, and students can create a puppy that looks both realistic and full of charm.
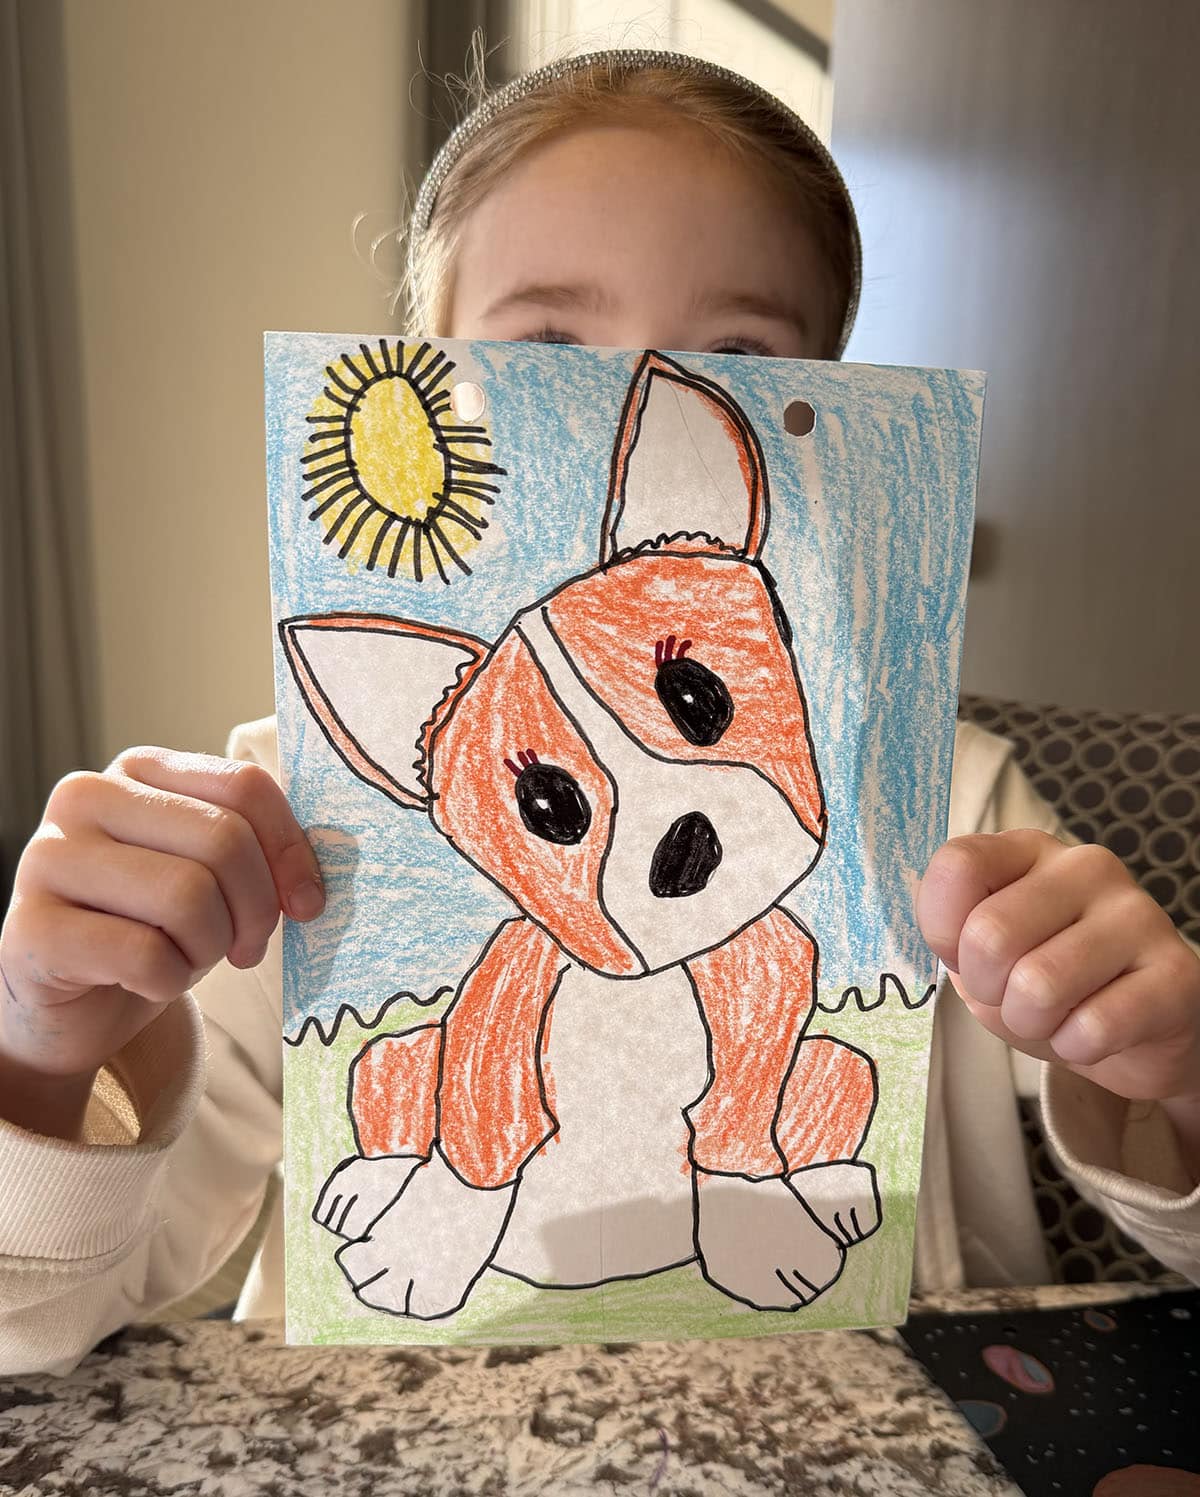
Student Art Gallery
Use the Button below to grab a PDF Tutorial
Puppy Coloring Page

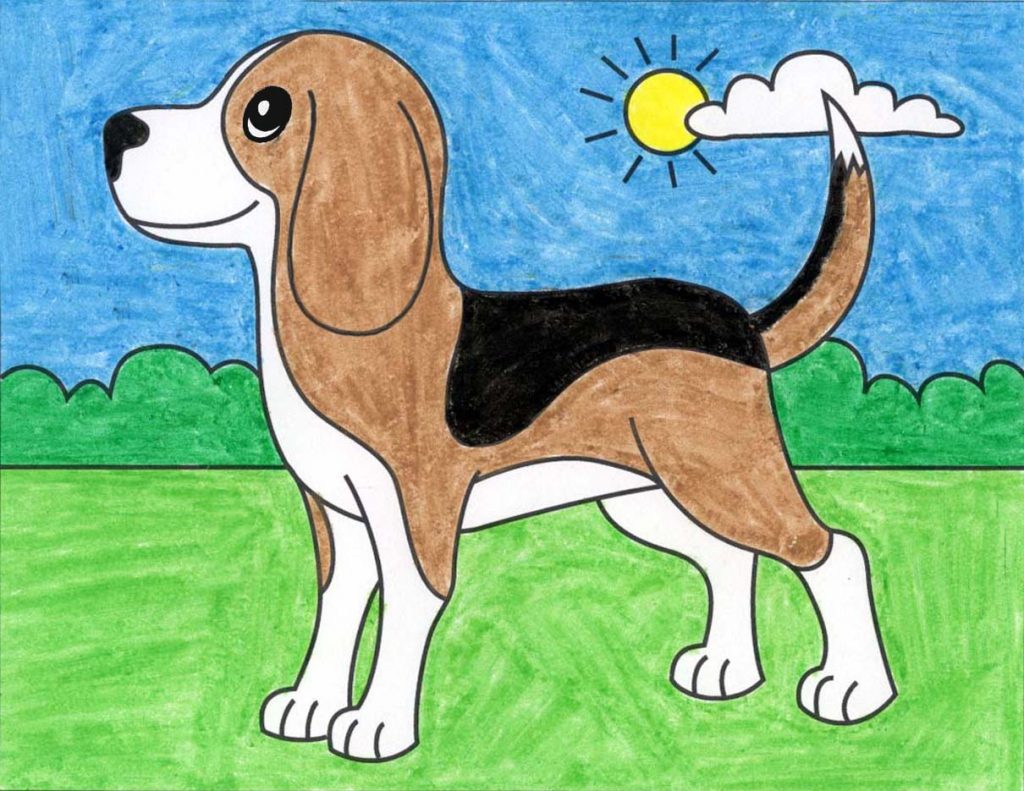
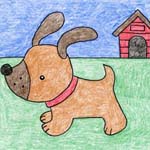
Another Cute Puppy Tutorial


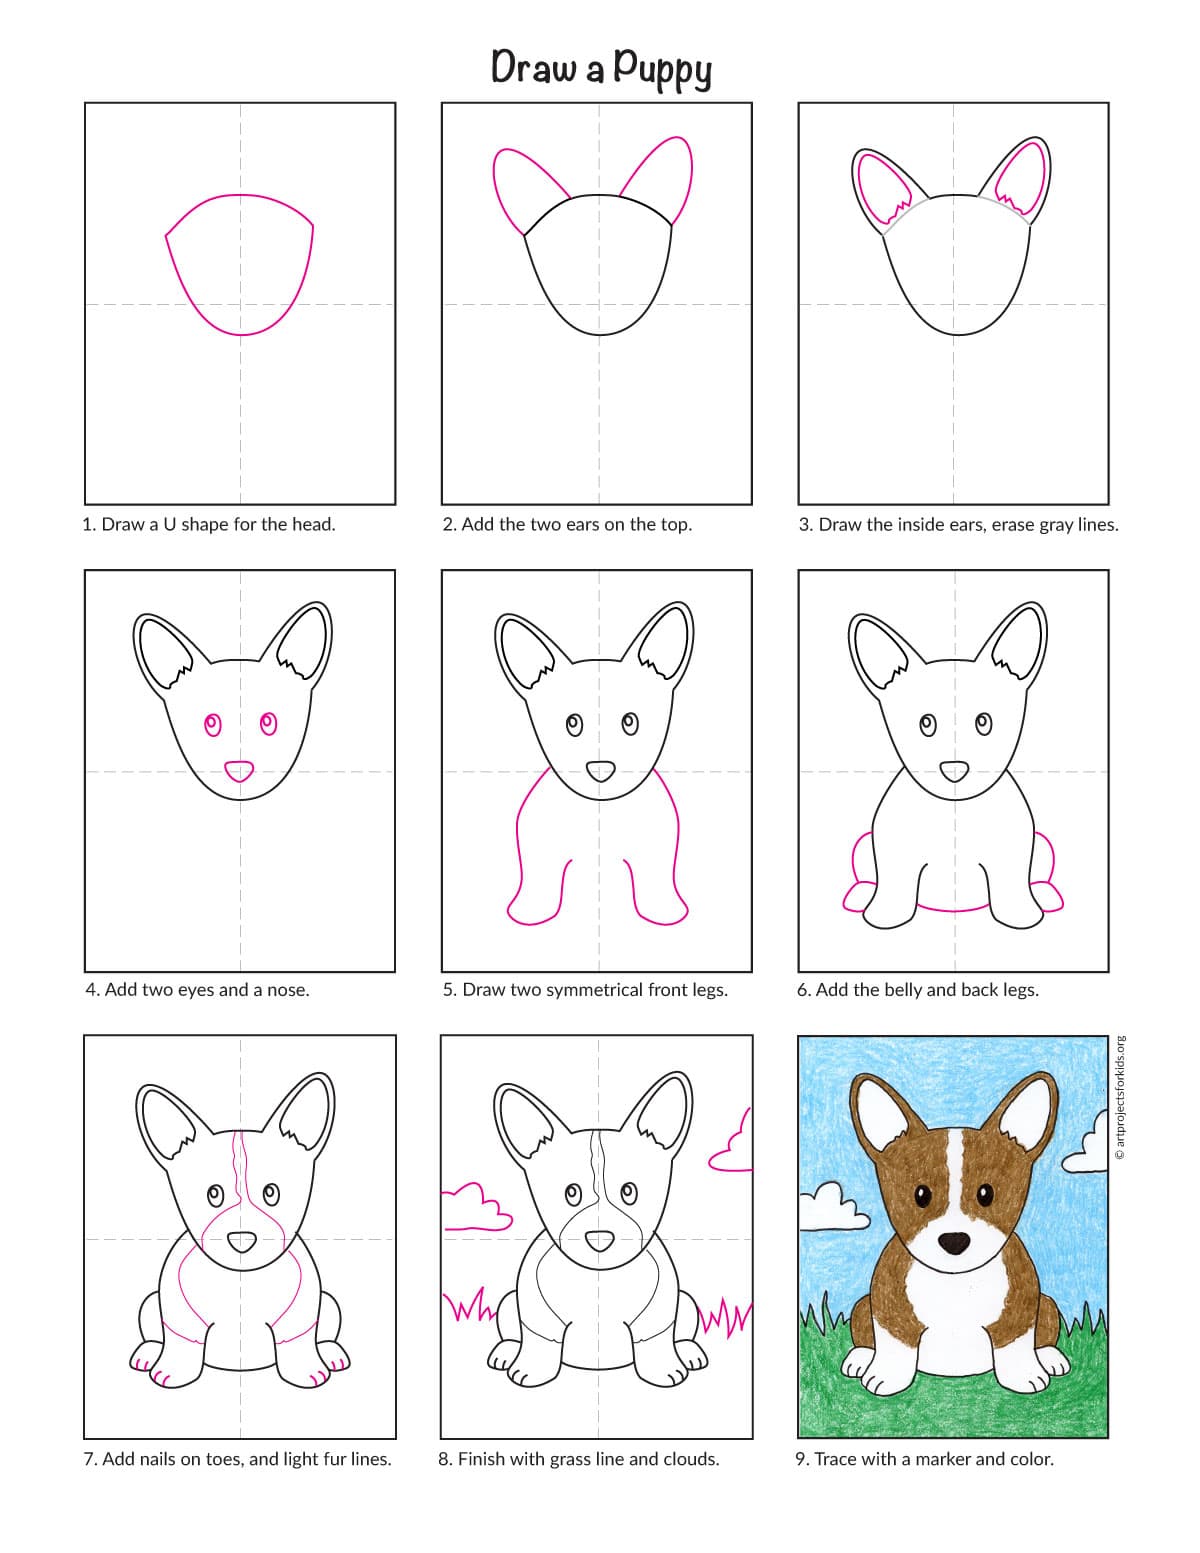
Materials for Puppy Project


Step by Step Directions for Puppy Project
Time needed: 45 minutes
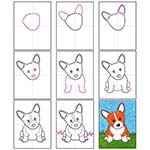
How to Draw a Puppy
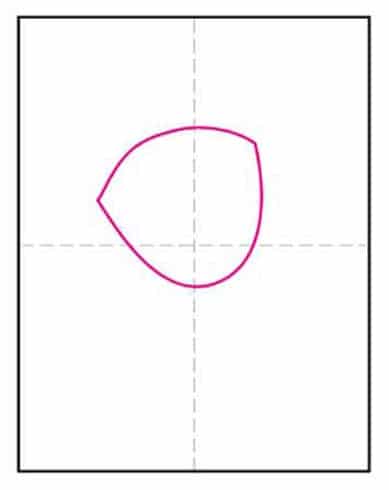
- Draw a U shaped head at an angle.

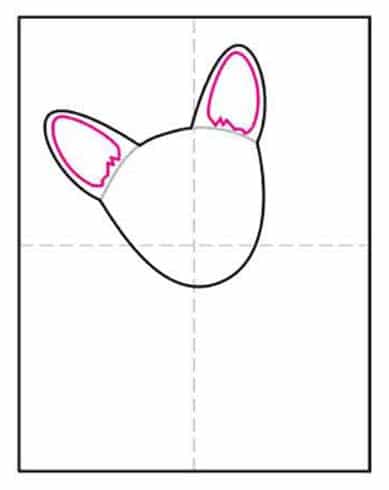
- Add the two ears on the top.
- Draw the inside ears, erase the gray lines.
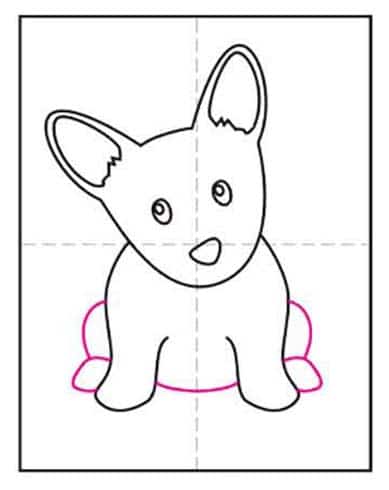
- Add two eyes and a nose.
- Draw two symmetrical front legs.
- Add the belly and back legs.
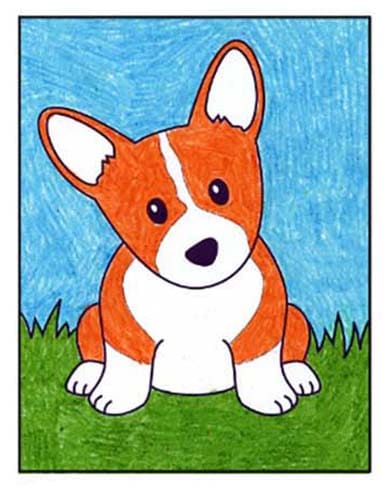
- Draw the nails on the toes, and light fur lines.
- Finish with a grass line.
- Trace with a marker and color.