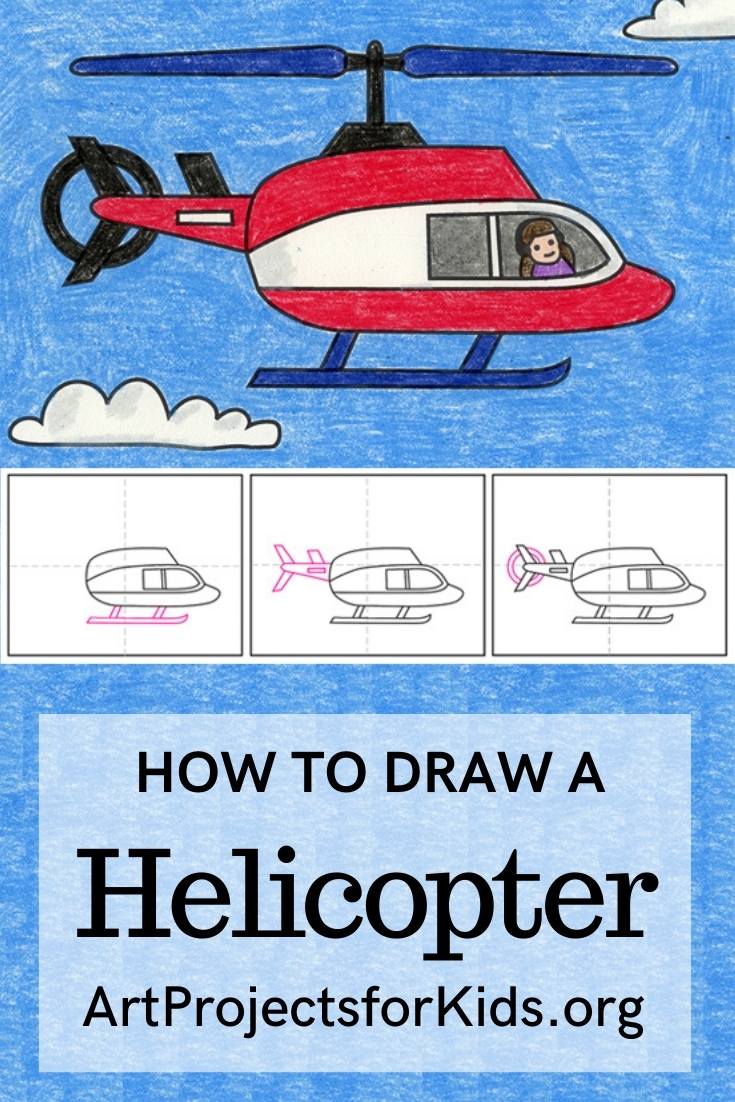
Easy How to Draw a Helicopter Tutorial and Helicopter Coloring Page
Below you’ll find an easy step-by-step tutorial for how to draw a Helicopter and a Helicopter Coloring Page. A step by step tutorial shows students where to start.
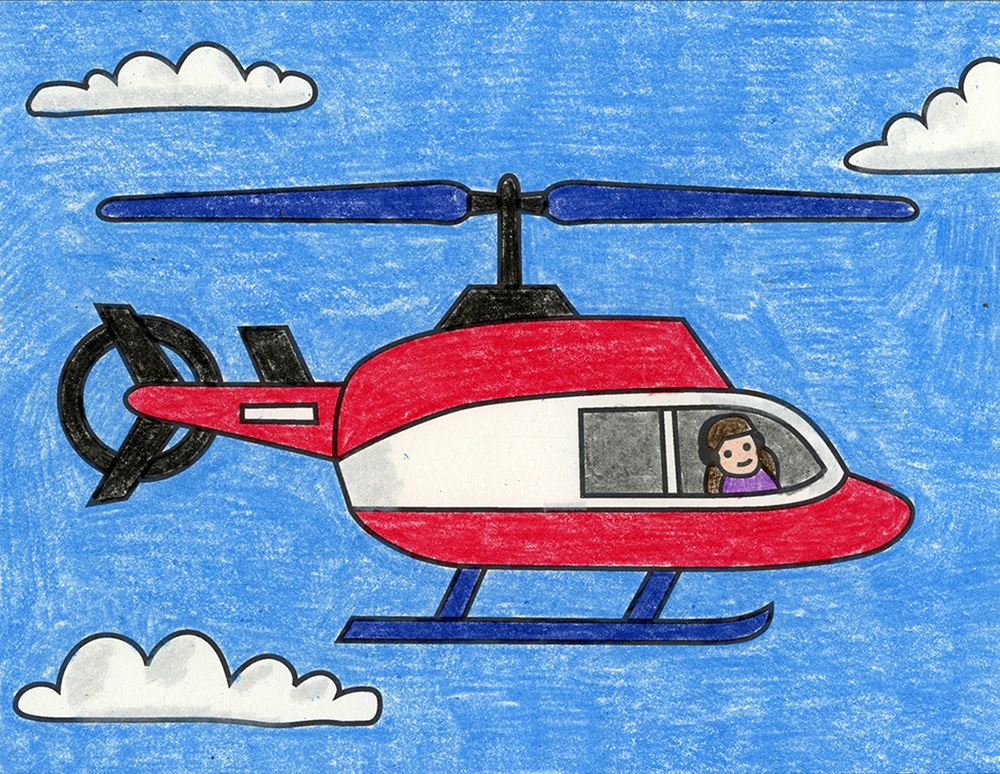
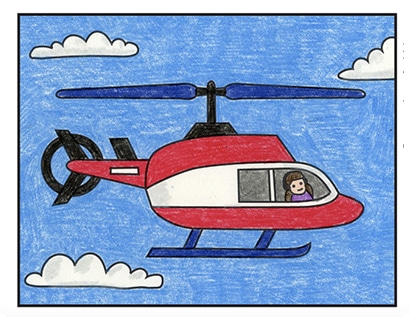
Helicopter Drawing
Why draw a Helicopter?
This tutorial is designed to help students learn how to draw a helicopter that is a bit fancier than just an oval with a tail, but is not a complicated 3D shape either. The fuselage is made by stacking a few simple shapes together, which when complete, looks like a pretty detailed helicopter.
If your students are learning about transportation, here are a few fun facts to know about helicopters.
• Helicopters are able to take off and landing vertically, hovering and flying in different directions.
• The lift and thrust of helicopters are provided by spinning rotors, usually with two or more blades.
• Helicopters typically have one main rotor and one smaller rotor in the tail which keeps the helicopter from spinning around.
Use the Button below to Download a PDF Tutorial
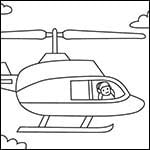
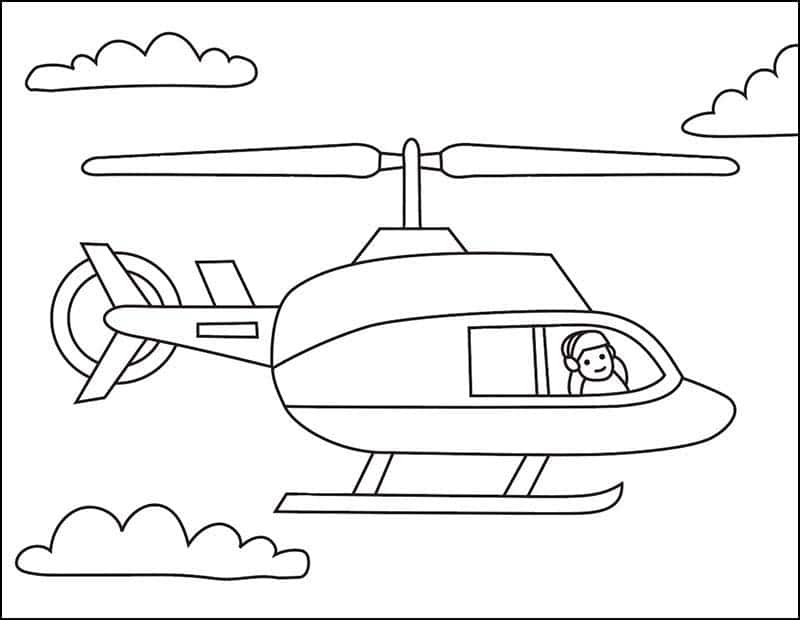
Helicopter Coloring Page
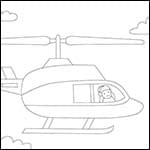
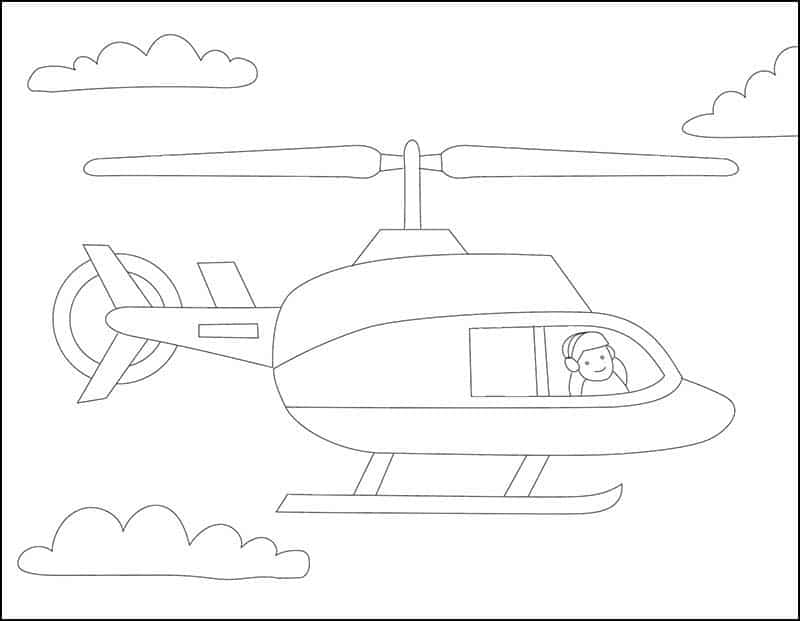
Helicopter Tracing Page
Materials to draw a Helicopter
- Drawing Paper. This is the good stuff you can buy in bulk for a good price.
- Pencils. I like how this brand always makes nice dark lines.
- Black Marker. A permanent marker will give you a dark black color.
- Crayons. The larger packs are nice for more color choices.
- Note: All of the above are Amazon affiliate links.
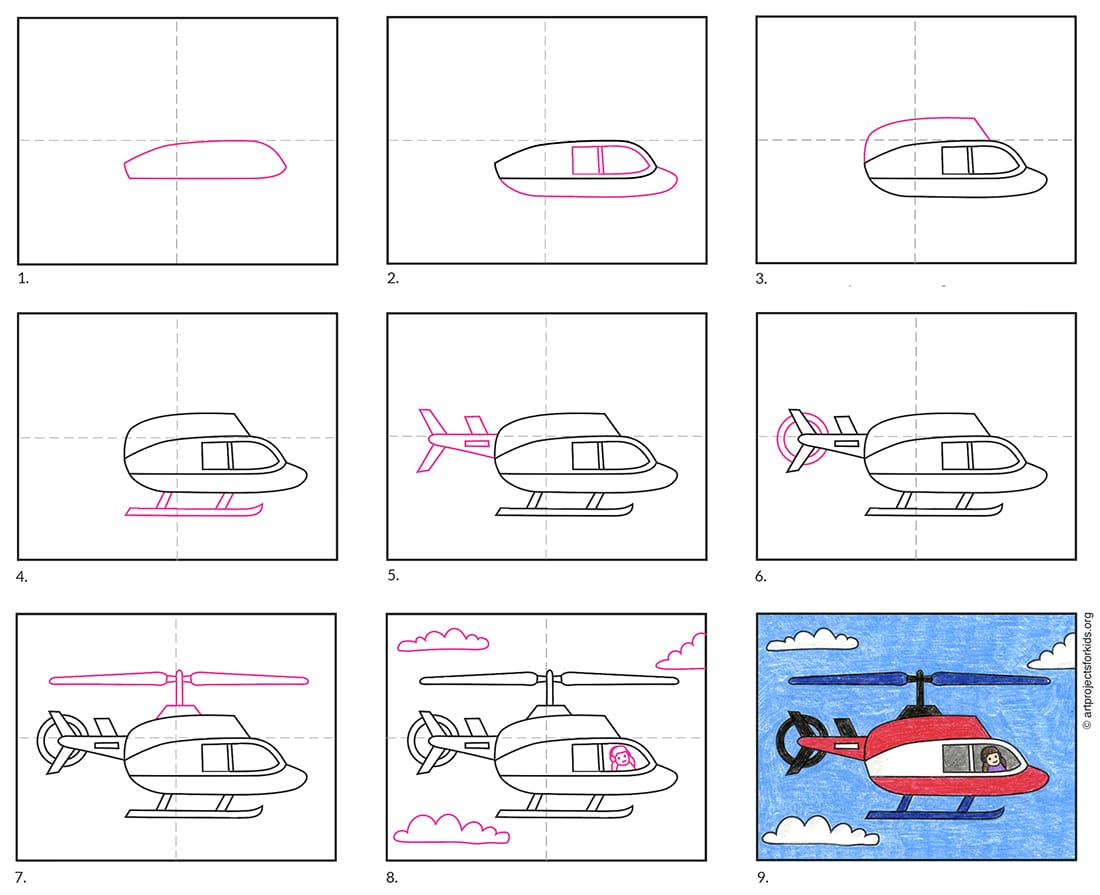
Step by Step Directions for a Helicopter Drawing
Time needed: 35 minutes
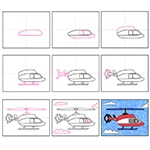
How to Draw a Helicopter for Kids
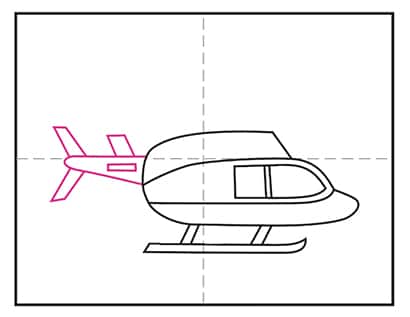
- Start the fuselage with the middle shape shown.

- Add the windows inside and nose shape below.
- Draw the top of the fuselage as shown.
- Add the skids below the fuselage.
- Draw the tail boom extending from the back.
- Add the round rotor to the tail boom
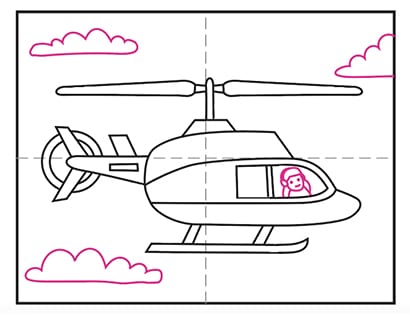
- Draw the main rotor on top of the fuselage.
- Finish with a pilot and add clouds all around.
- Trace with marker and color.


Save me to your Pinterest Board
More Transportation Drawing Projects