Easy Draw Ice Cream Cones like Wayne Thiebaud Tutorial and Coloring Page
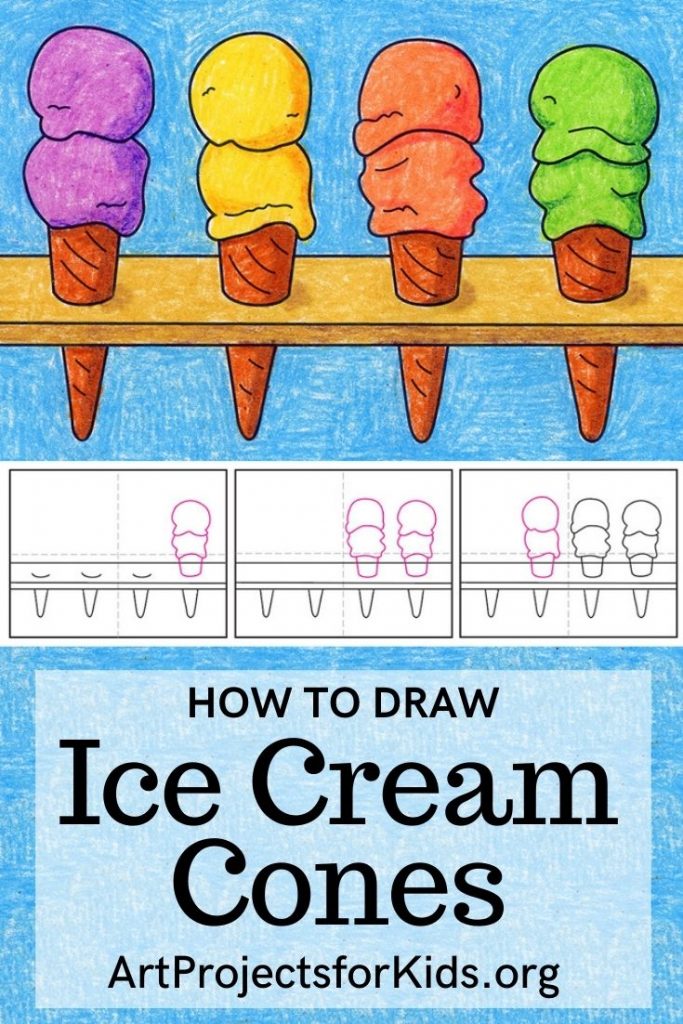
Learn how to draw ice cream cones like American painter Wayne Thiebaud. They are inspired by one of his famous paintings.
Wayne Thiebaud is a great example of how an artist might first not be taken seriously, but later admired, once critics stop to take a closer look. His paintings of cakes, pies and ice cream were actually mocked when they were first displayed.
After an art gallery took a risk and showcased Thiebaud’s work, the world finally witnessed for the first time what a truly marvelous artist he was. One early critic described him as “the hungriest artist in California,” because of his love of arranging sandwiches, pies, or rows of chocolates in a candy store.
Today Thiebaud is considered Northern California’s greatest artist, famous for turning the simple concept of food into a driving force of art. His work defined a half century and made him a beloved figure in the American art scene.
Teacher Note: If you like to add Principles of Design and Elements of Art to your lessons, you might take advantage of Thiebaud’s examples of Repetition and Value in his paintings of ice cream cones. His use of repeating cones is a great example of one of the Principles of Design, and the changing value of color is one of the Elements of Art. Both add some great vocabulary words for discussions about what makes up an interesting work of art.
Join “The Daily Draw” to get this free download!
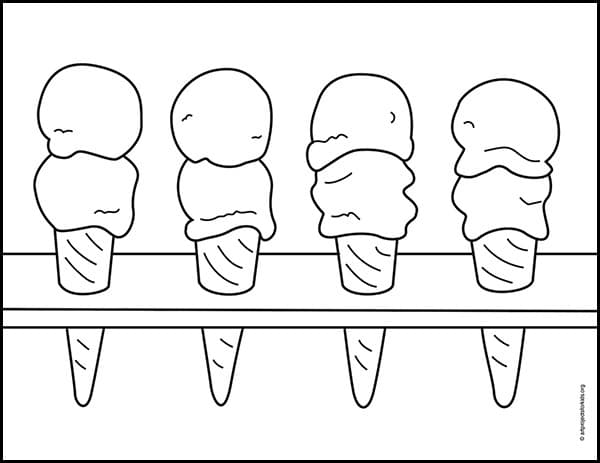
Thiebaud Ice Cream Cone Coloring Page
Materials to Draw an Ice Cream Cone
- Drawing Paper. This is the good stuff you can buy in bulk for a good price.
- Pencils. I like how this brand always makes nice dark lines.
- Black Marker. A permanent marker will give you a dark black color.
- Crayons. The larger packs are nice for more color choices.
- Note: All of the above are Amazon affiliate links.
Step by Step Directions to Draw an Ice Cream Cone
Time needed: 45 minutes
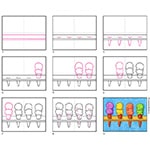
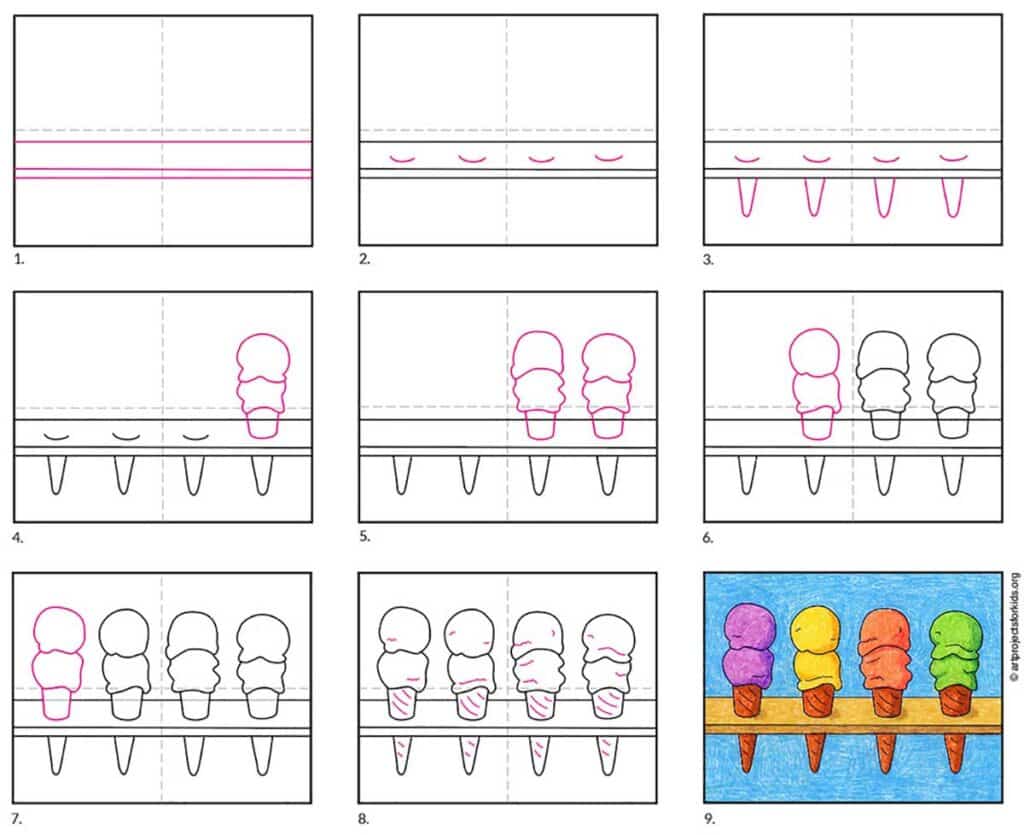
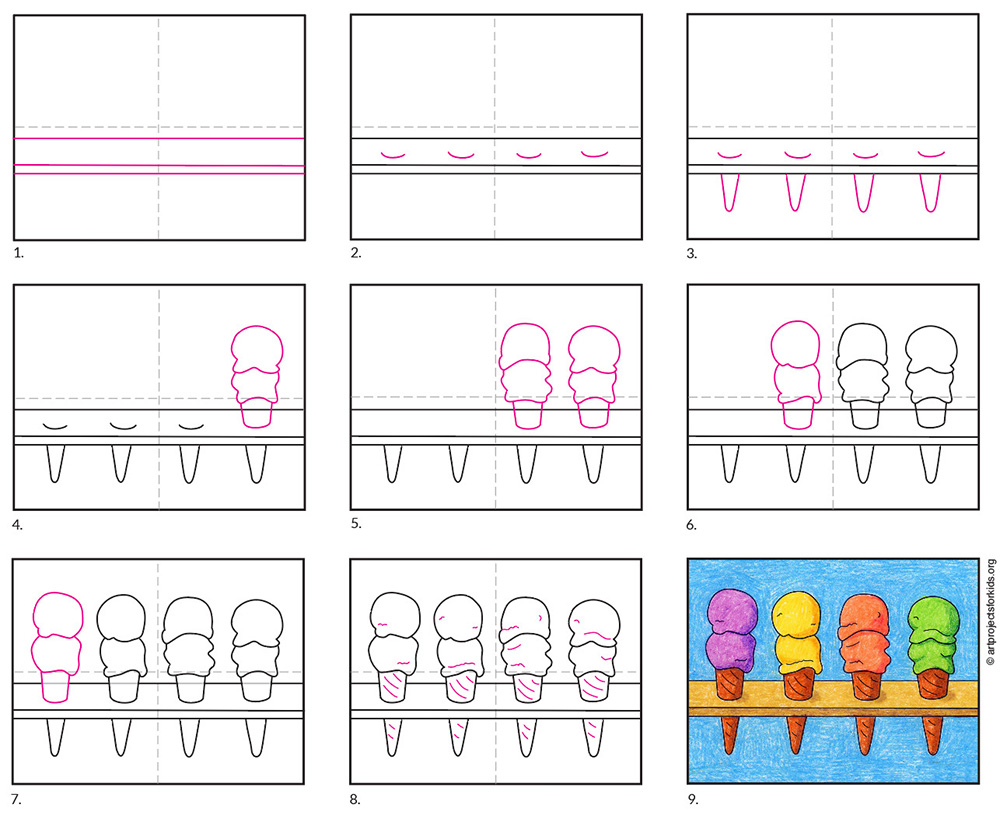
How to Draw an Ice Cream Cone
- Draw three lines for the board.

- Add the four evenly spaced curves on the board.
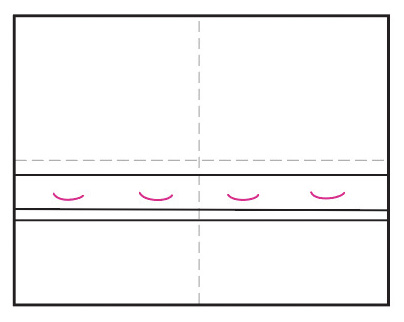
- Draw the bottoms of the cones below the board.
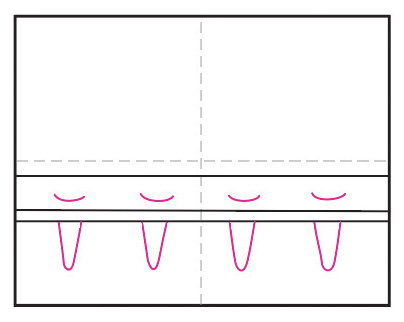
- Complete the cone and add ice cream on the right.
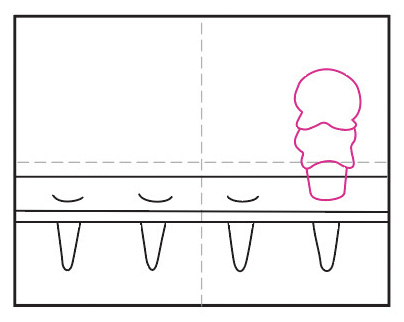
- Draw the cone and add scoops on the next cone.

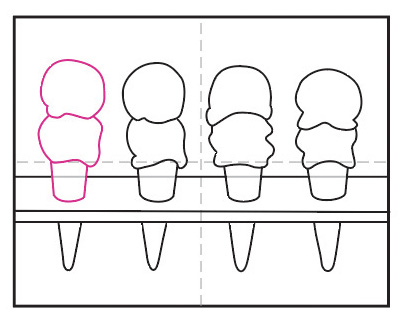
- Complete the cone and add scoops on the left.

- Finish the fourth cone and erase the line inside each one.
- Add some small detail lines on the cone and scoops.

- Trace with a marker and color.

Already subscribed to “The Daily Draw”?
Great, then use the download button below to get your free Ice Cream cone tutorial. And thanks for wanting to bring more step-by-step, no-prep art lessons to your classroom!
