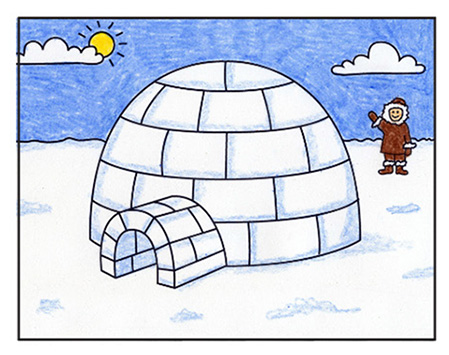
How to Draw an Igloo: Easy Winter Art Lesson for Kids
Learn how to draw an igloo with this easy, step-by-step winter art lesson for kids. Includes a fun video tutorial and free PDF handout.
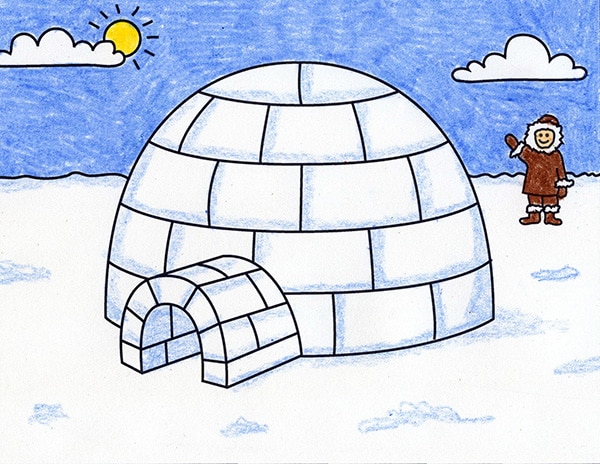
Igloo Drawing
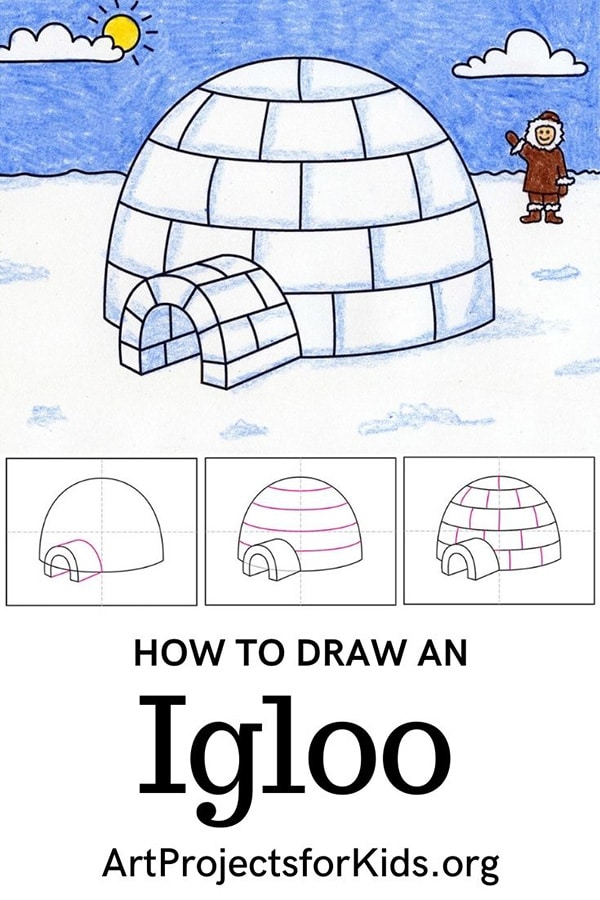
How to Draw an Igloo Art Lesson
This winter drawing project makes it easy for elementary students to explore the elements of art while having fun. Students start with a simple half-circle shape, then add curved lines to create snow bricks. It’s a clever way to build confidence in drawing curved lines and working with spatial arrangement.
The igloo’s light blue shadows introduce students to the concept of value, and if you have them add a small figure or animal in the background, they’ll get to practice creating space in a scene too. Best of all, this is a low-prep, high-impact project that’s perfect for a winter unit, arctic animals theme, or even cross-curricular connections with social studies. The step-by-step format means it’s easy to teach—even if you’re short on time or not confident in your own drawing skills.
What Does a Real Igloo Look Like?
Real igloos are built from blocks of compacted snow, stacked in a spiral to form a dome. Despite being made of snow, they’re surprisingly warm! Snow acts as an insulator, trapping body heat and even the warmth from a small fire. Temperatures inside can reach 60°F, even when it’s -50°F outside.
Igloos typically have a low tunnel entrance, which helps keep warm air from escaping, and small air vents in the roof to let out carbon dioxide. Inuit builders traditionally used special snow knives made from bone, antler, or later metal to cut and shape the blocks. The last block—the keystone—is added from the inside to complete the structure. It’s a brilliant example of engineering in one of the coldest places on Earth.
Did Eskimos Really Build Igloos?
Yes, but not all the time—and not everyone! The word “Eskimo” has fallen out of favor, and the term Inuit is now preferred when referring to the Indigenous people of Arctic regions like Canada and Greenland.
Inuit hunters built igloos as temporary shelters during long hunting trips, especially in areas where snow conditions were just right. These structures weren’t used as permanent homes—those were often made of stone, sod, or animal hides depending on the region.
Interestingly, the word “igloo” comes from the Inuit word “iglu”, which simply means “house.” The snow domes we think of as igloos were just one type of shelter in Inuit culture—but they’ve become an iconic symbol of life in the Arctic, and a great way to introduce students to Indigenous innovation and cold-climate survival.
Use the Button above to grab this Art Lesson
Save me to your Pinterest Board!
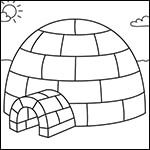
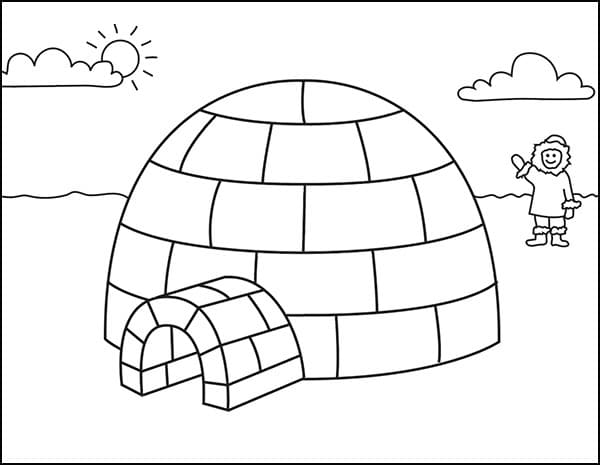
Igloo Coloring Page
Materials for Igloo Drawing


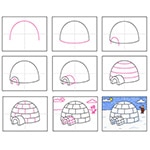
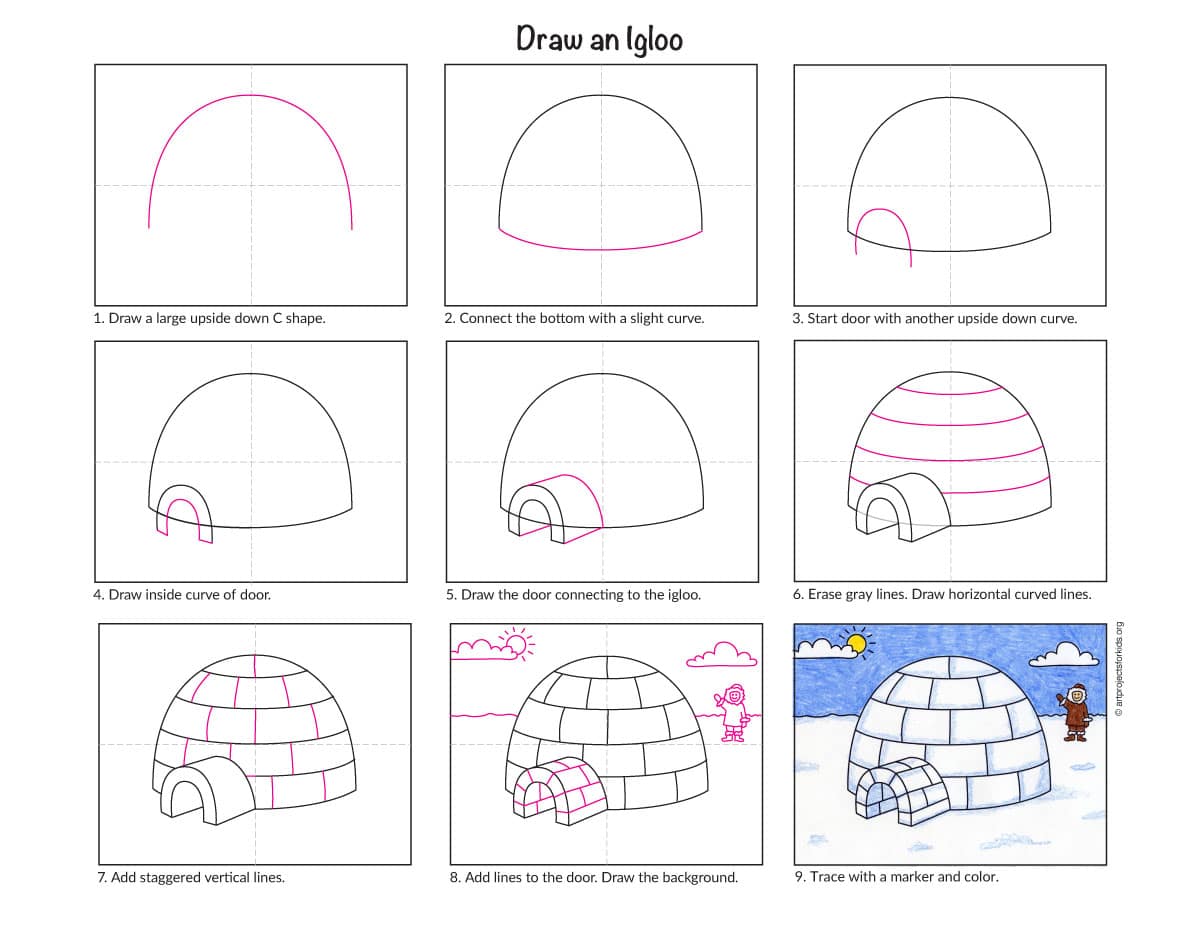
Step by Step Directions for Igloo Drawing
Time needed: 1 hour
How to Draw an Igloo
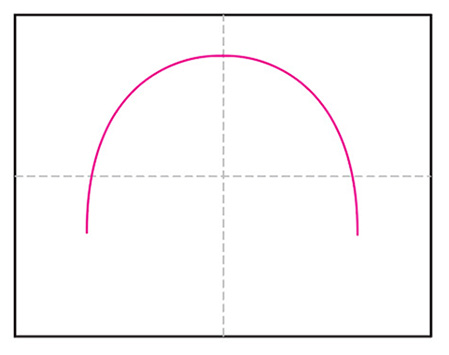
- Draw a large upside down C shape.

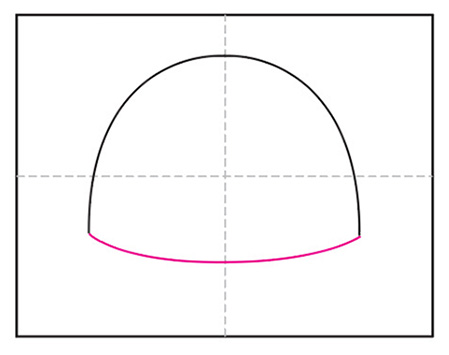
- Connect the bottom with a curve.
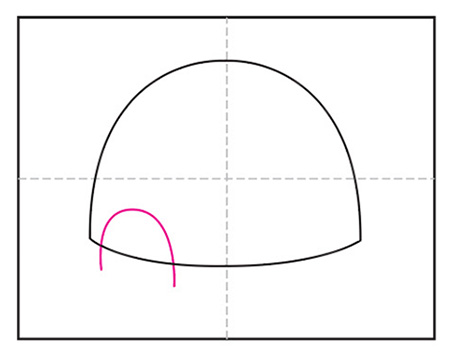
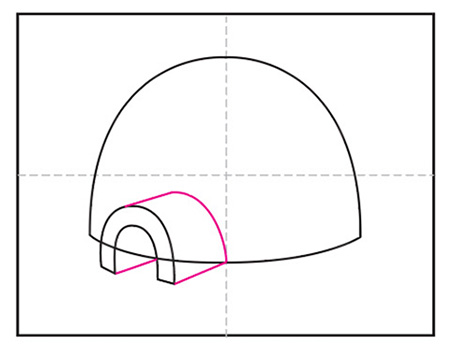
- Start the door with another upside down curve.
- Draw the inside curve of the opening.
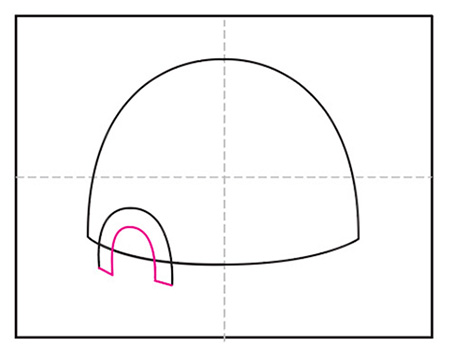
- Connect it to the dome.
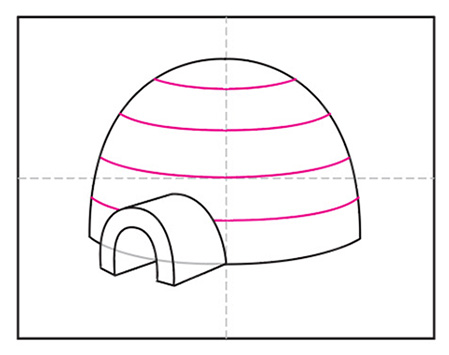
- Draw the curved horizontal lines as shown.
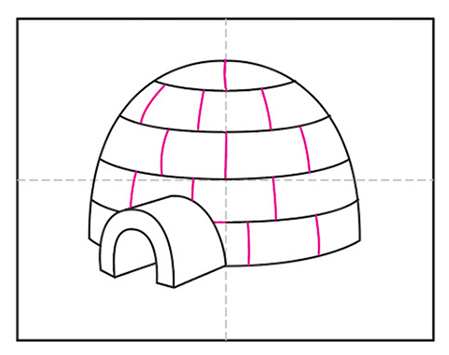
- Add alternating vertical lines as shown.
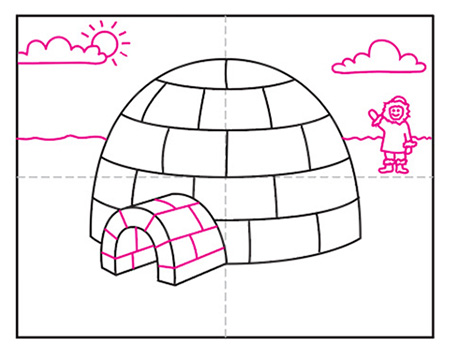
- Finish the details to the opening and add a background.
- Trace with a marker and color with crayons.