How to Draw a Owl Face: Easy Step-by-Step Art Lesson for Kids
Learn how to draw an Owl Face with this easy step by step tutorial.

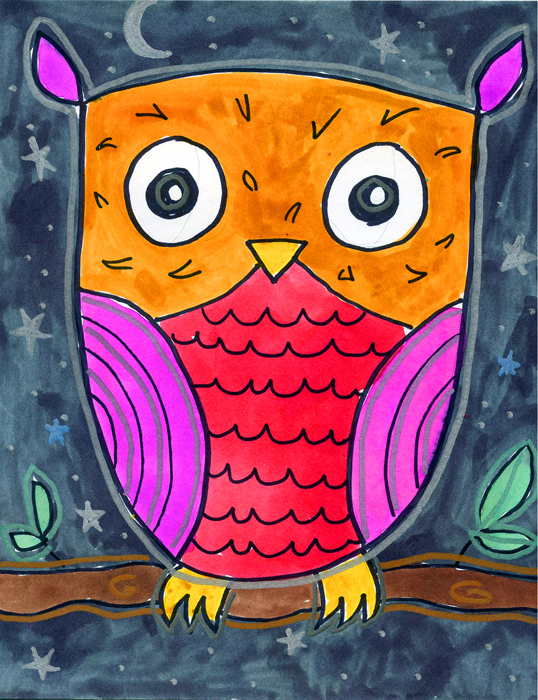
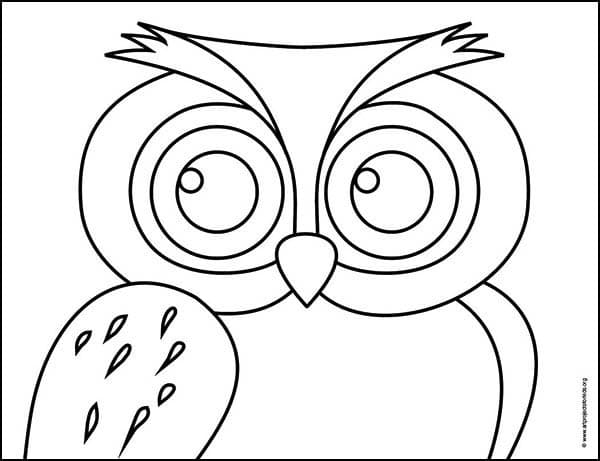
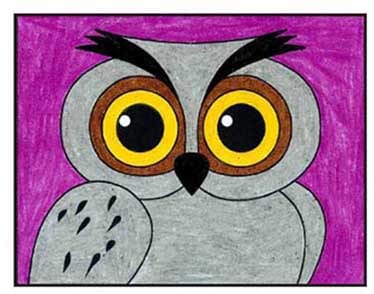
Owl Face Drawing
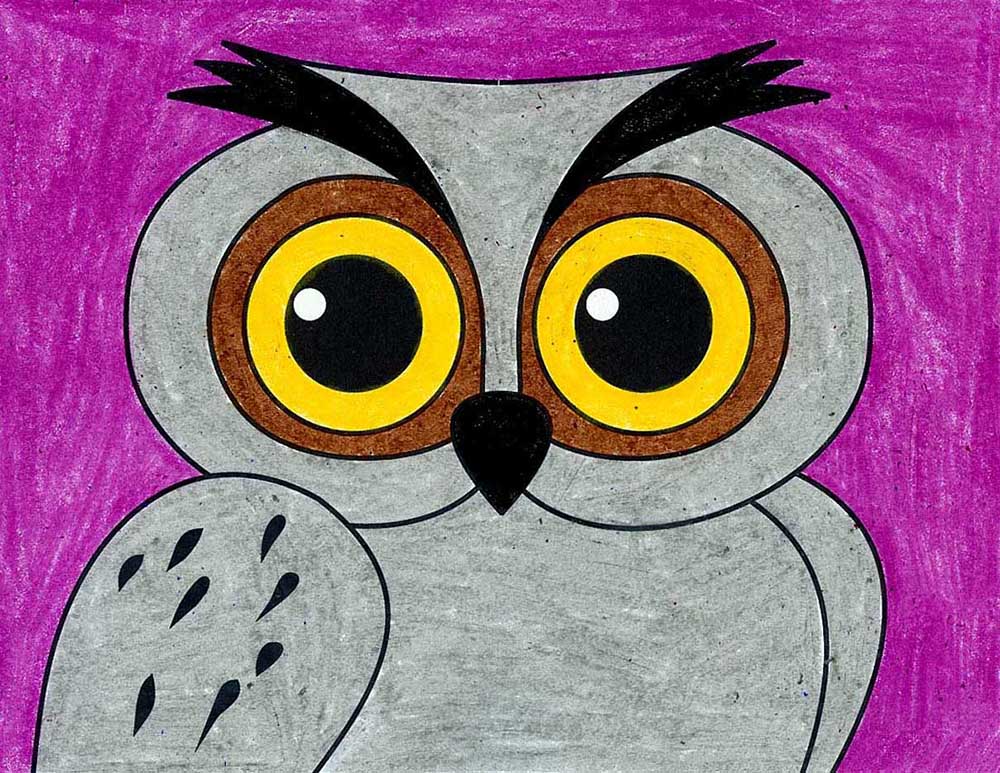
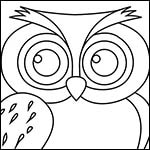
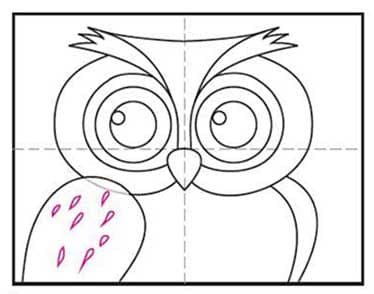
The great thing about learning how to drawing an owl face, is that you have much more room to draw all those wonderful owl details. The sprig of feathers that look like brows, the many rings of color around the eyes. Students even have room to add those little white shiny spots that show where light is reflecting.
Owls have very flat faces. They are able to rotate their heads some 270° this is because their eyeballs are unable to move (ocular immobility). Without peripheral vision and without the ability to turn their eyes, they focus on their food and fly straight toward it. These are all adaptations they made for hunting prey in dim light.
There are many different types of owls, but this tutorial focuses on how to draw the face of a Great Horned Owl. With its long, earlike tufts, intimidating yellow-eyed stare, and deep hooting voice, it is the quintessential owl of many a storybook.
Use the Button below to Grab a PDF Tutorial
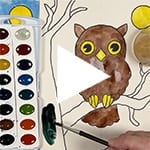
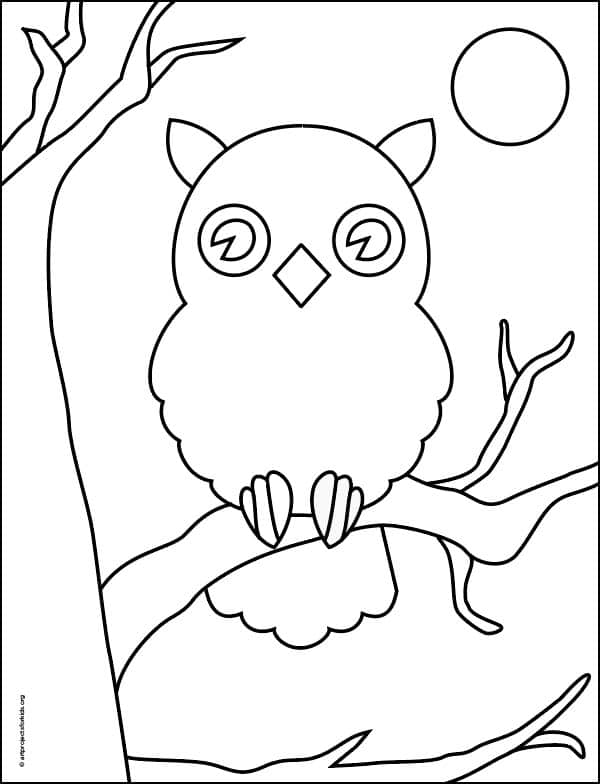
Owl Coloring Page
Materials for How to Draw an Owl Face
- Drawing Paper. This is the good stuff you can buy in bulk for a good price.
- Pencils. I like how this brand always makes nice dark lines.
- Black Marker. A permanent marker will give you a dark black color.
- Crayons. The larger packs are nice for more color choices.
- Note: All of the above are Amazon affiliate links.
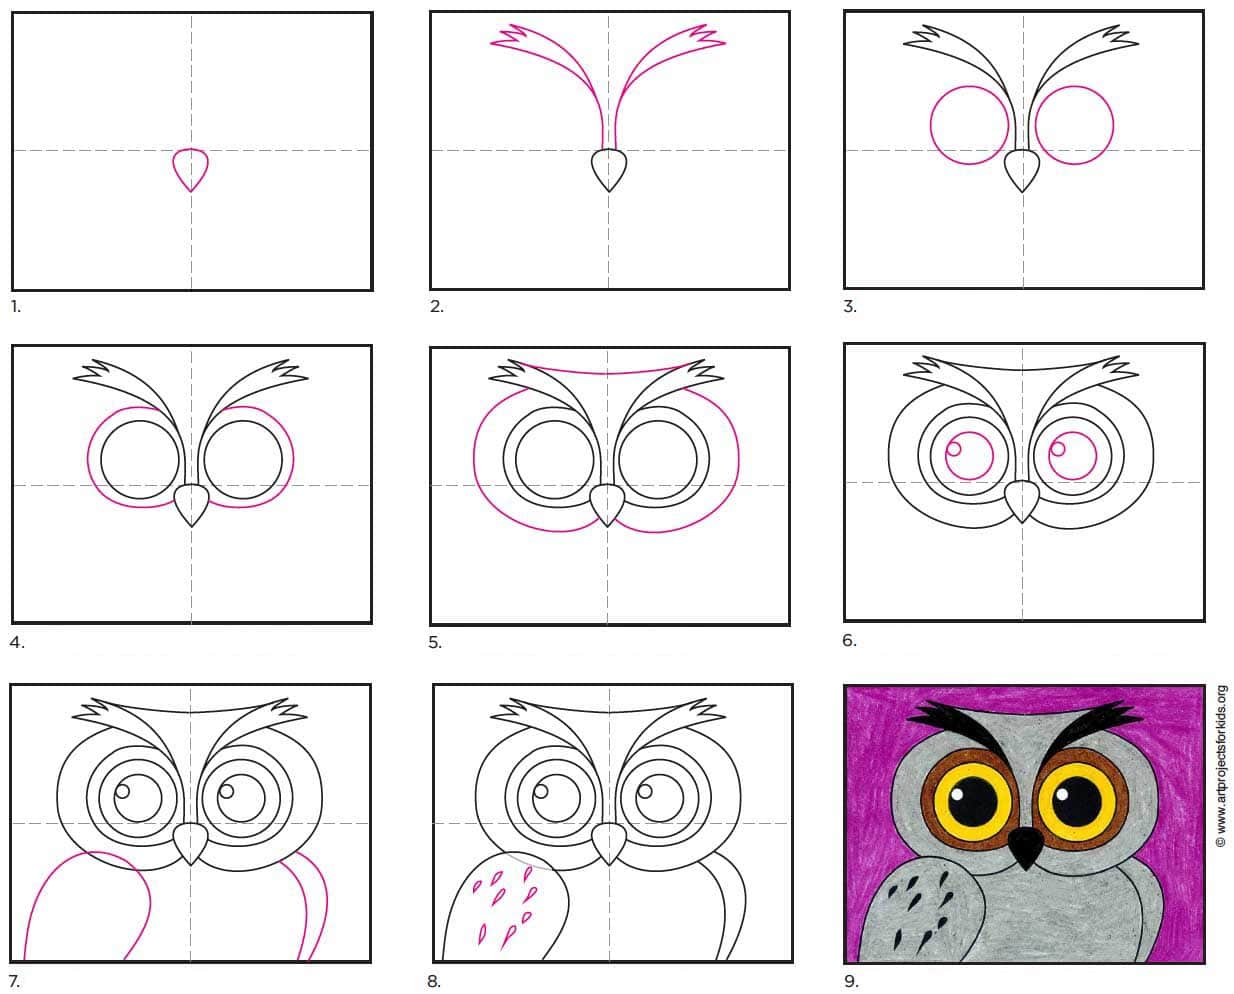
Directions to Draw an Owl Face Step by Step
Time needed: 45 minutes
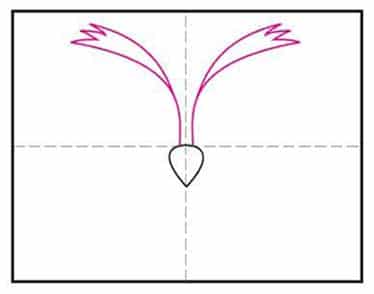
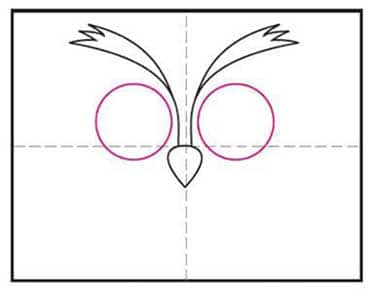
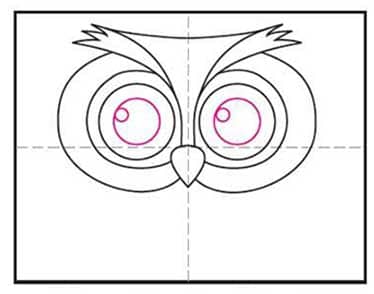
How to Draw an Owl Face Step by Step
- Draw the nose.

- Add the symmetrical brow shapes.
- Draw two matching large circles.
- Add an edge around each circle.
- Draw outer cheeks and top of head.
- Add two smaller circles with spots inside.
- Draw the two wings and body shape.
- Erase the grey and add spots.
- Trace with a marker and color.


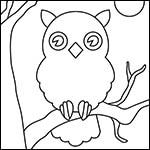
Draw an Owl in a Tree
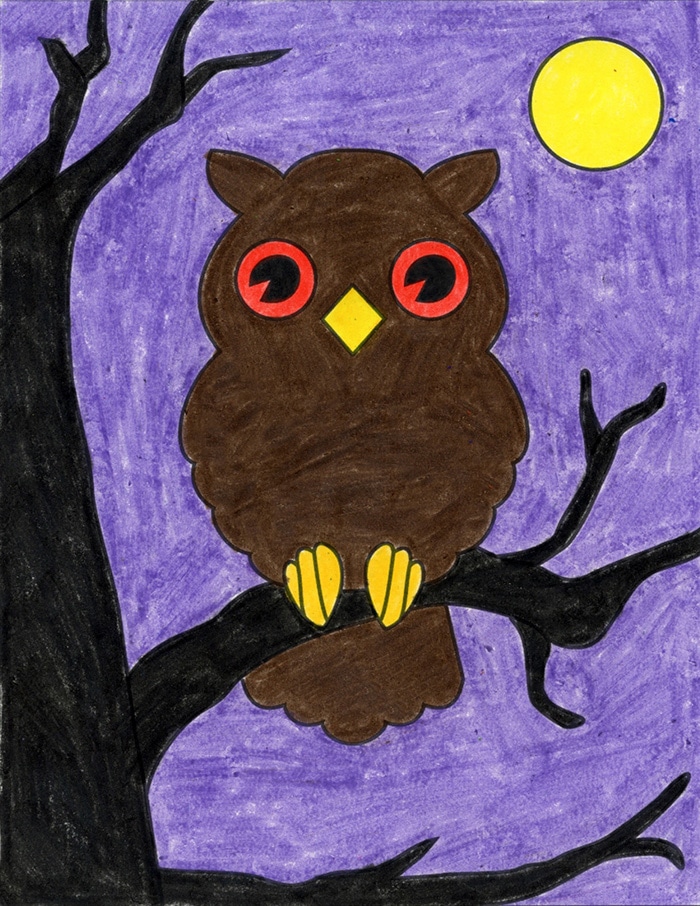
This owl tutorial will show students how to draw a more realistic owl, without getting too lost in the details. In fact, it’s really more of a silhouette that includes the ears, bumpy feathers on the wing, and pretty scallops on the end of the tails. Color him a pretty brown, OR fill him in black like the tree for a more spooky look.
Use the Button below to Grab a PDF Tutorial
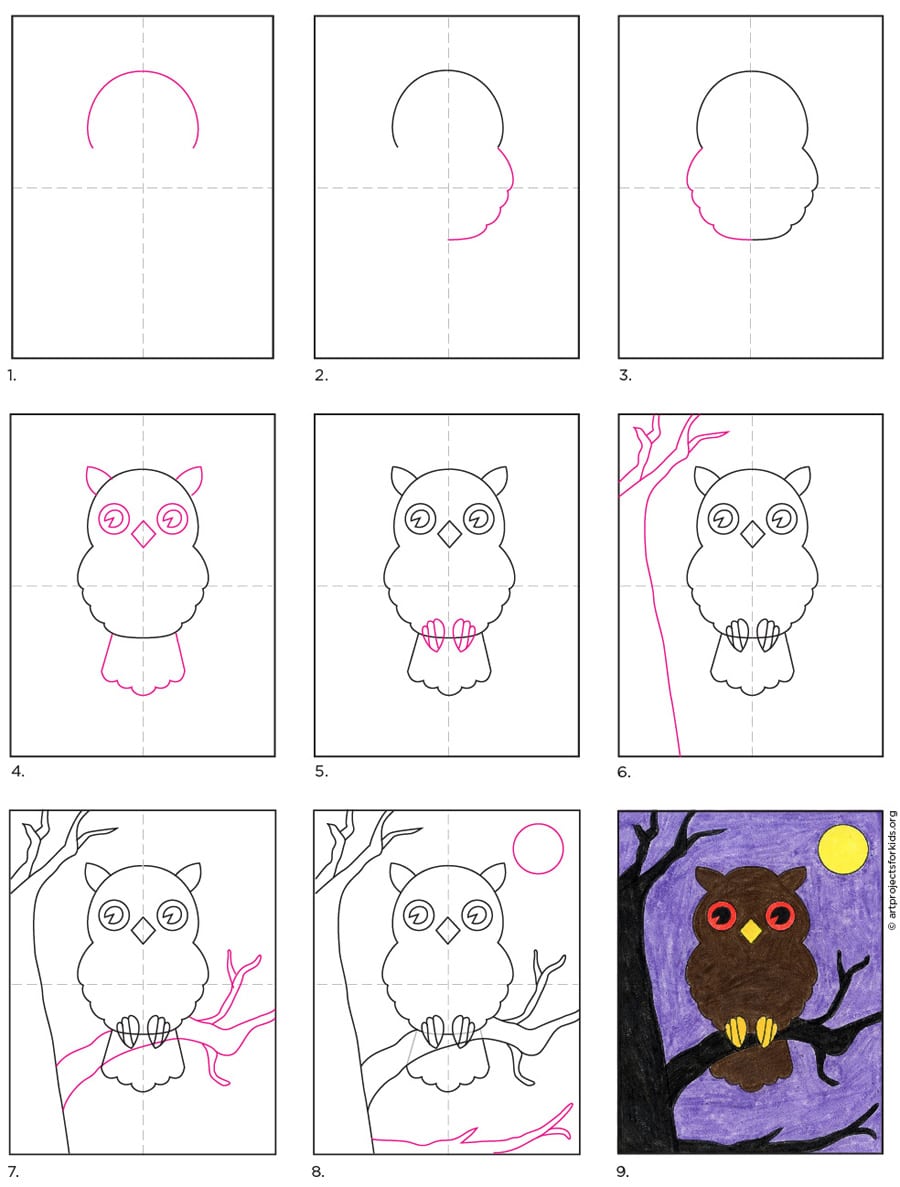
Owl in a Tree Coloring Page
More Owl Drawing Projects