How to Draw the Leaning Tower of Pisa: Easy Step-by-Step Art Lesson for Kids
Inside you’ll find an easy step-by-step how to draw the Leaning Tower of Pisa lesson for elementary students. Stop by and grab yours now.

More Buildings
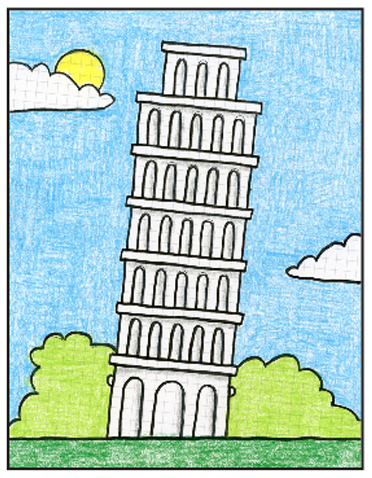
The Leaning Tower of Pisa Drawing
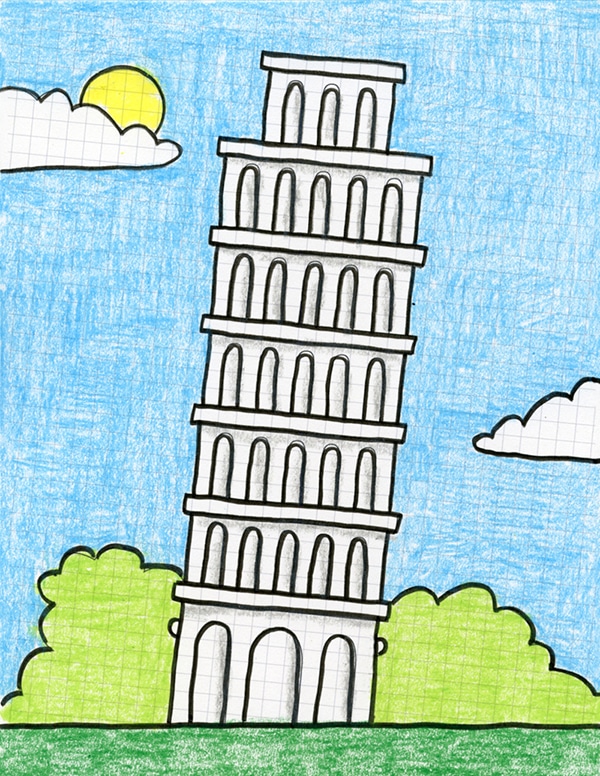
The Leaning Tower of Pisa is one of Italy’s most recognizable landmarks, which makes it a fun way to connect an art lesson with studies of Italy, architecture, and famous places around the world.
Its unusual tilt is part of what makes the tower so interesting to draw—but it can also make it a little tricky for students to get started. Instead of asking them to guess at the angle freehand, this tutorial includes a lightly pre-slanted grid to help establish the overall shape.
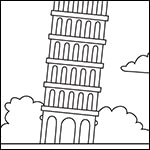
Once that structure is in place, students can focus on the details that really make the Leaning Tower of Pisa recognizable: its stacked levels, rows of arches, columns, and rounded top. The grid is included on page 2 of the tutorial below and gives students just enough guidance to capture that famous lean while still creating the drawing themselves.
Save me to your Pinterest Board!
Use the Button below to grab this PDF Tutorial
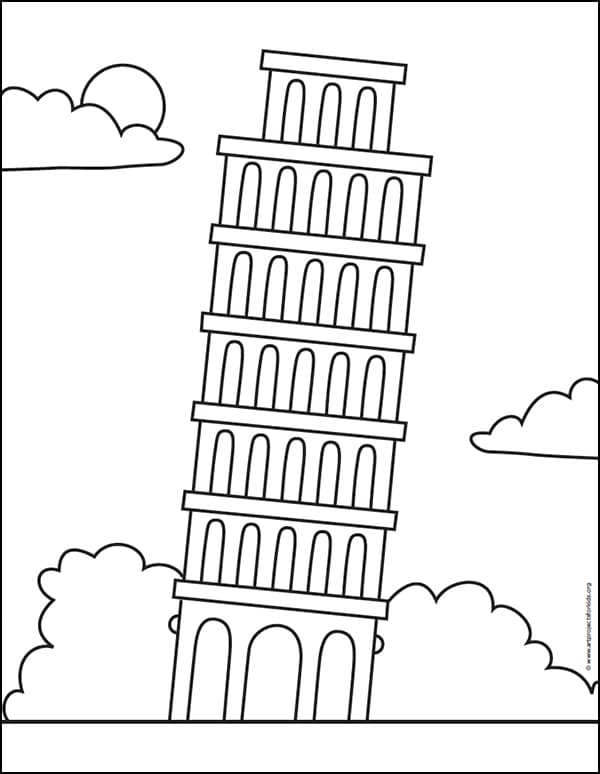
Leaning Tower of Pisa Coloring Page
Materials for Leaning Tower of Pisa


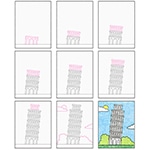
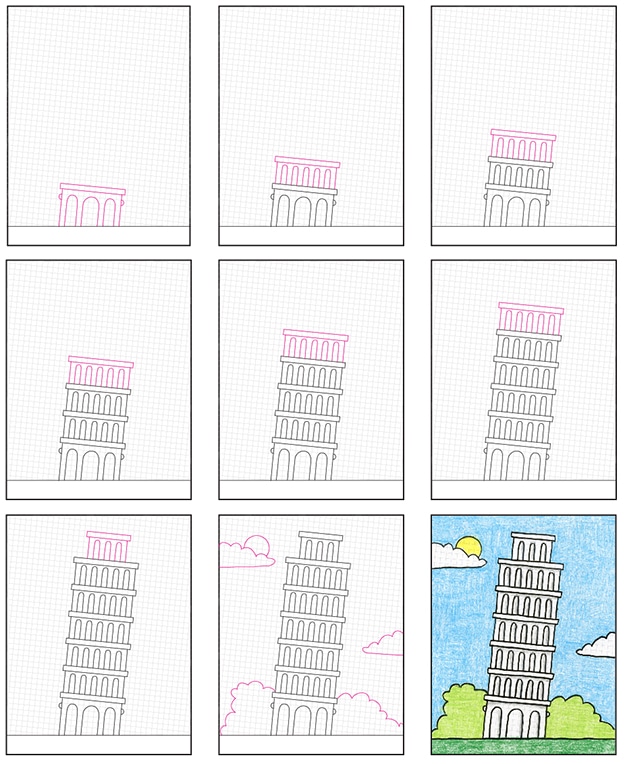
Step by Step Directions for Leaning Tower of Pisa
Time needed: 1 hour
Draw the Leaning Tower of Pisa
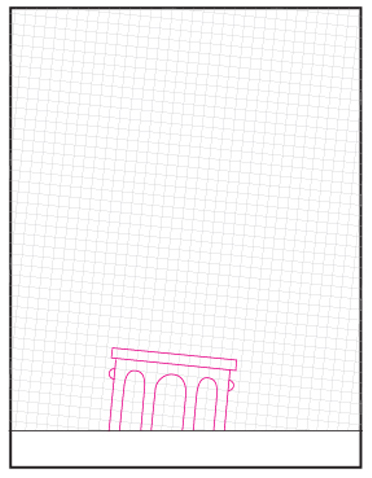
- Start with the base.

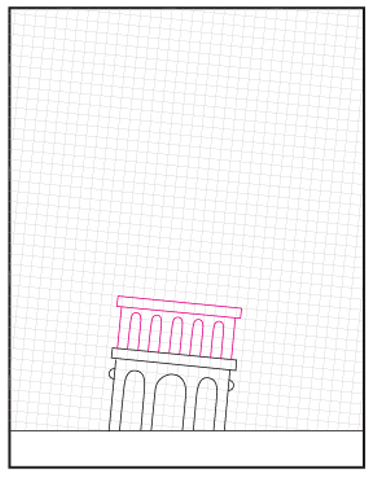
- Draw the second layer.
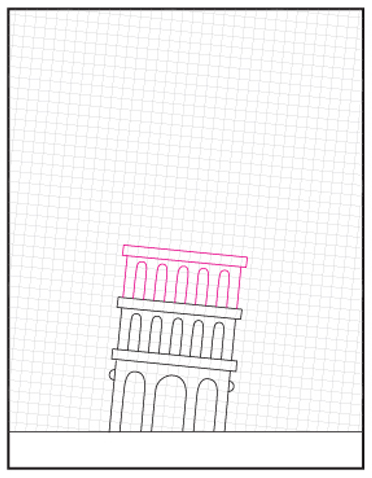
- Add the third layer.
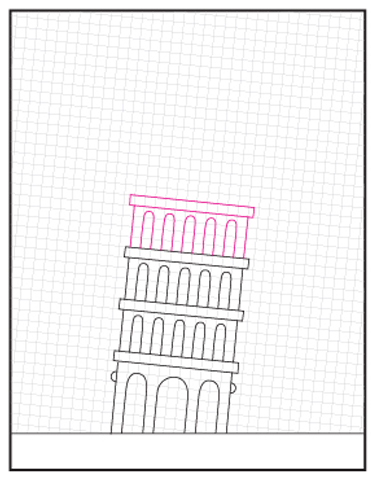
- Draw the fourth layer.
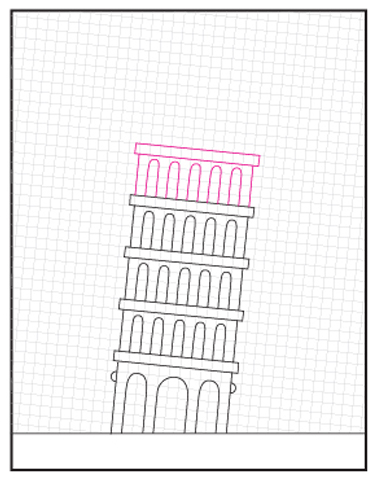
- Add the fifth layer.
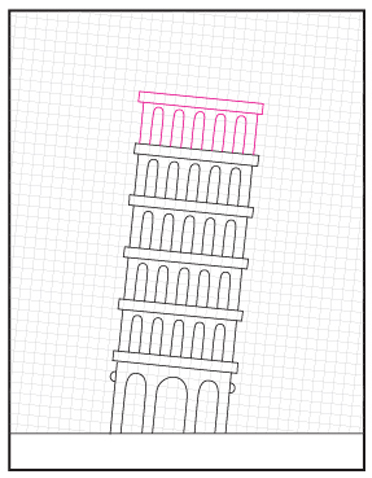
- Draw the sixth layer.
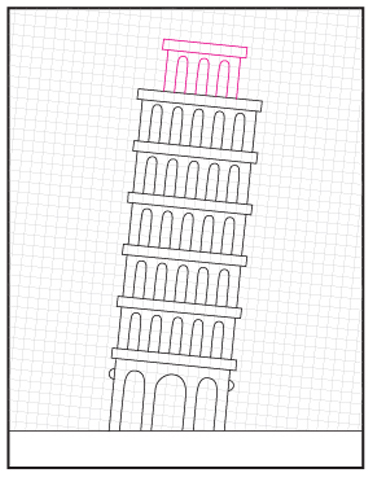
- Add the small top layer.
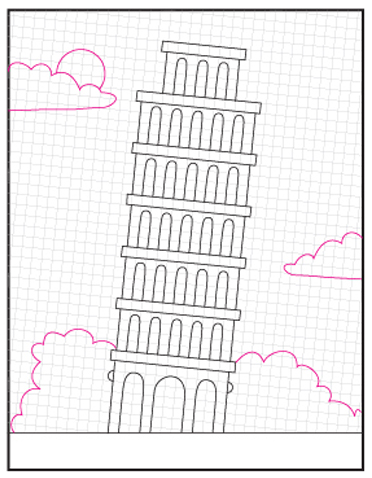
- Add landscaping and clouds.
- Trace with marker and color with crayons.