William H. Johnson Style Art Project for Kids
Here you’ll find an easy step-by-step tutorial video for a William H. Johnson Style Art Project for Kids. His work had a folk art style that is fun and easy to imitate.
Draw like W. H. Johnson
Who was William H. Johnson?
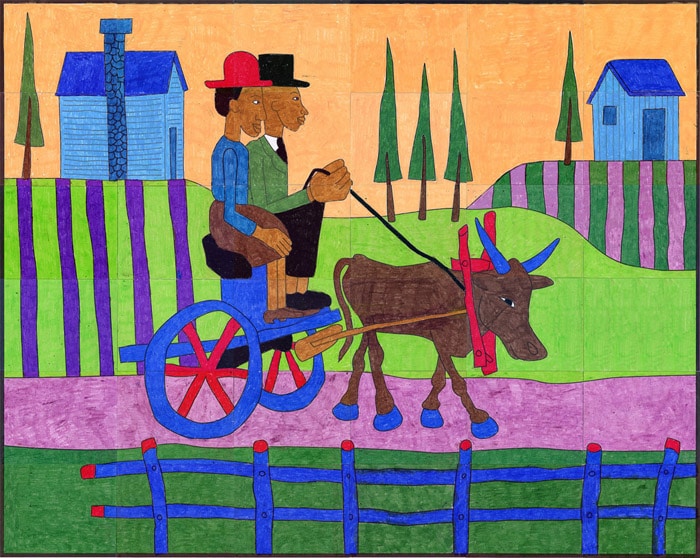
William Henry Johnson was born in the segregated south in 1901. He ended up studying at the National Academy of Design in New York City, working with Charles Webster Hawthorne. He later lived and worked in France, where he learned about modernism. This black history art project was created to help students see what it’s like to draw in the simple folk art style that Mr. Johnson came to embrace in his later years.
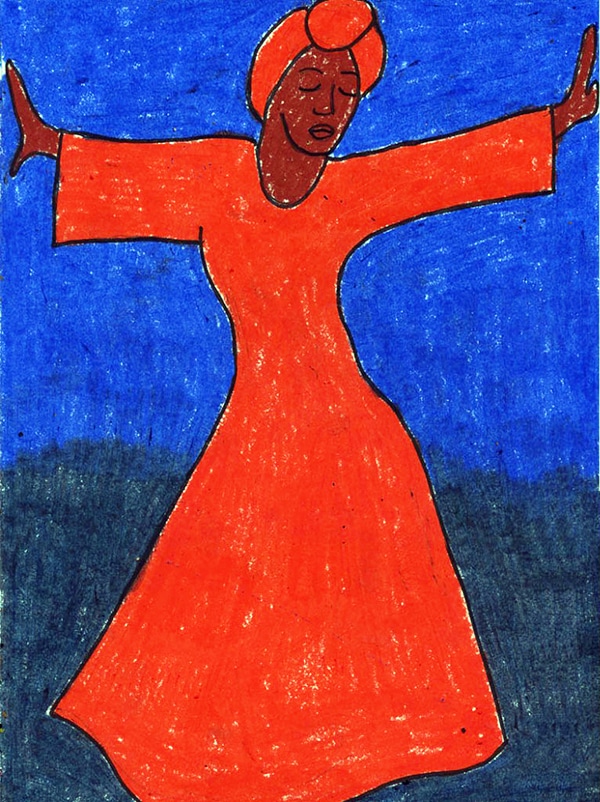
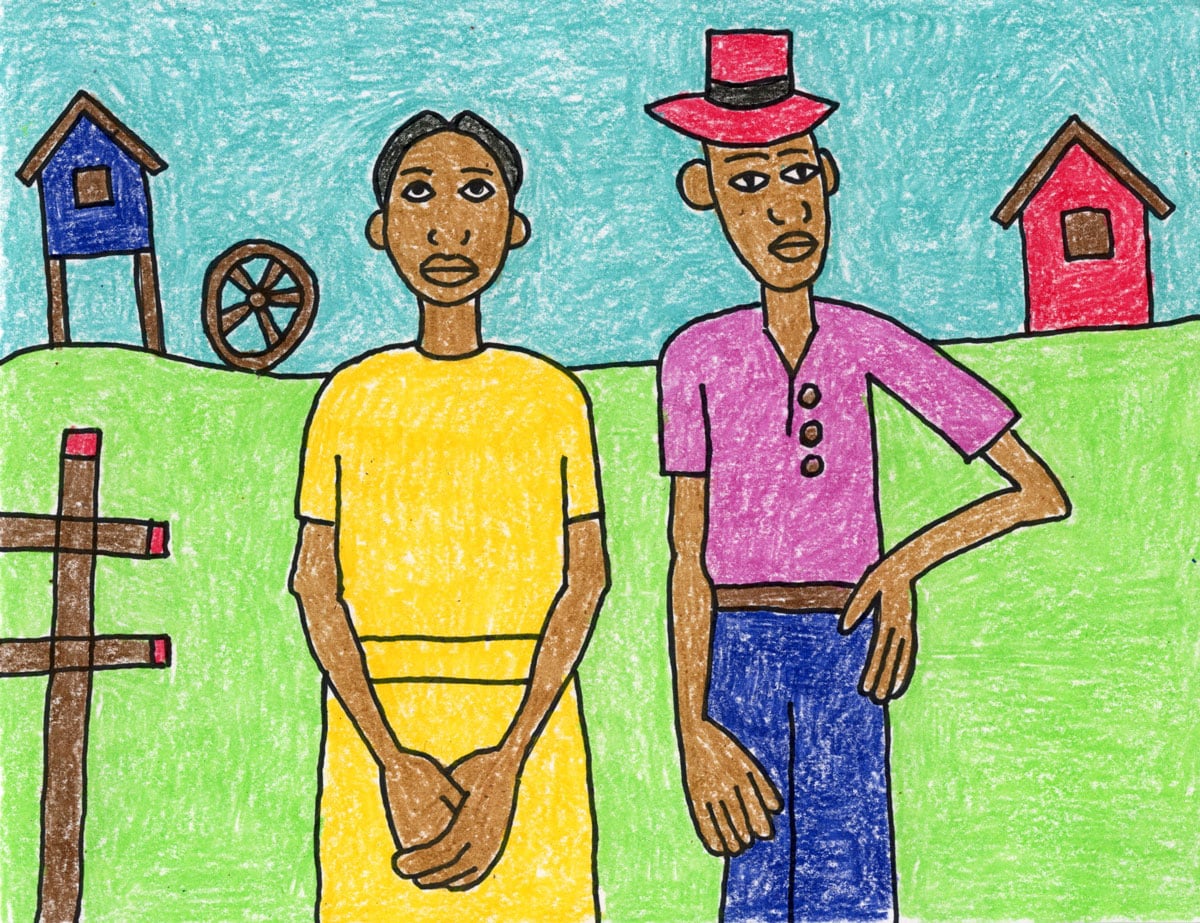
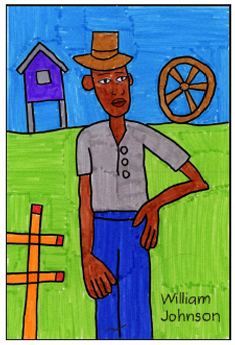
If you have a chance to look at a few of Mr. Johnson’s paintings, you will notice that they are all look very flat. All the of the trees and buildings and fences look like simple cut out shapes. This is one of the features of folk art. It isn’t trying to make things look realistic, just portray them in the easy way that perhaps a child might draw them.
Teachers might also point out that the hands of the men and the women in Mr. Johnson’s paintings are consistently large in proportion to their bodies. It is thought he wanted to portray the strength that he saw in them.
Subscribe to “The Daily Draw” to get this free printable!
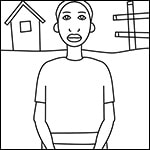
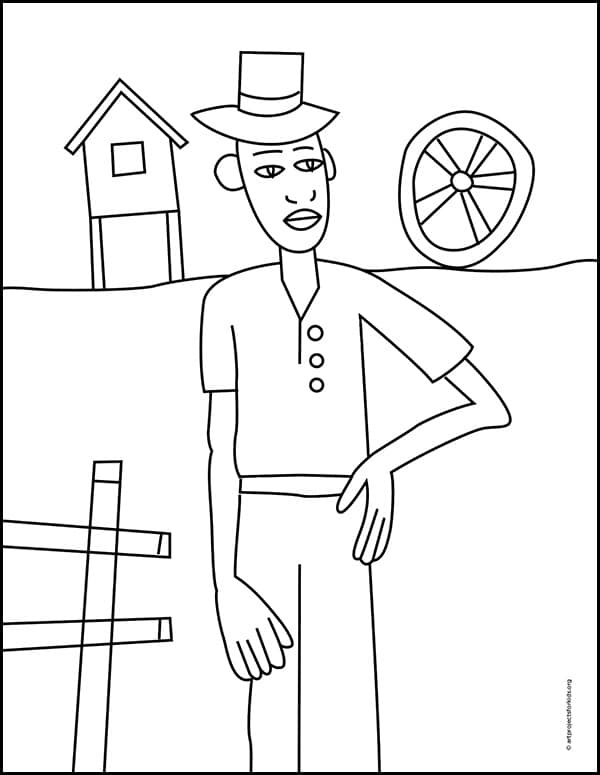
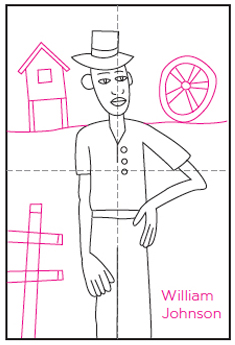
Johnson Man Coloring Page
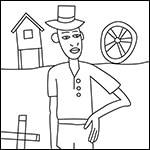
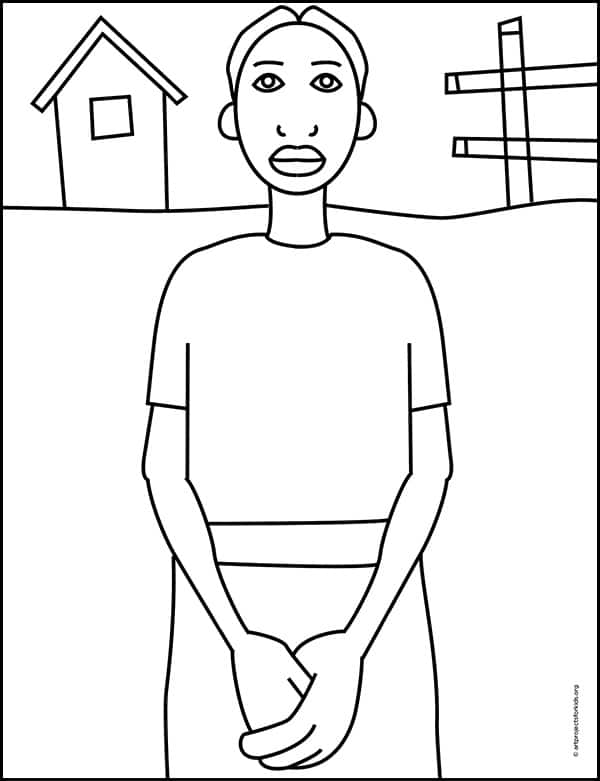
Johnson Woman Coloring Page
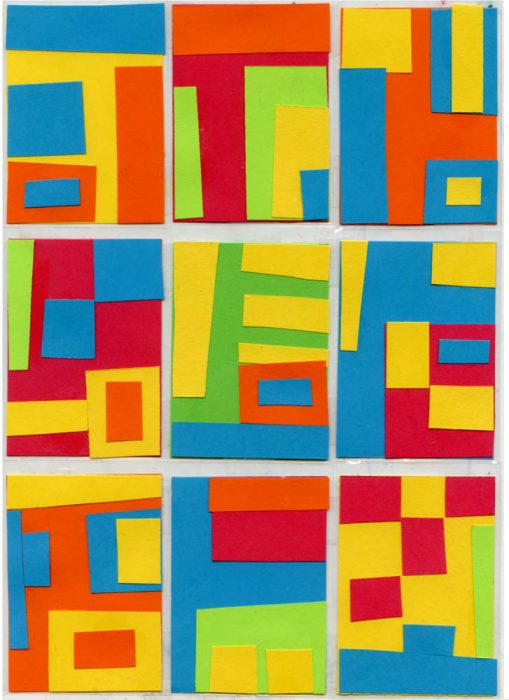
W.H. Johnson Collaborative Mural Project
Materials for a Black History Art Project

- Prang Classic Art Markers, Bullet Tip. Special marker formula won’t smudge, bleed through paper, or dry out even after 24 hours with the cap off *affiliate link

- Drawing Paper. Don’t substitute it with copy paper or construction paper. The surface will get fuzzy, erasing might cause holes, and the colors will generally not look as bright. *affiliate link
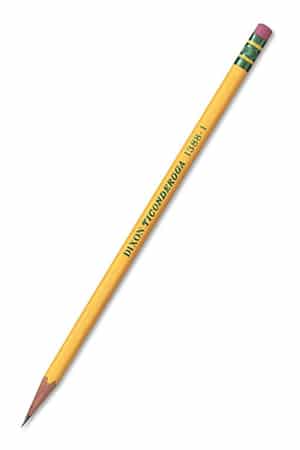
- Pencil. The Ticonderoga brand are the most reliable, make nice dark lines when you need them, and are the easiest to erase. *affiliate link

- Black Sharpie Marker, Fine Tip. Great for making a crisp outline to your drawing. Use them when you want your outline show up, but not be so heavy that it detracts from other things. *affiliate link
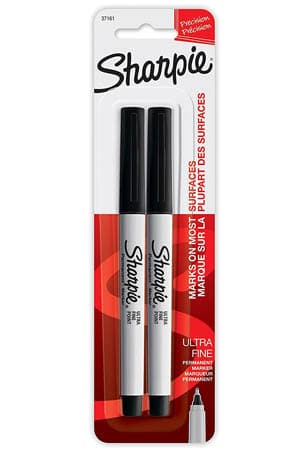
- Black Sharpie Marker, Ultra Fine Tip. Use them when you need to draw some really fine lines. *affiliate link
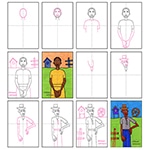
Step by Step Directions
Time needed: 1 hour
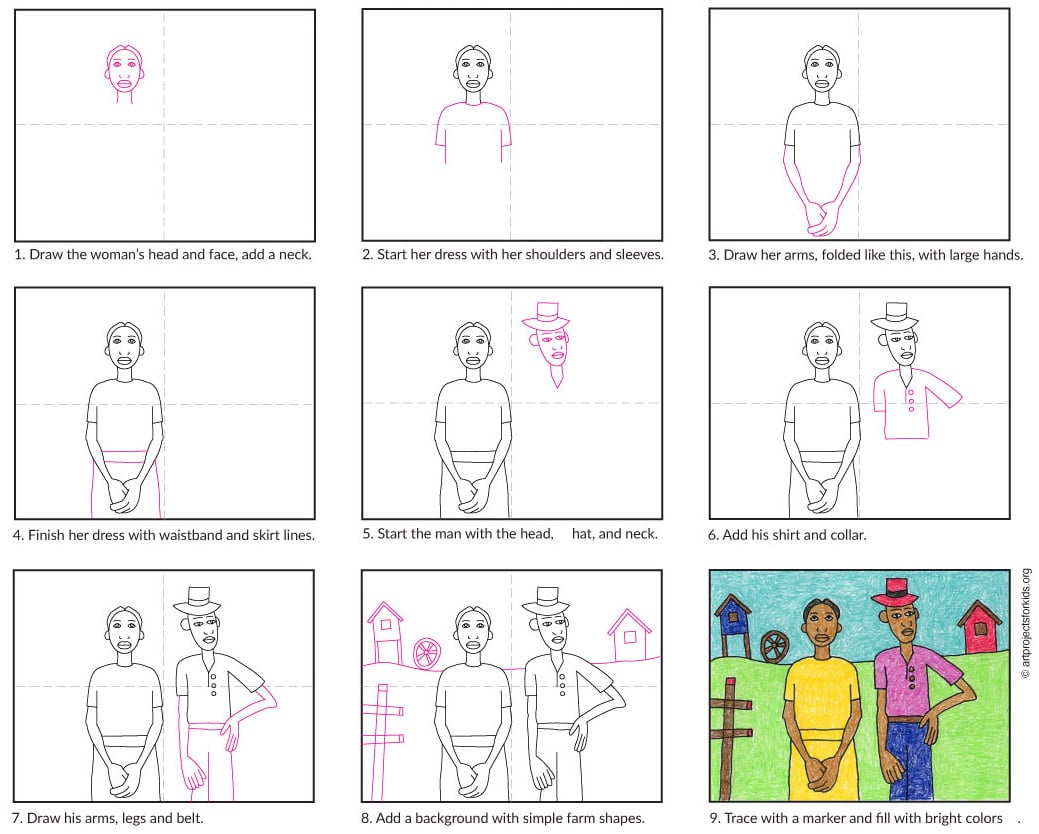
Draw like the artist William H. Johnson
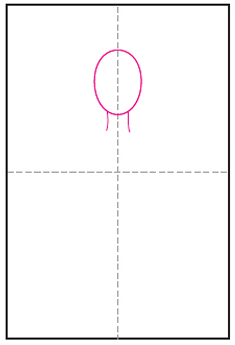
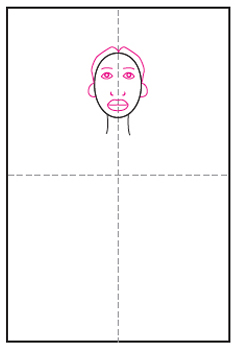
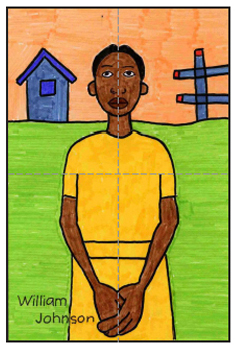
- WOMAN: Draw the head and neck.

- Fill in the face and hair.
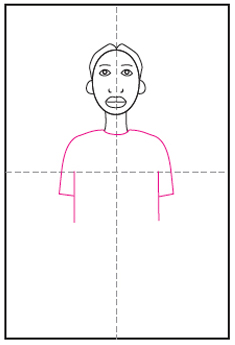
- Start the shoulders.
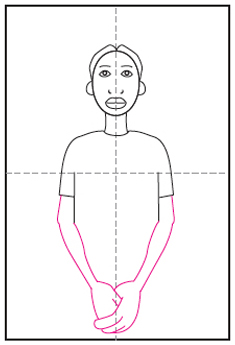
- Add arms and large hands below.
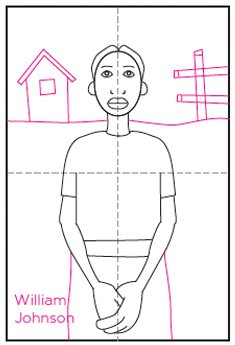
- Draw a simple background.
- Trace and color with markers.
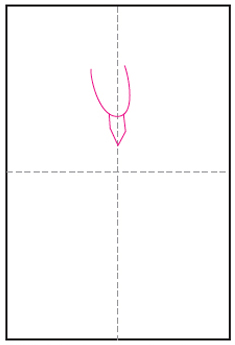
- MAN: Start the head and neck.
- Fill in the features. Add a hat.
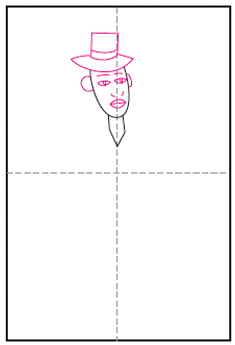
- Draw the shoulders and arms.
- Finish the pants. Add buttons.
- Draw a simple background.
- Trace and color with markers.

Already subscribed to “The Daily Draw”?
Great, then use the download button below to get your free William H. Johnson tutorial.
And thanks for wanting to bring more step-by-step, no-prep art lessons to your classroom!