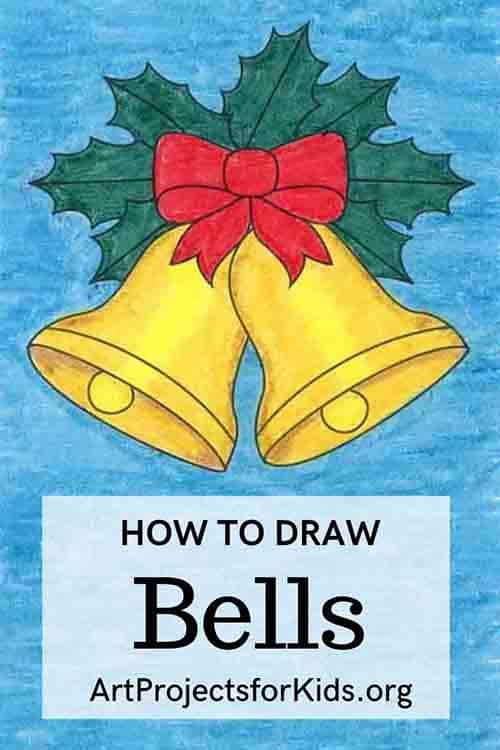
How to Draw a Christmas Bell: Easy Step-by-Step Art Lesson for Kids
Below you’ll find an easy step-by-step tutorial for how to draw a Christmas Bell and Bell Coloring Page. A pretty bow makes a nice addition for a holiday drawing.
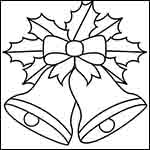
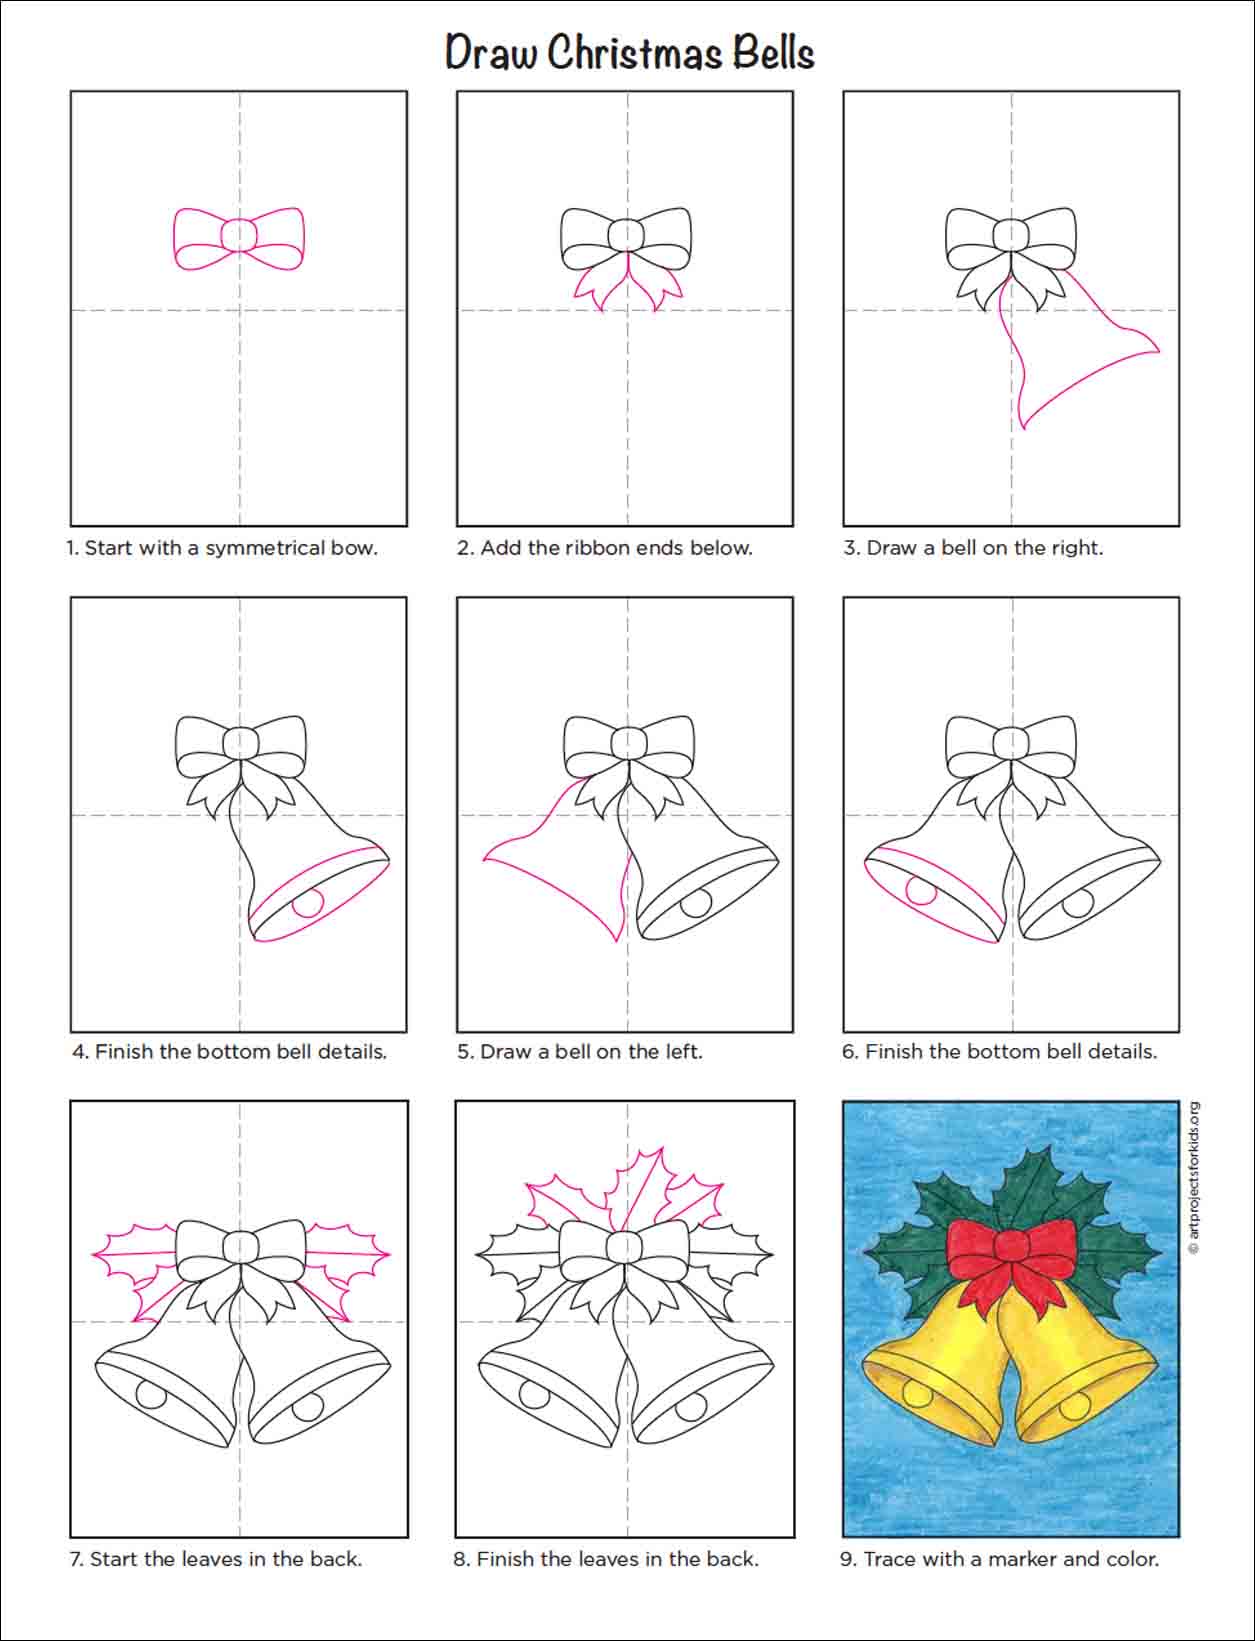
Learn how to draw a Christmas Bell
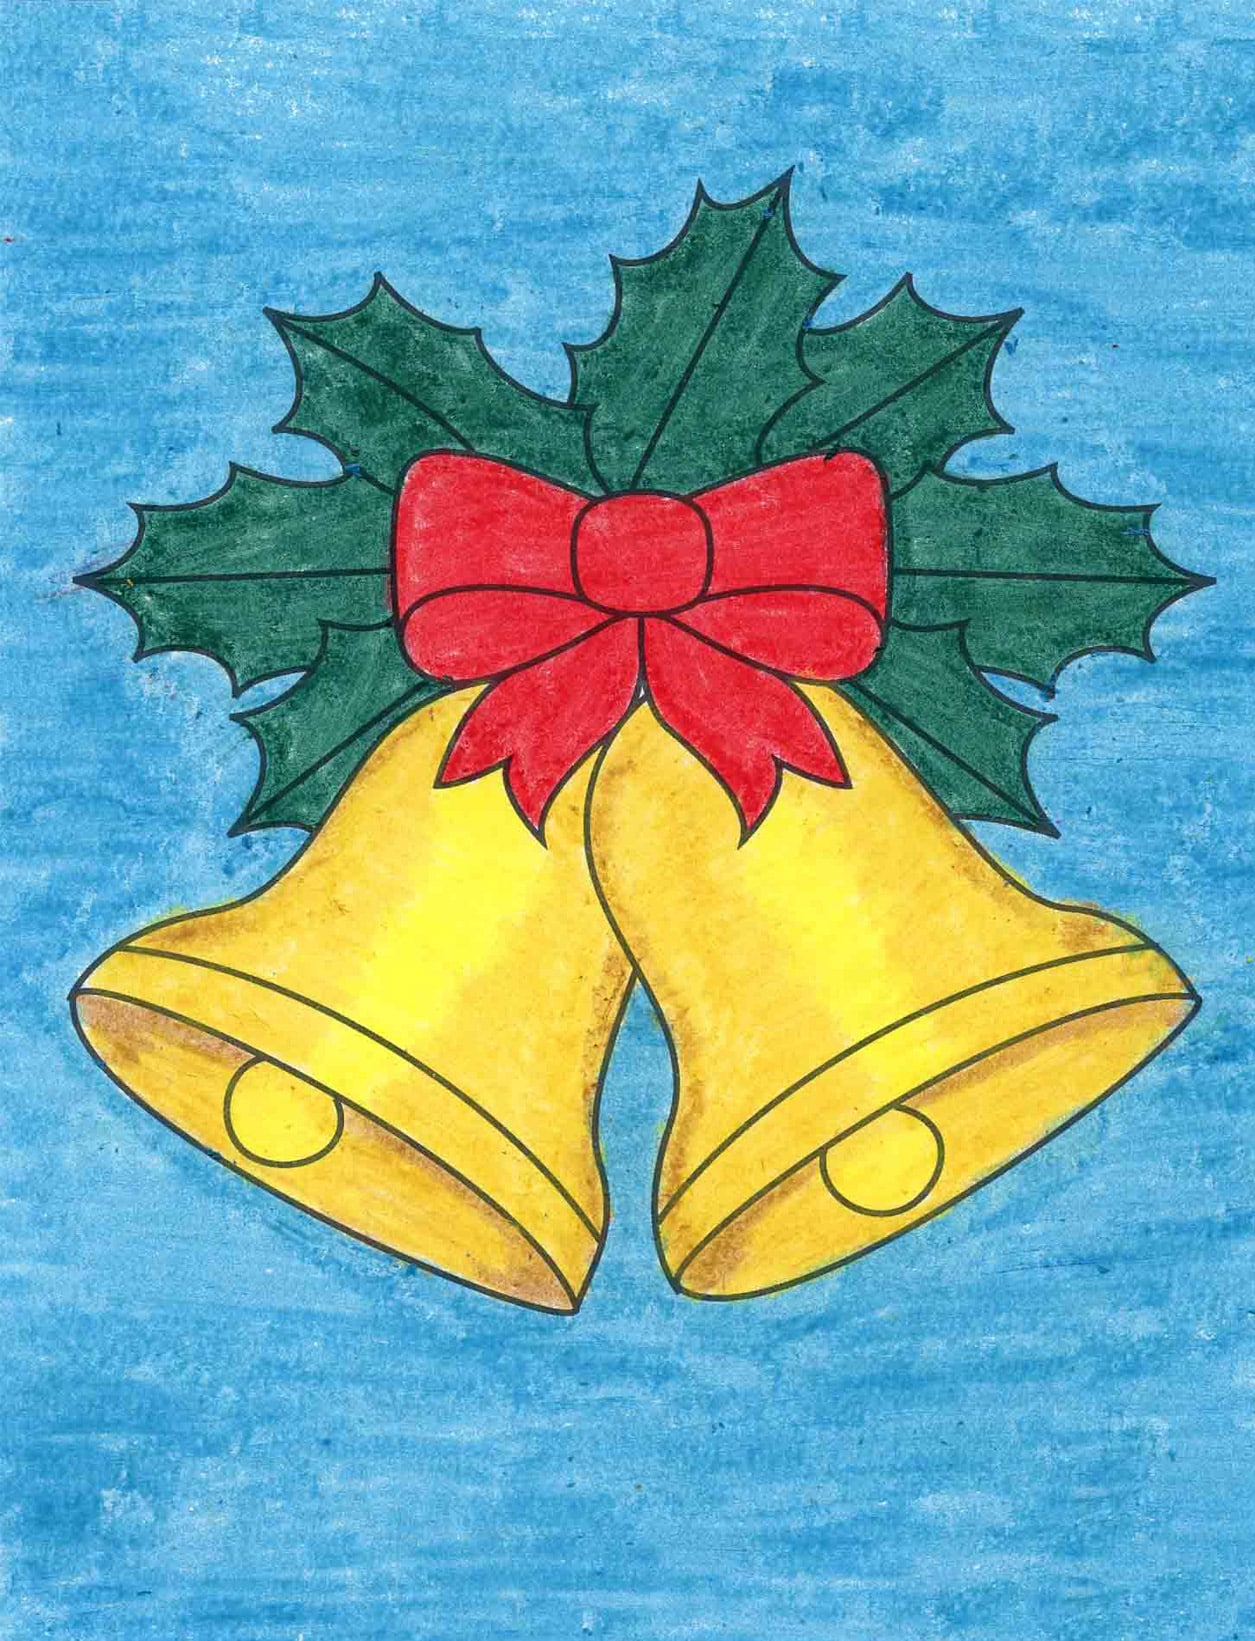
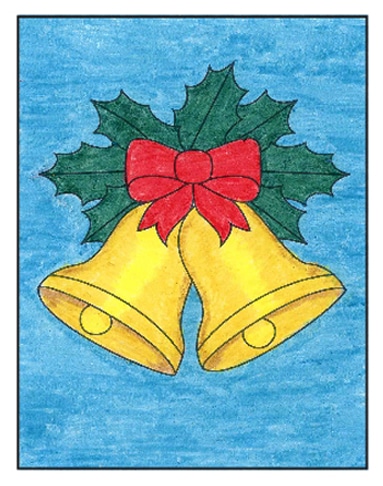
This tutorial shows students how to draw a bell, add another behind it, and then color to add some dimension. Shades of yellow do the job particularly well (even if just using crayons) as they can add a natural looking shine.
Bells and Christmas have a long standing history together. From church bells that ring at midnight on Christmas Eve to the sound of sleigh bells in the snow, the sounds of bells and Christmas are a cherished memory for many. In many parts of the country today, the ringing of bells can still be heard every Sunday, and throughout the rest of the year for various religious celebrations.
To add some art fundamentals to the lesson, this drawing is also a good example of BALANCE, one of the Principles of Design. While not being completely symmetrical, all the shapes on one side are also on the other, creating a very visually balanced work of art.
Pin me to your Pinterest Board
Subscribe to “The Daily Draw” to get this tutorial!
Materials for a Bell Drawing


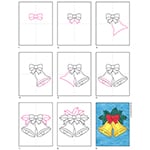
Step by Step Directions to draw a Bell
Time needed: 45 minutes
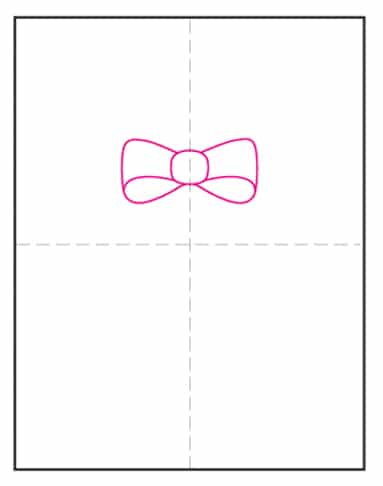
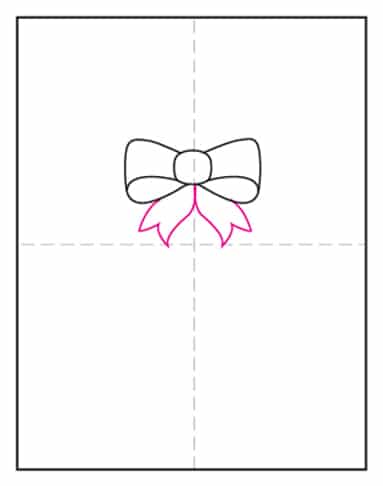
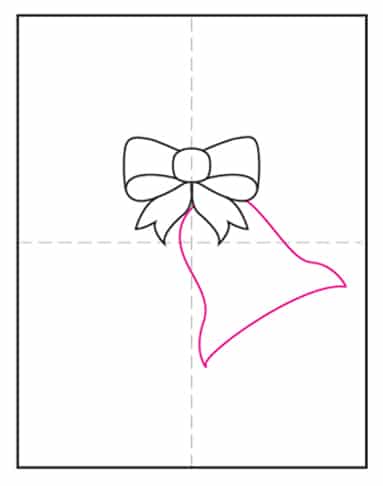
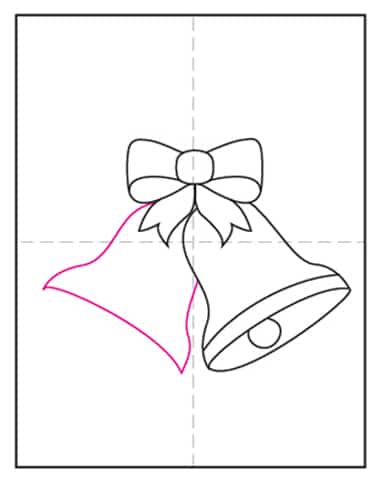
How to Draw Bells in 9 Easy Steps
- Start with a symmetrical bow.

- Add the ribbon ends below.
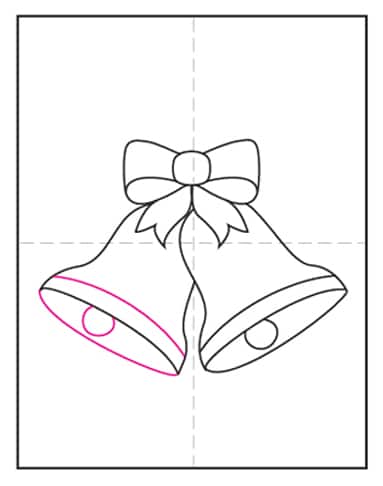
- Draw a bell on the right.
- Finish the bottom bell details.
- Draw a bell on the left.
- Finish the bottom bell details.
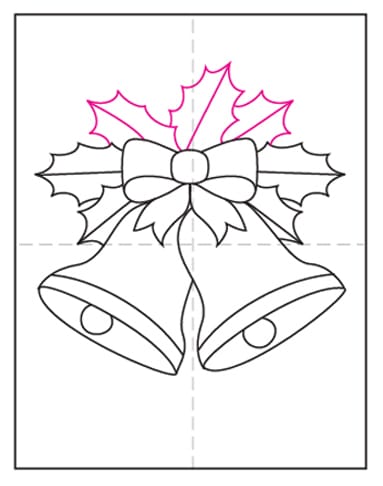
- Start the leaves in the back.
- Finish the leaves in the back.
- Trace with marker and color.